Introduction
Do you want to learn how to draw gold in a simple, fun, and kid-friendly way? You are in the perfect place. In this drawing tutorial, you will learn how to draw gold step by step using easy shapes, clear instructions, and cheerful guidance designed especially for kids and beginners. You do not need advanced art skills to follow along.
This tutorial focuses mainly on drawing a shiny gold bar, which is one of the easiest and most popular ways to start drawing gold. You will learn how to sketch the basic shape, add details, outline your drawing, and color it to look bright and golden. Along the way, you will also get tips for gold drawing easy techniques that help make your artwork stand out.
Many beginners ask questions like “how to draw gold bar” or “how do I make gold look shiny in a drawing?” This guide answers all of those questions in a clear and friendly way. You can also use these steps later to create gold bar drawings, pot of gold drawings, or even a gold chain drawing.

By the end of this tutorial, you will feel confident about how to draw gold and ready to practice more creative gold-themed drawings. Grab your pencil and paper, and let’s begin.
Table of Contents
Materials Needed 🎨
Before we start our step-by-step drawing, let’s make sure you have everything you need! You don’t need anything fancy, just a few basic tools to bring your drawing to life:
✅ Paper or Sketchbook – A blank page for your drawing. 📄
✅ Pencils (HB or 2B) – Light pencils help with outlining the drawing. ✏️
✅ Eraser – To fix mistakes while sketching. 🔄
✅ Black Marker or Fine Liner – For outlining and defining clearly. ✍️
✅ Colored Pencils – To color your drawing.
Now, let’s learn how to draw a gold step by step…
How to Draw Gold Step by Step
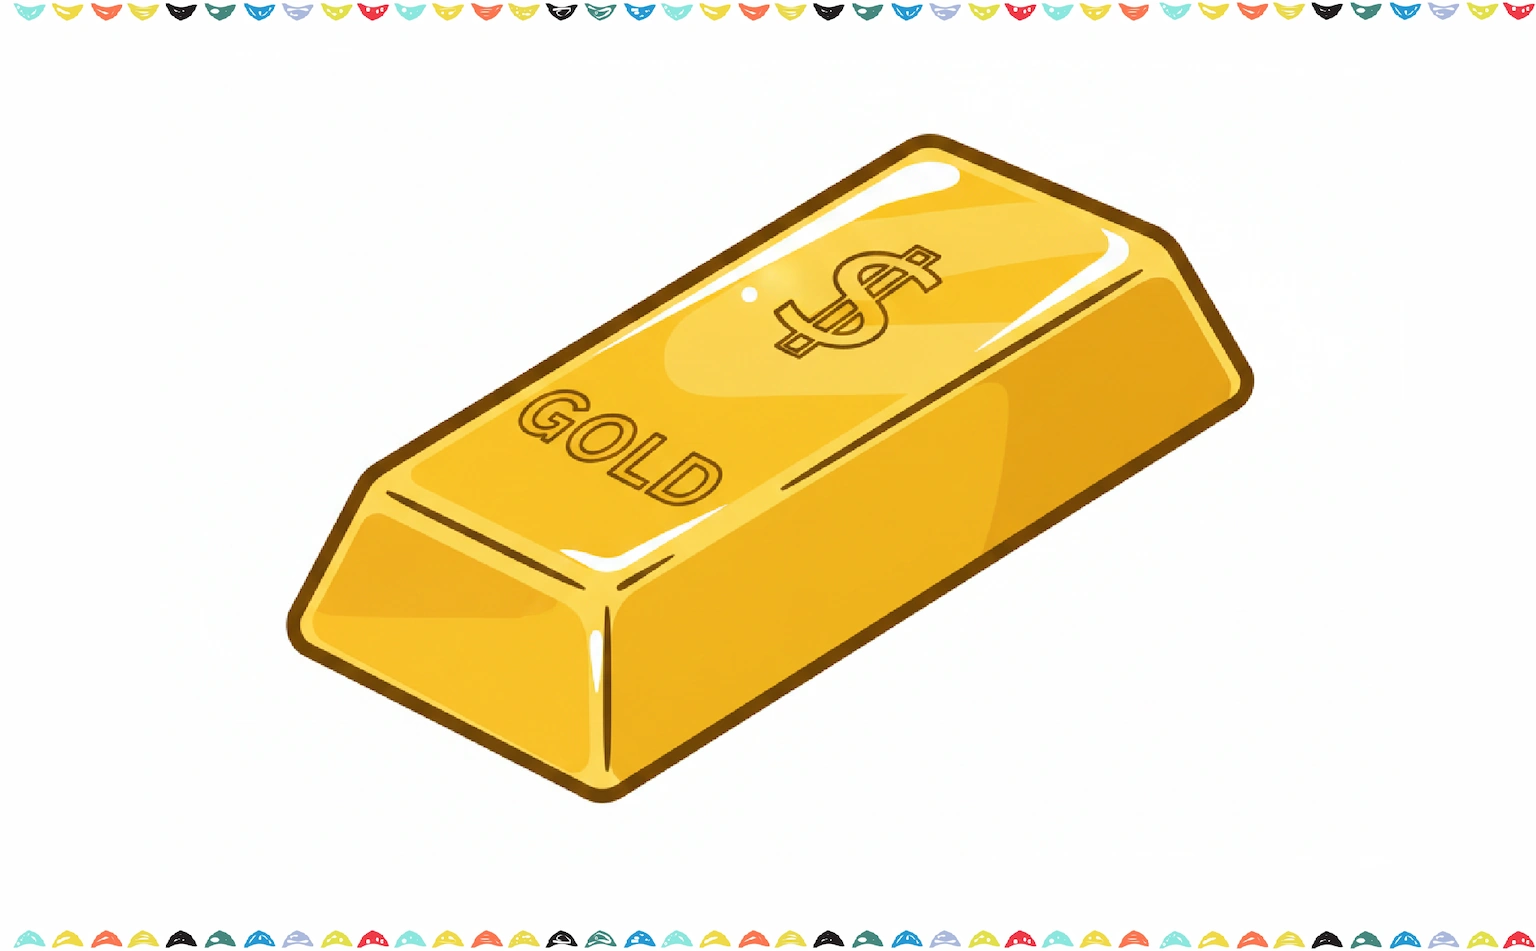
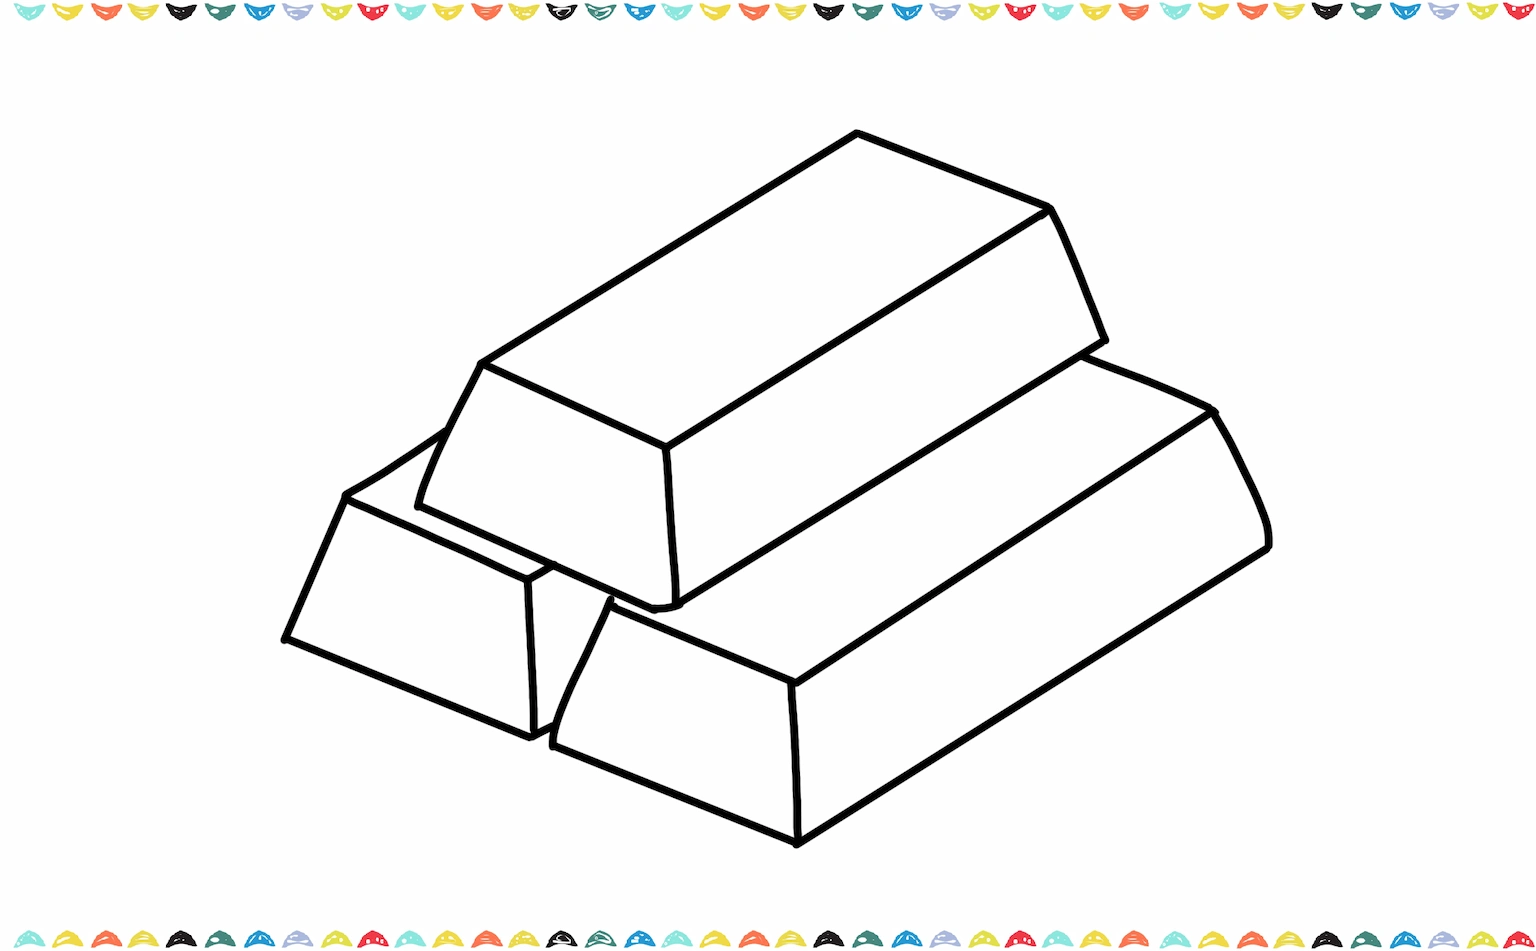
In this section, you will learn how to draw gold step by step using the attached image of a gold bar. Follow each step slowly and remember to have fun.
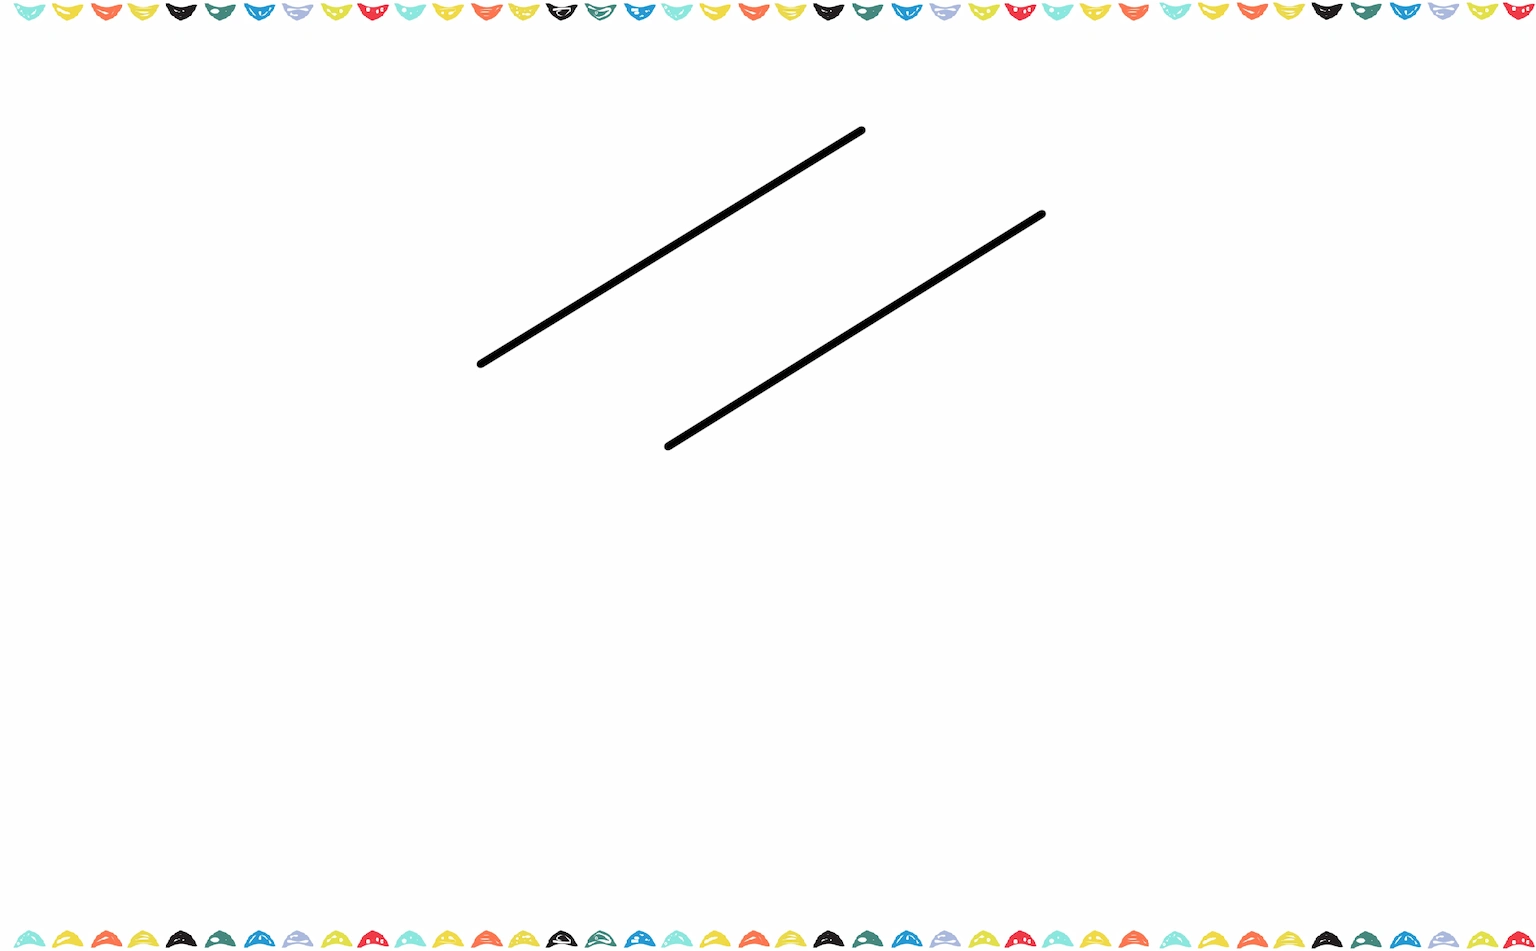
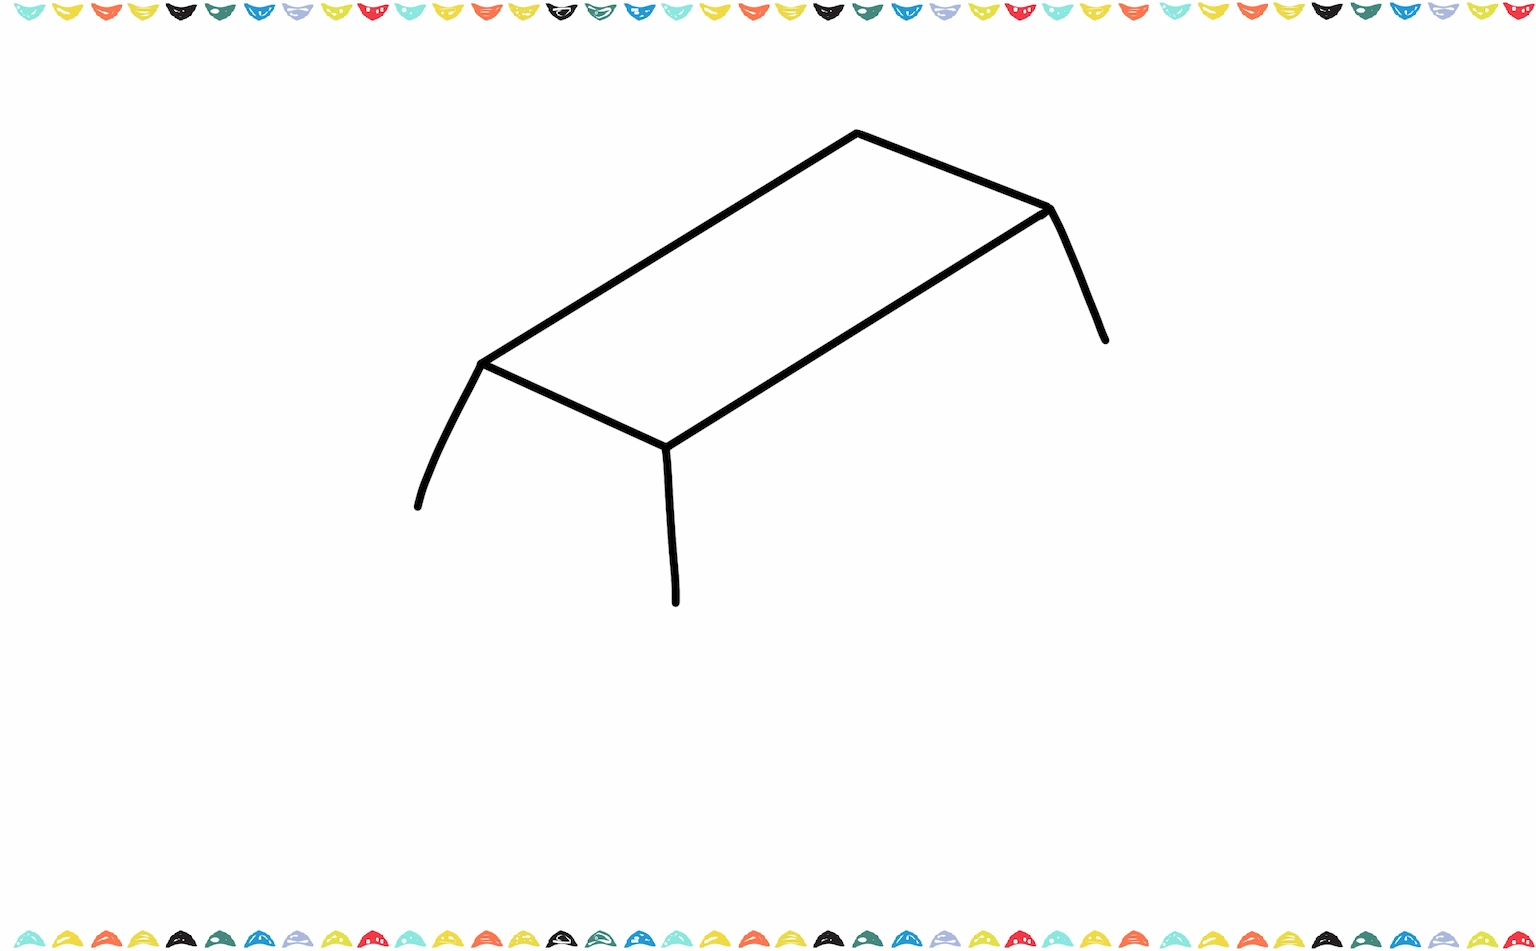
Step 1: Draw the Basic Shape of the Gold Bar 📐✨
Are you ready to create some treasure? Let’s jump right in by drawing two perfectly straight parallel lines on your paper! This simple but important shape is going to become the strong, shiny main body of your very own gold bar, so make sure your lines are nice and steady as we start our golden adventure!
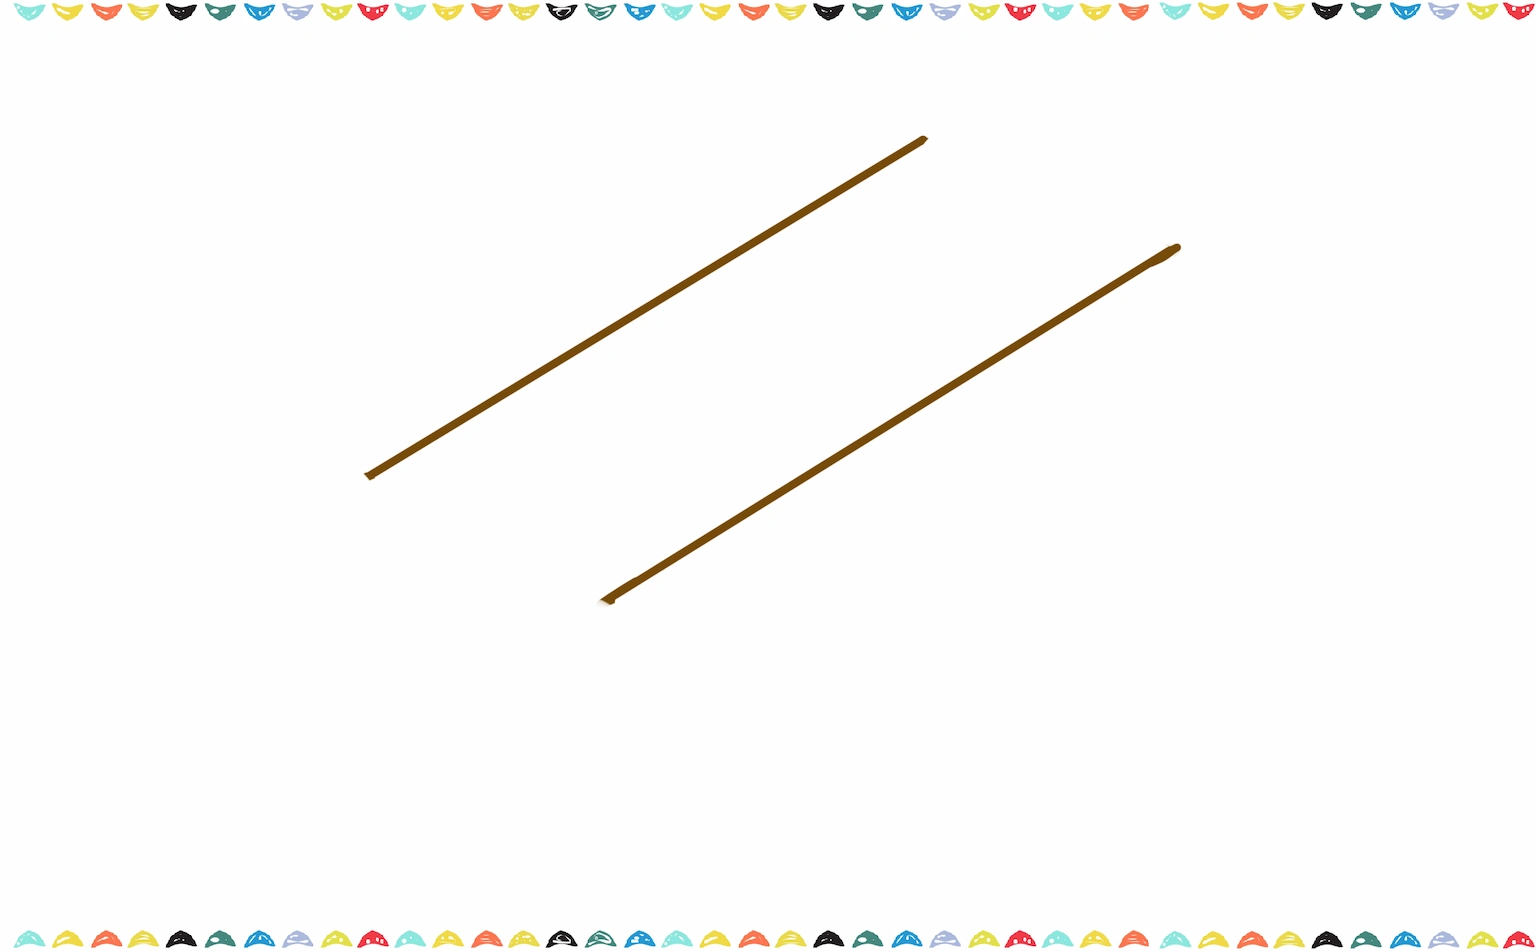
👉 Drawing Tip: When you’re first learning how to draw gold, grab your pencil and draw with a light touch. This way, if you make a little mistake, it’s super easy to erase and fix your shapes without leaving any messy marks behind.
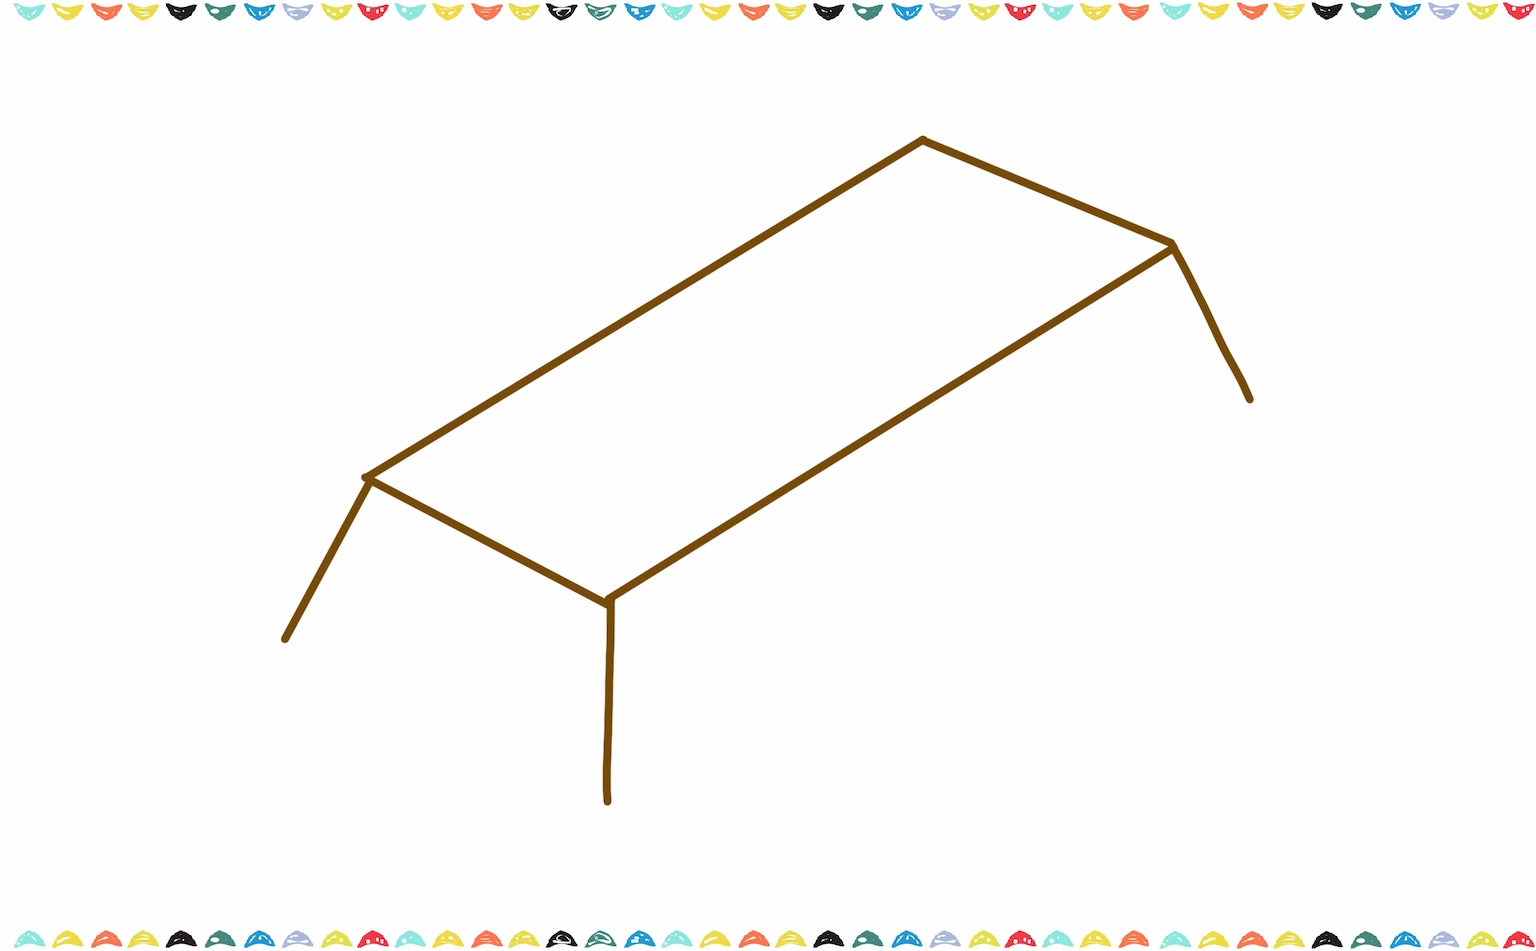
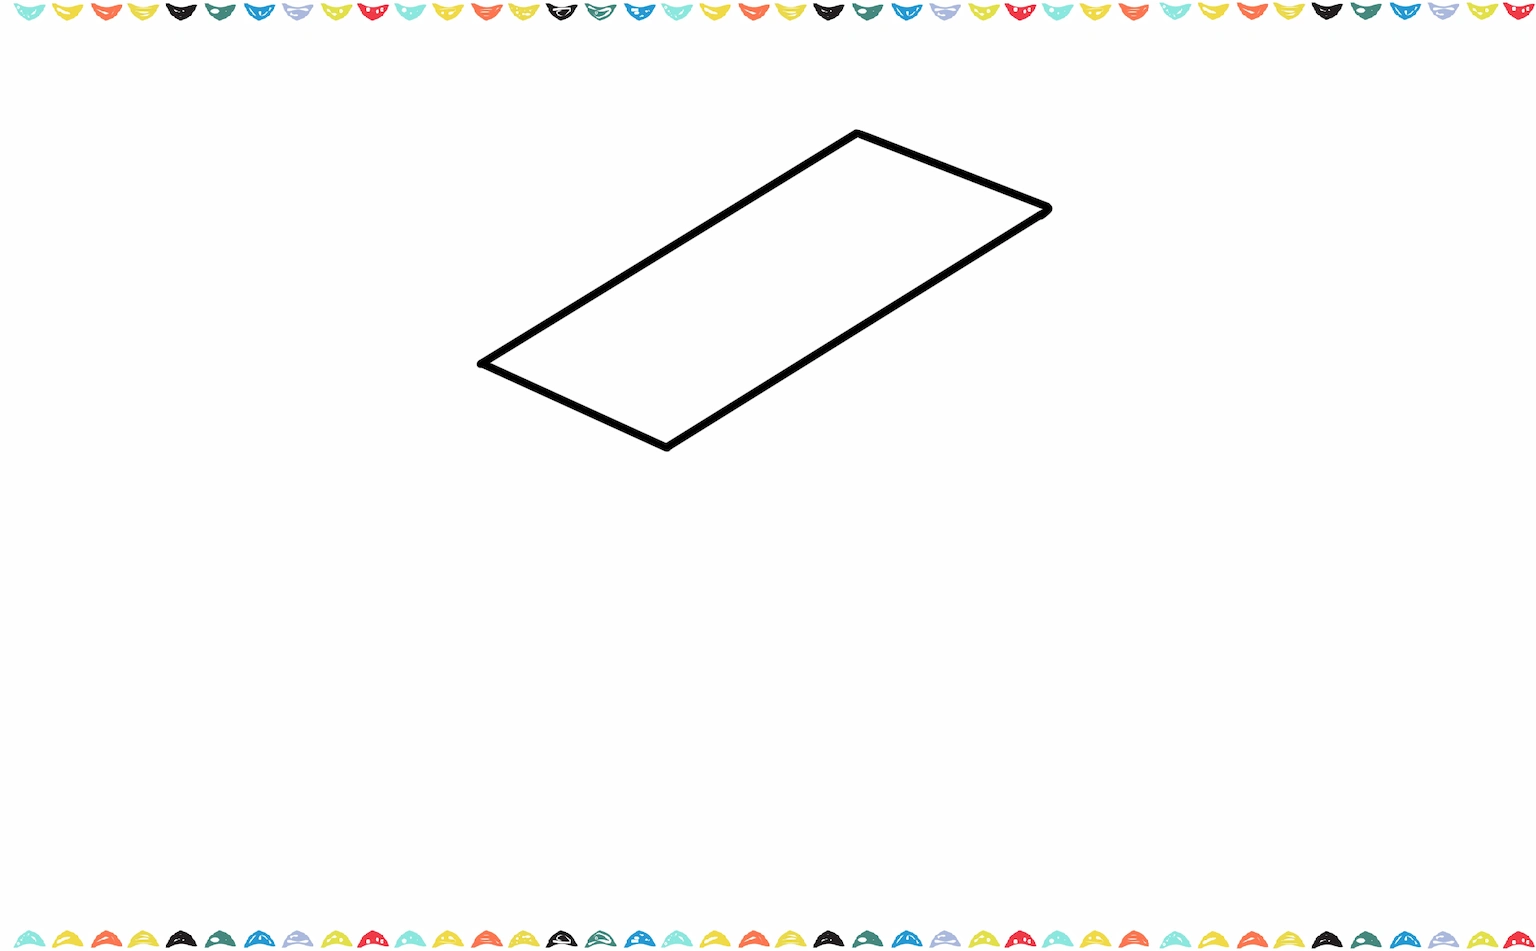
Step 2: Add the Top Surface 🔶🖊️
Let’s turn those first two lines into a solid rectangle by connecting them with a straight line at the beginning and the end! This sturdy box shape is going to be the main body of your gold bar, and it’s the perfect foundation for making your drawing look shiny and valuable! The top of the rectangle should look like a flat surface, while the sides slope down gently.
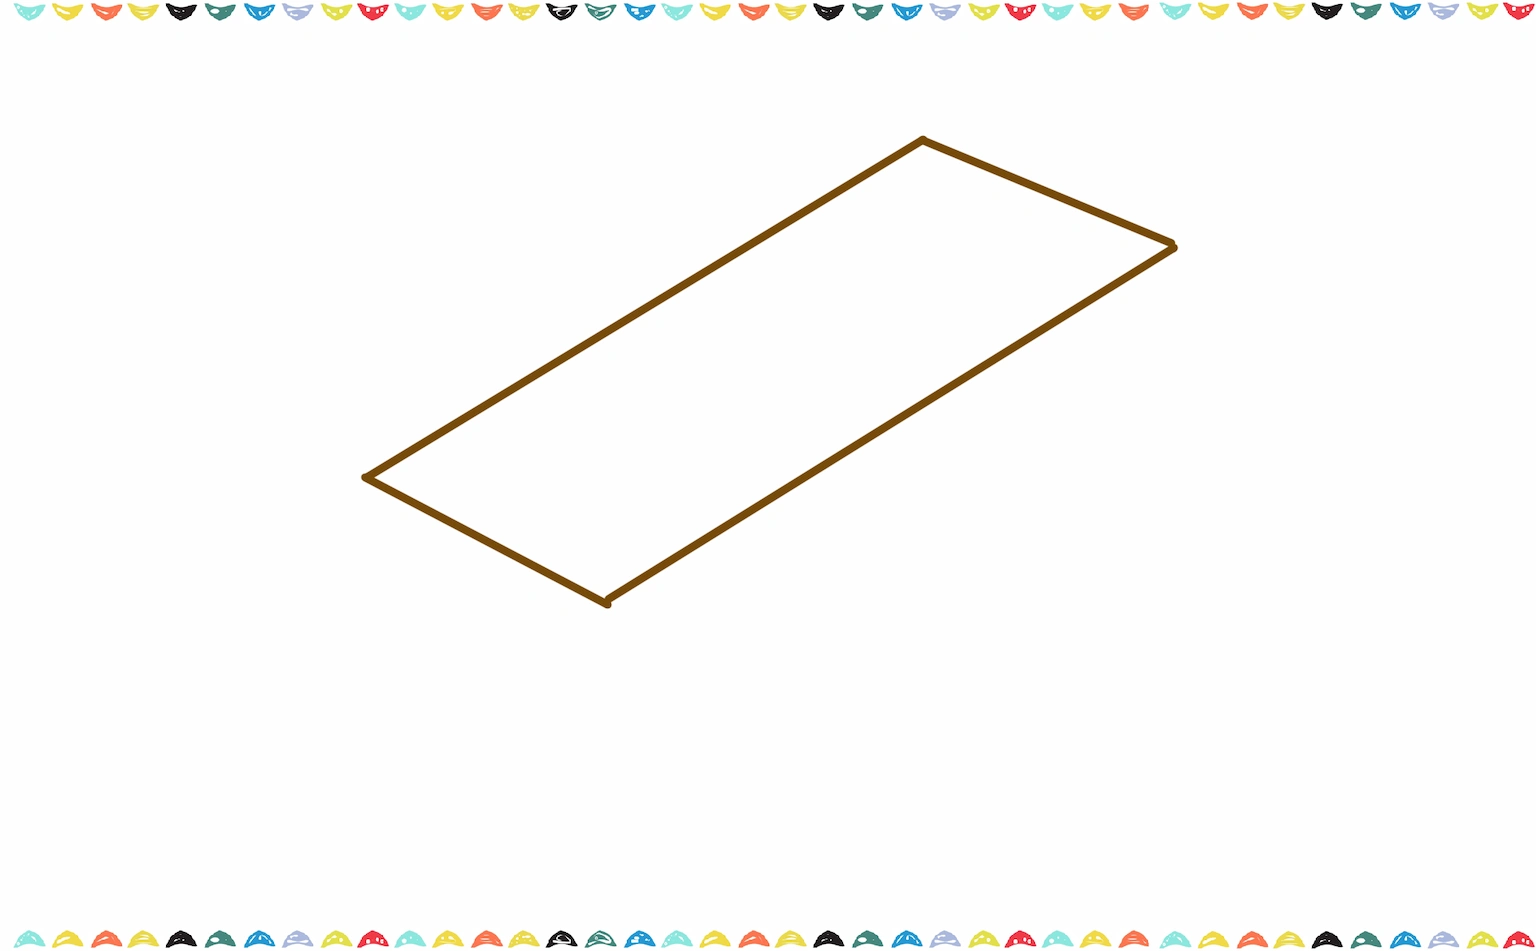
This is the most important part when learning how to draw gold because the shape makes it look three-dimensional.

How to Draw a Pot of Gold – Easy Step by- Step Tutorial
Learn how to draw a pot of gold step by step with this fun St Patrick’s Day drawing tutorial for kids and beginners.
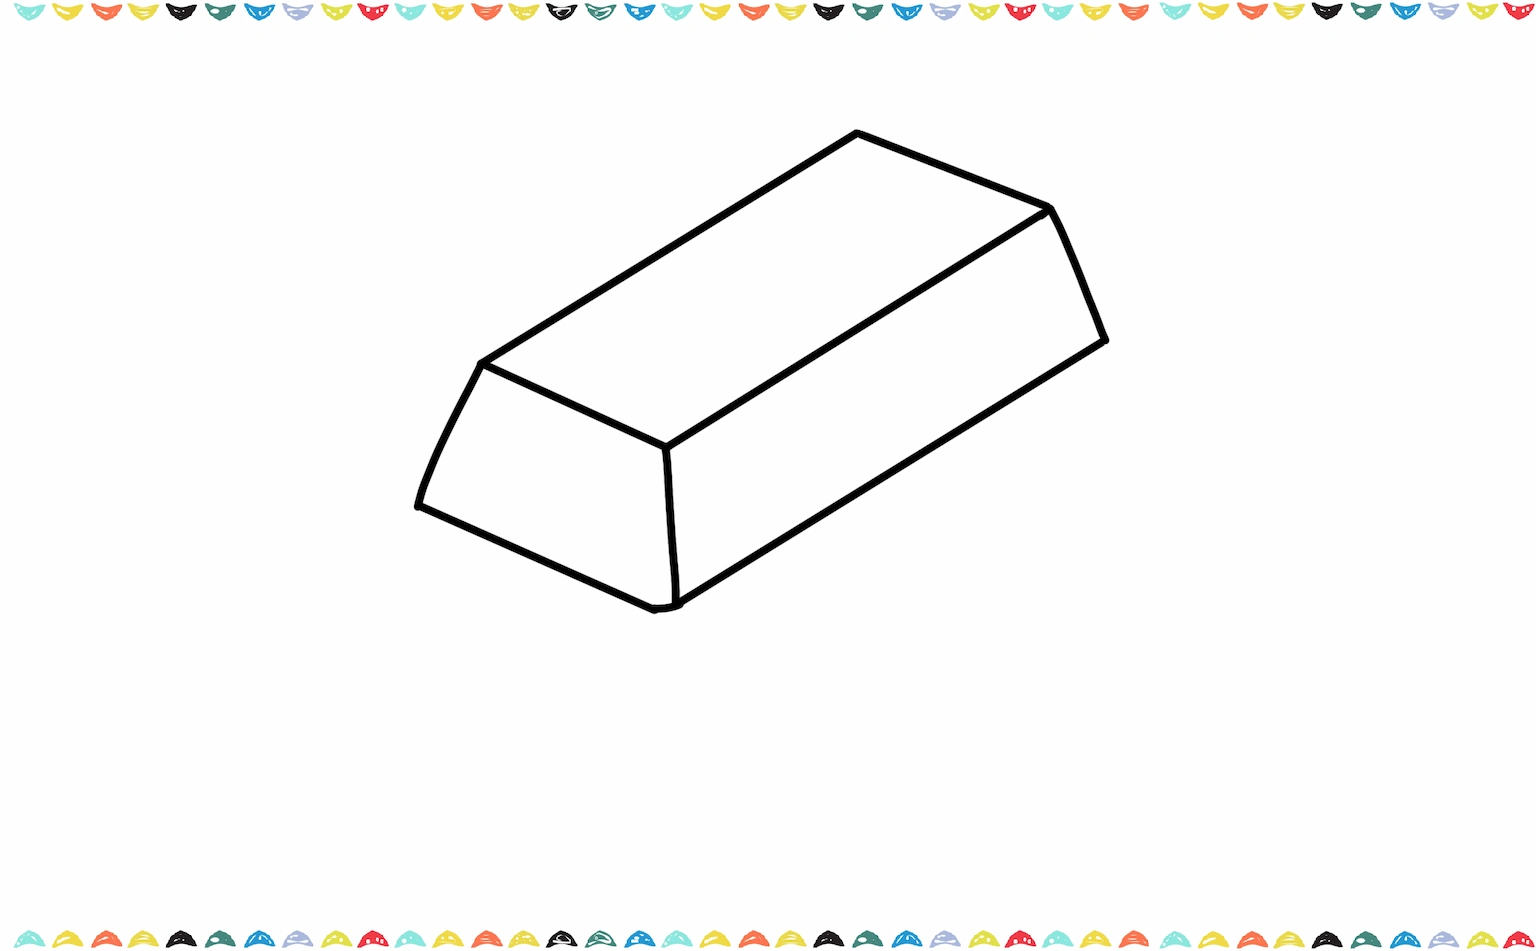
Step 3: Draw the Side Edges 📏✨
Now draw lines down from the corners of the top surface to connect to the bottom of the bar 📏 These lines form the edges of the gold bar. At this stage, your drawing should clearly look like a bar of gold drawing.
If you are learning how to draw gold bar for the first time, this step helps your drawing feel solid and strong.
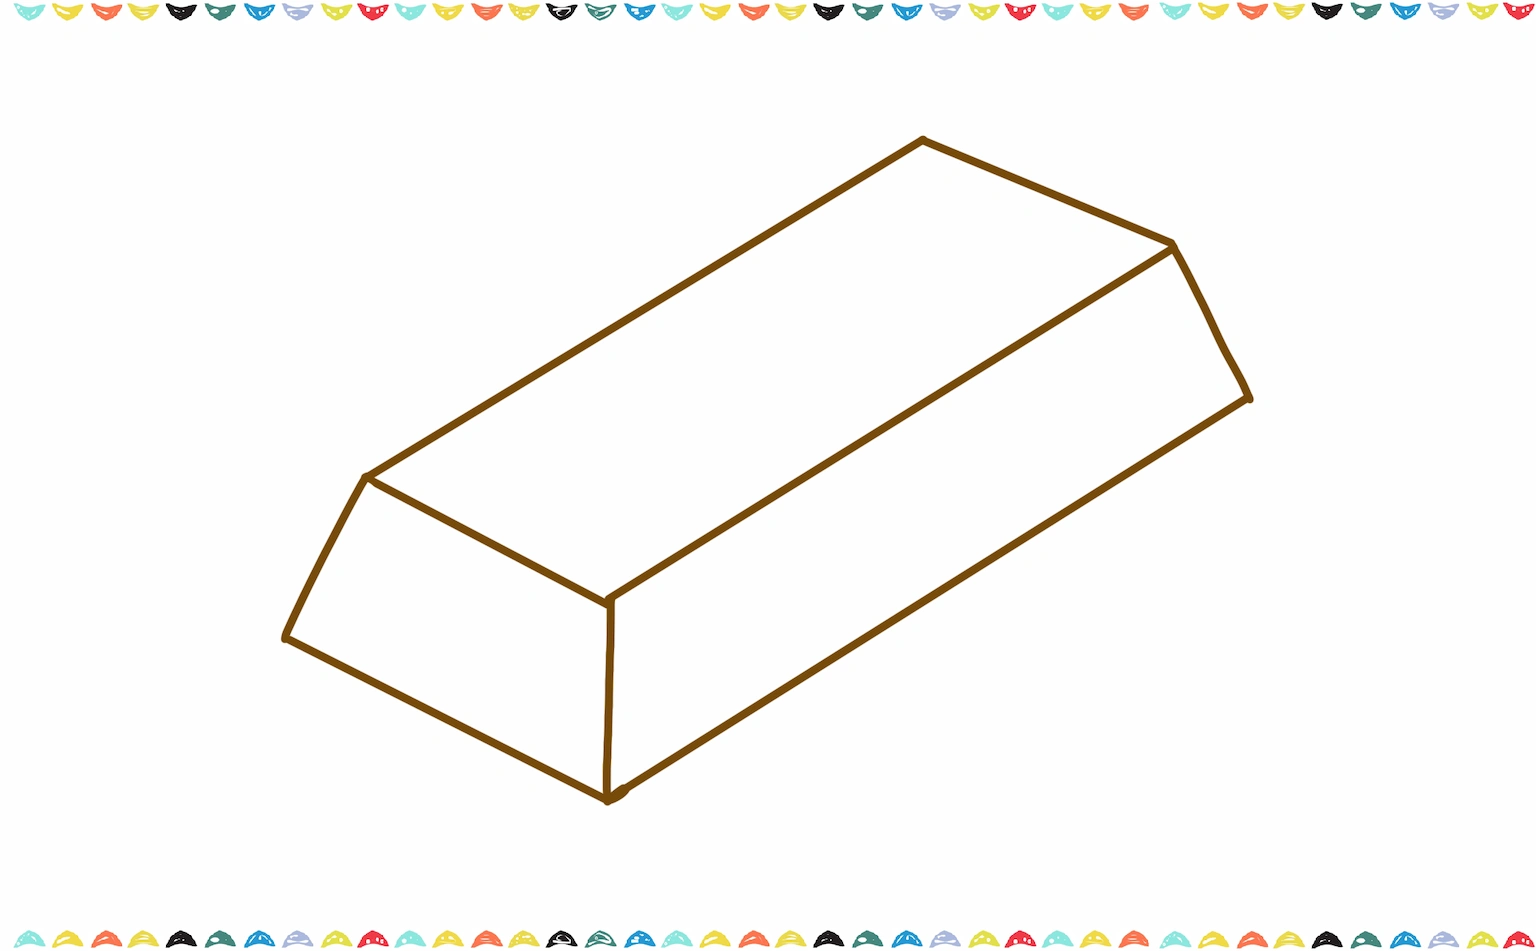
Step 4: Add the Bottom of The Gold Bar
Get ready to make your treasure look amazing! Now, let’s carefully draw the bottom surface to finish the main body of your gold bar. By adding this extra part, you’ll turn your flat shape into a thick, heavy block that looks just like a real piece of shiny treasure sitting in a giant bank vault!
Once you master how to draw gold, try our fireworks drawing lesson next.
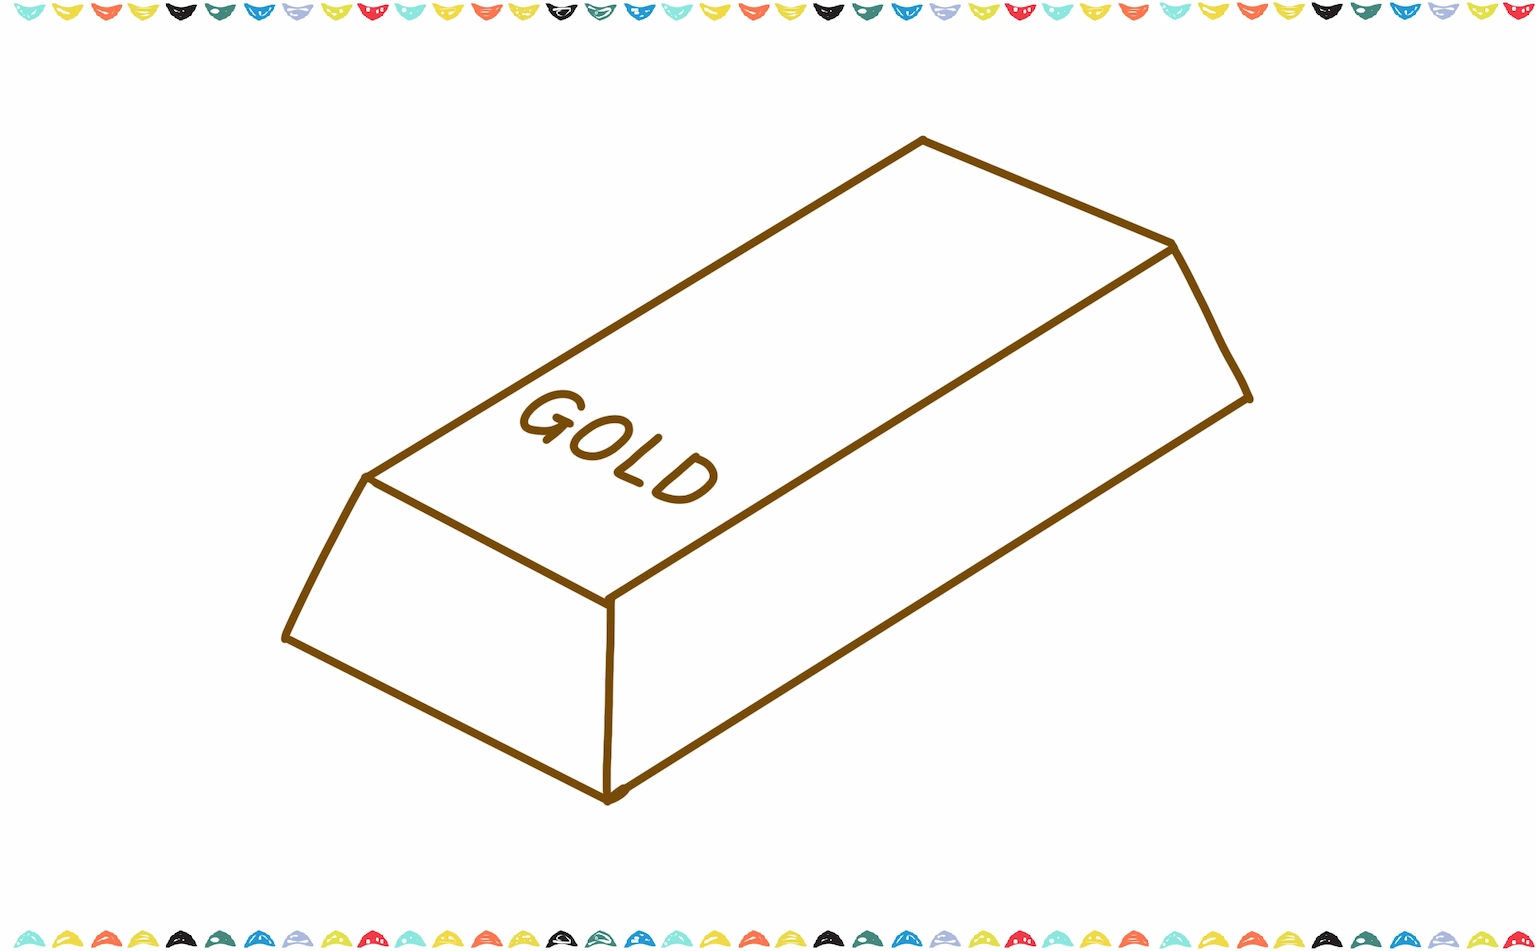
Step 5: Add Details to the Gold Bar 💲✨
Now for the most exciting part, labeling your treasure! On the very top surface, carefully write the word ‘GOLD’ in big, bold letters. Adding little details like this is a great way to make your gold bar look super realistic and fun, and you can keep the letters nice and simple so they look just perfect!
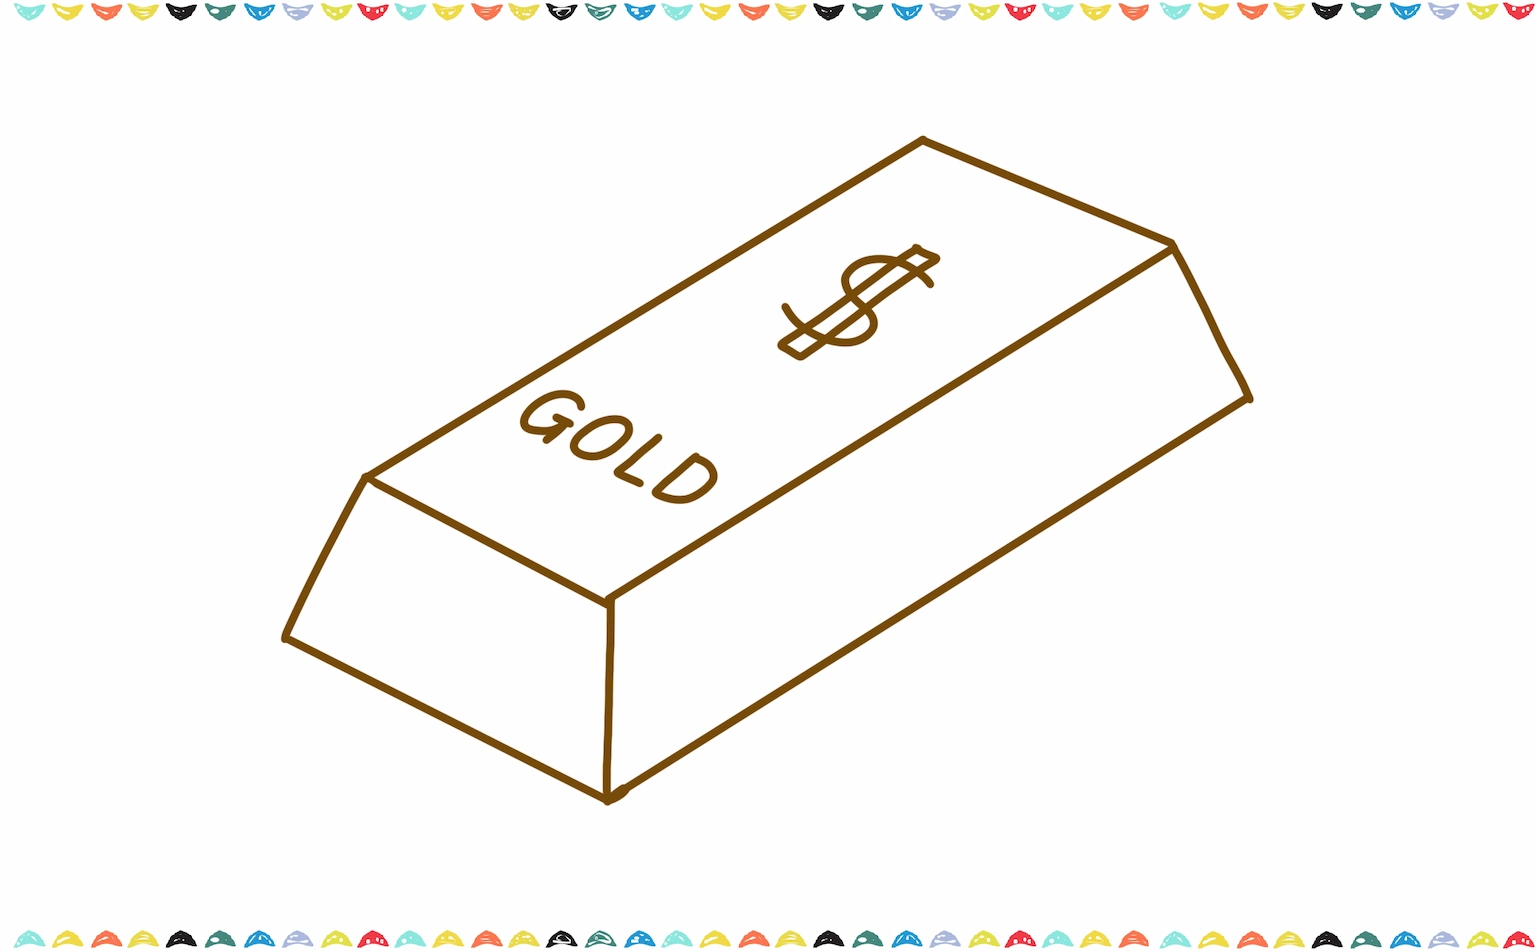
To complete your easy step by step drawing of a gold bar, carefully draw a small symbol right in the center, like a shiny dollar sign or a cool custom mark, to show everyone that this is a valuable piece of pure gold. This little detail is what truly brings your drawing to life and makes it look like it belongs in a secret treasure vault!
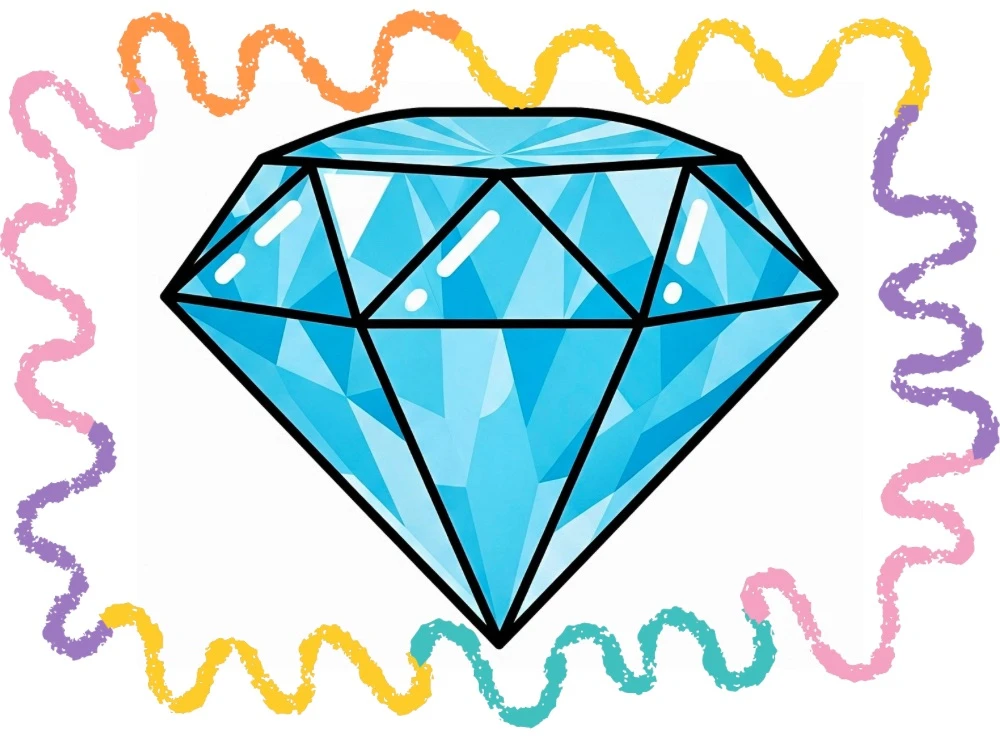
How to Draw a Diamond – Easy Step-by-Step Tutorial
After learning how to draw gold, you may enjoy our step-by-step diamond drawing tutorial with this step-by-step drawing tutorial! A fun and shiny guide made just for kids and beginners!
Step 6: Outline Your Gold Drawing 🖊️⭐
Go over your pencil lines with a black marker or pen 🖊️ Carefully outline the edges, letters, and shapes. Outlining makes your gold drawing easy to see and prepares it for coloring. Erase any extra pencil lines once the ink is dry.
Step 7: Color the Gold Bar Yellow and Orange 🎨💛
Here is the fun, rephrased version for your “How to Draw a Gold Bar” blog post and the specific alt text for your image:
Rephrased Paragraph
Grab your brightest yellow crayon or marker to fill in the main body of your gold bar, making it look like it’s glowing under a spotlight. To make it look even more 3D and realistic, use a light orange or a soft brown on the sides to create cool shadows. This is the secret trick to making your gold bar look heavy and solid like a real piece of pirate treasure! This coloring trick is very important when learning how to draw gold because gold shines but is not too bright.
And that’s it! You now know how to draw gold step by step! If you like drawing gold you may also like our easy drawing tutorials How to Draw a Book or How to Draw a House.
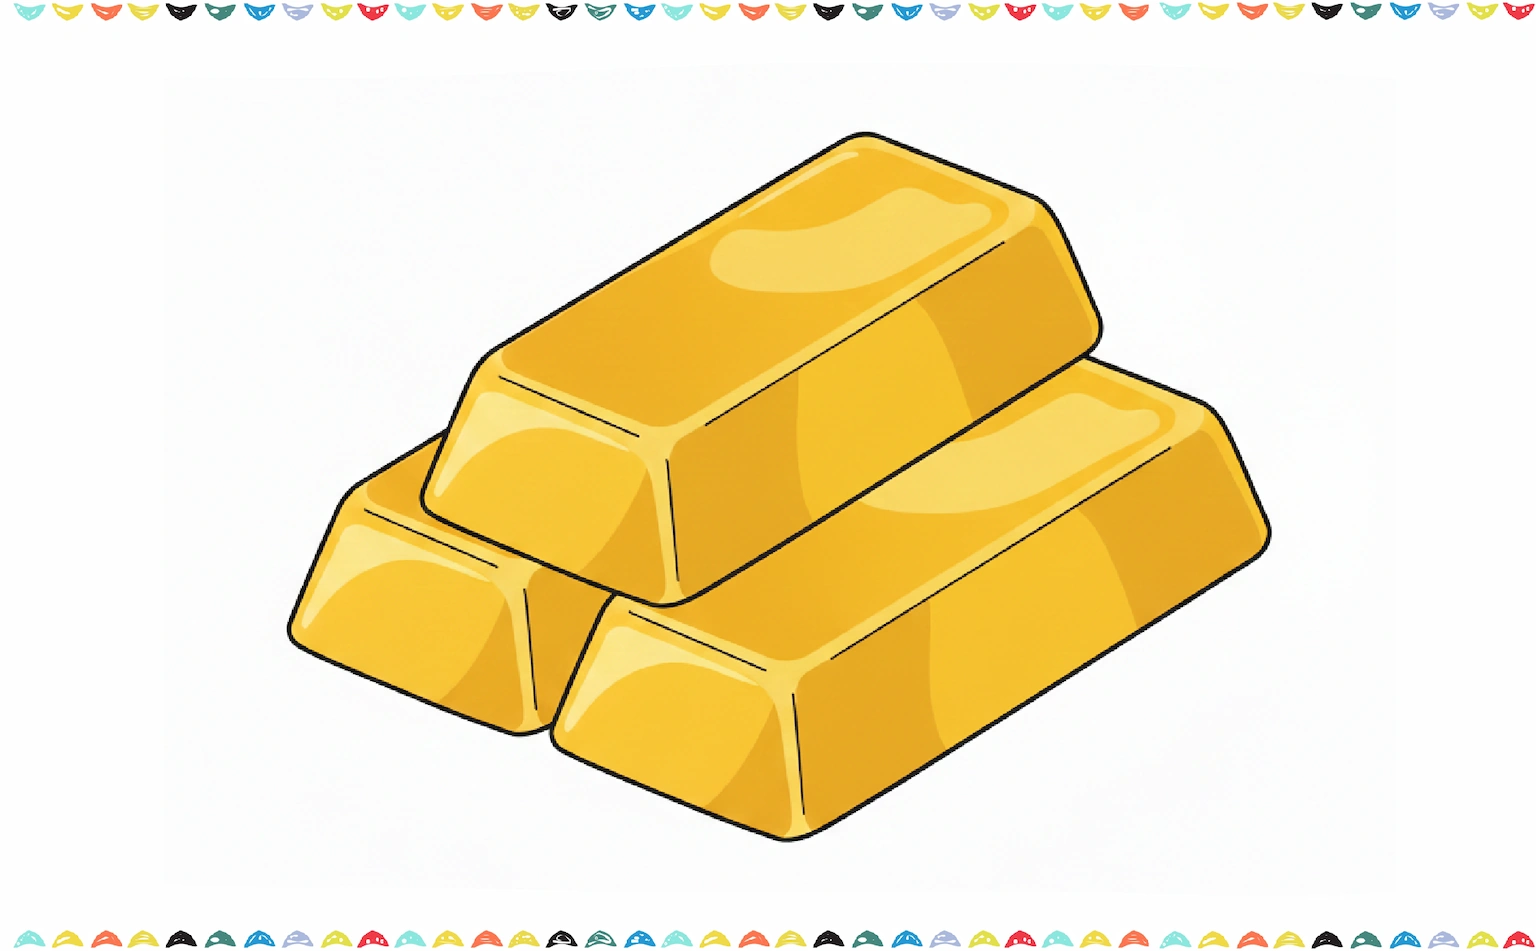
How to Draw Gold Bars Step by Step ✨🎨
This step-by-step guide will show you how to draw gold in a fun and simple way. We will draw stacked gold bars, just like in the picture. Take your time and enjoy each step. Remember, drawing should always feel fun 😊✏️
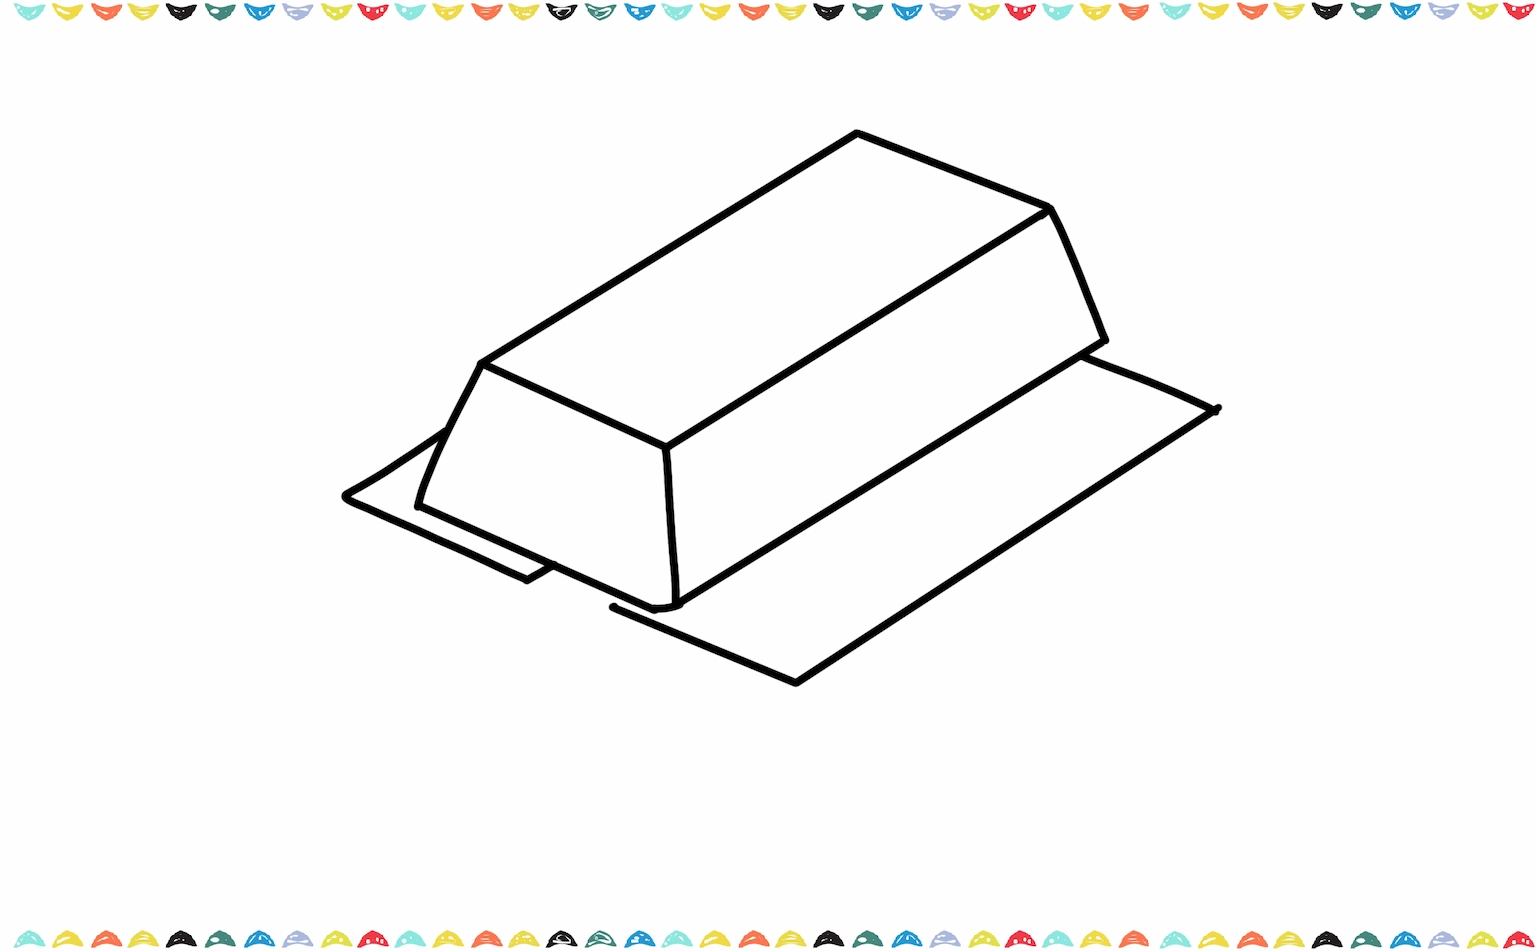
Step 1: Draw the Front Gold Bar Shape 📐✨
Start by drawing a long rectangle with slightly slanted sides 📐 This rectangle will be the front gold bar.
- Do not make the corners too sharp
- Keep the shape soft and rounded
This is the base shape when learning how to draw gold, and it helps your drawing look strong and solid.
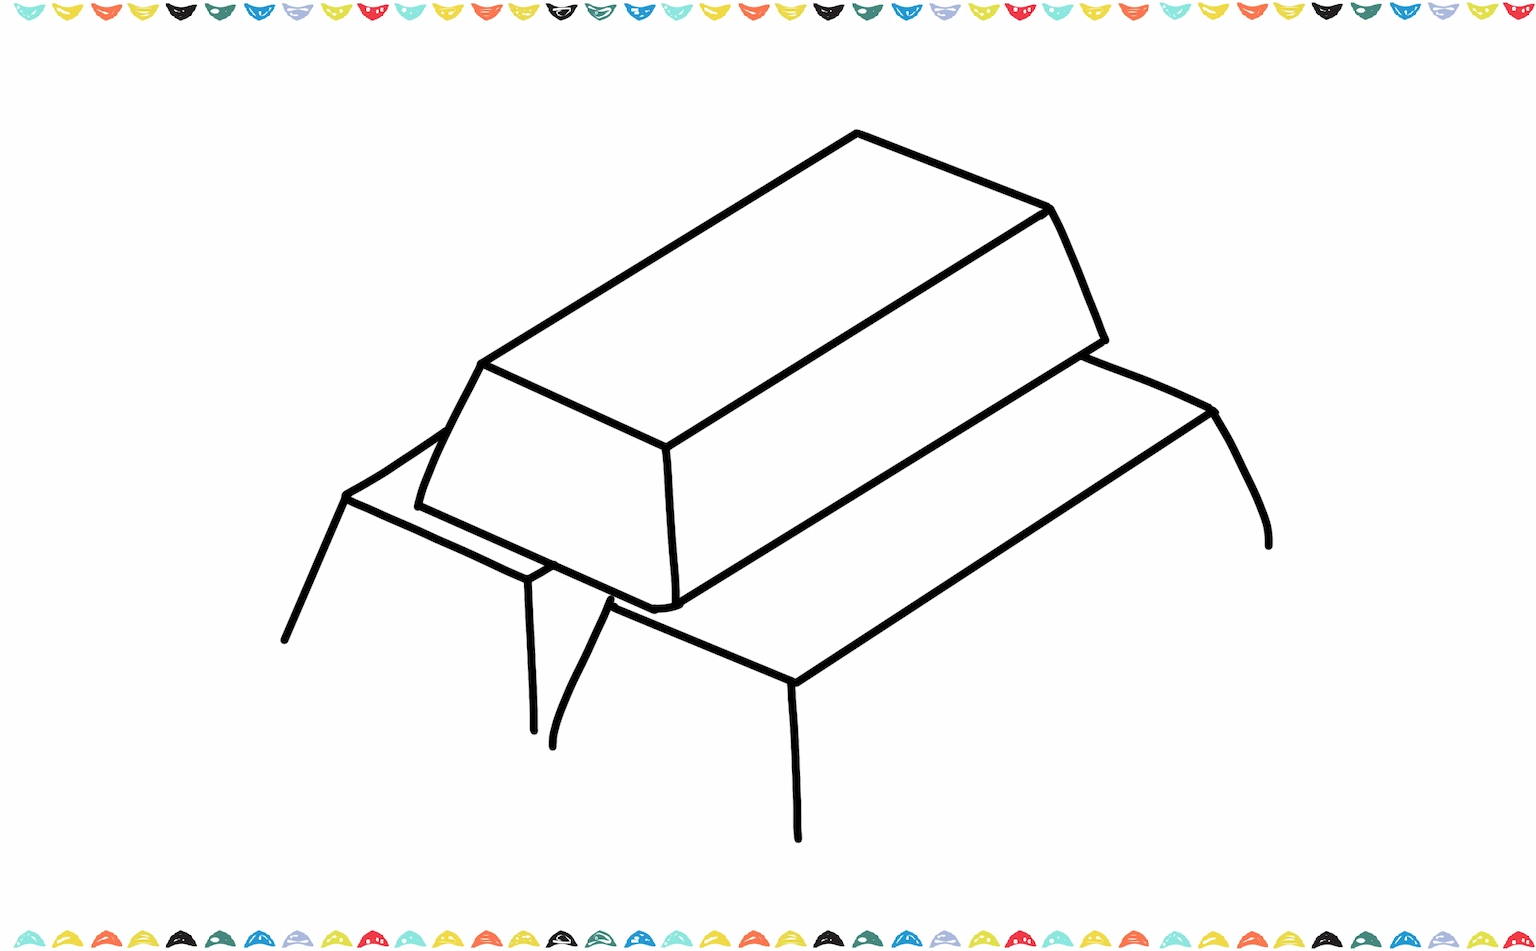
Step 2: Draw the Side Edges of the Front Bar 📏✨
From the corners of the top surface, draw short lines down to the bottom edges 📏 These lines create the side faces of the bar. Now your drawing should clearly look like a bar of gold drawing.
This step is very important for understanding how to draw a gold bar correctly.
Step 3: Add the Bottom of The Gold Bar
Get ready to make your treasure look absolutely amazing as we dive into the next part of how to draw gold bars! Now, we are going to carefully sketch the bottom surface to finish the main body of your drawing.
By adding this extra side, you’ll magically turn your flat shape into a thick, heavy block that looks just like a real piece of shiny, sparkling treasure sitting deep inside a giant bank vault!
Step 4: Draw the Second Gold Bar Behind 🧱✨
Behind the first bar, draw another similar rectangles. This one should be slightly higher and pushed back.
- Make sure part of it is hidden behind the front bar
- This overlap makes the bars look stacked
This is how you turn simple shapes into gold bar drawings.
Step 5: Add the Side Edges for the Other Gold Bars 🔶⭐
Just like before, draw a top surface on the second bar 🔶 Keep the angles the same so both bars match. This step helps your easy gold drawing look neat and balanced.
Step 6: Add the Bottom of The Gold Bars
Gold bars usually have soft edges, not sharp ones 😊 Gently round the corners of each bar. This makes your gold drawing easy and more realistic for kids and beginners.
Step 7: Outline Your Drawing 🖊️✨
Go over all your lines with a black pen or marker 🖊️ Carefully trace the edges of each gold bar. Outlining makes your gold sketch clean and ready for coloring.
- Keep your lines smooth
- Do not rush this step
- Draw small light shapes or lines on the top surfaces.These highlights show where light hits the gold.
Step 10: Color the Gold Bars 🎨💛
Color the bars yellow 💛
Add a little orange or light brown on the sides for shading 🟧
- Use darker color on the sides
- Keep the top lighter
This coloring trick is the secret to making drawing gold look shiny without too much detail.
Great job. You have finished learning how to draw gold using stacked gold bars. You can now
- Draw more gold bars
- Create treasure piles
- Practice gold bar drawing easy styles.
More Drawing Tutorials & Styles 🧩
Below, you’ll find a hand-picked collection of drawing tutorials in different styles, from cute cartoons to more realistic sketches. These extra resources will help you explore new techniques, improve your skills, and find the drawing style you enjoy the most.
Option 1 – How To Draw Gold Step By Step
This guide will have you covered. So sit back and enjoy this luxurious step-by-step guide on how to draw gold in just 6 easy steps!
👉 View full tutorial (external link)
Source: I Heart Crafty Things
Option 2 – How to Draw Gold
First, start off the a simple set of guidelines. This strange looking set of lines will embark your journey on drawing a good looking stack of gold.
👉 View full tutorial (external link)
Source: Dragoart

Option 3 – How to Draw Gold – Really Easy Drawing Tutorial
Begin by drawing two straight, diagonal lines that are roughly parallel to one another. These lines form the top of the gold bar. Drawing …
👉 View full tutorial (external link)
Source: Easy Drawing Guides
Watch a Video Tutorial 🎥
Prefer learning by how to draw watching? Here’s a helpful step-by-step drawing video:
Fun Facts About Gold 🌟
Gold is one of the most interesting metals in the world. Now that you know how to draw gold step by step, let’s explore some fun facts!
- Gold is shiny and yellow 💛
- Gold does not rust or change color
- People have used gold for thousands of years 🏺
- Gold is used to make jewelry like rings and chains 💍
- Gold can be melted and reshaped easily 🔥
Learning these facts makes how to draw gold even more exciting and educational. If you want to learn more about gold, visit Interesting Gold Facts
FAQ – How to Draw Gold ❓
Q1. How do I draw gold easily?
A1. To draw gold easily, use simple 3D shapes, light shading, and yellow tones. This guide shows how to draw gold step by step.
Q2. How to draw a gold bar for kids?
A2. Start with a rectangle, add a top surface, outline, and color. This method works perfectly for kids learning drawing a gold bar.
Q3. How do you make gold look shiny in a drawing?
A3. Use yellow and orange colors with small highlights. Avoid too much shine to keep your drawing gold realistic.
Q4. Is this tutorial good for beginners?
A4. Yes. This guide is designed for beginners learning how to draw gold with easy steps.
Q5. Can I draw other gold objects using these steps?
A5. Yes. You can use the same steps for gold chain drawing, pot of gold drawings, and more.
Q6. What tools do I need to draw gold?
A6. You only need paper, a pencil, an eraser, and crayons or markers.
Conclusion: You Did It, Artist! 🎨
Now you know how to draw gold step by step. By using simple shapes, gentle shading, and bright colors, anyone can create a beautiful gold drawing. The key is practice. The more you practice drawing gold, the better your drawings will become.
Try drawing different gold objects like stacked bars, treasure piles, or even a gold chain drawing. Share your artwork with friends and family, and be proud of what you create. Once you finish one gold bar, try drawing more ✏️ You can stack bars, draw smaller ones, or even try pot of gold drawings using the same method. Practicing different styles helps you master how to draw gold faster.
👉 If you loved this gold drawing tutorial, don’t stop here! Explore more of our tutorials like How to Draw a Peony, How to Draw a Hibiscus or How to Draw a Rose to complete your flower art collection.
👉 For artists who love magical characters, our step-by-step tutorial on How to Draw Stitch, How to Draw Angel and How to Draw Lilo are another fun projects to try next. 🌟
Looking for creative inspiration? Check out our Pinterest page for some magical ideas!
Keep drawing and having fun with it, just like playing your favorite game every day! The more you draw, the better you’ll get, and you might even discover new ways to draw that you never knew before. Check out our blog post about Drawing Ideas for Beginners – 100 Easy and Fun Things to Draw for more inspiration about drawing.
Share Your Drawing With Us! 💯🎁
We’d love to see your amazing artwork! When you finish your drawing, send us a picture of it. Whether it’s your first try or your masterpiece, we’re excited to cheer you on. Your creativity could even be featured on our site – so grab your crayons and show us what you’ve made! 🎉🖍️
Looking for more step-by-step drawing tutorials? Visit the A-Z Drawing Tutorials Index to browse all lessons, organized alphabetically.