Introduction
Do you want to learn how to draw Lightning McQueen from Disney Pixar’s Cars movie? 🚗 You’re in the right place! In this fun, kid-friendly tutorial, we’ll show you step by step how to make your very own Lightning McQueen drawing. Whether you’re a young fan of the movie or just starting out with drawing cars, this tutorial is designed to make the process simple, cheerful, and exciting.
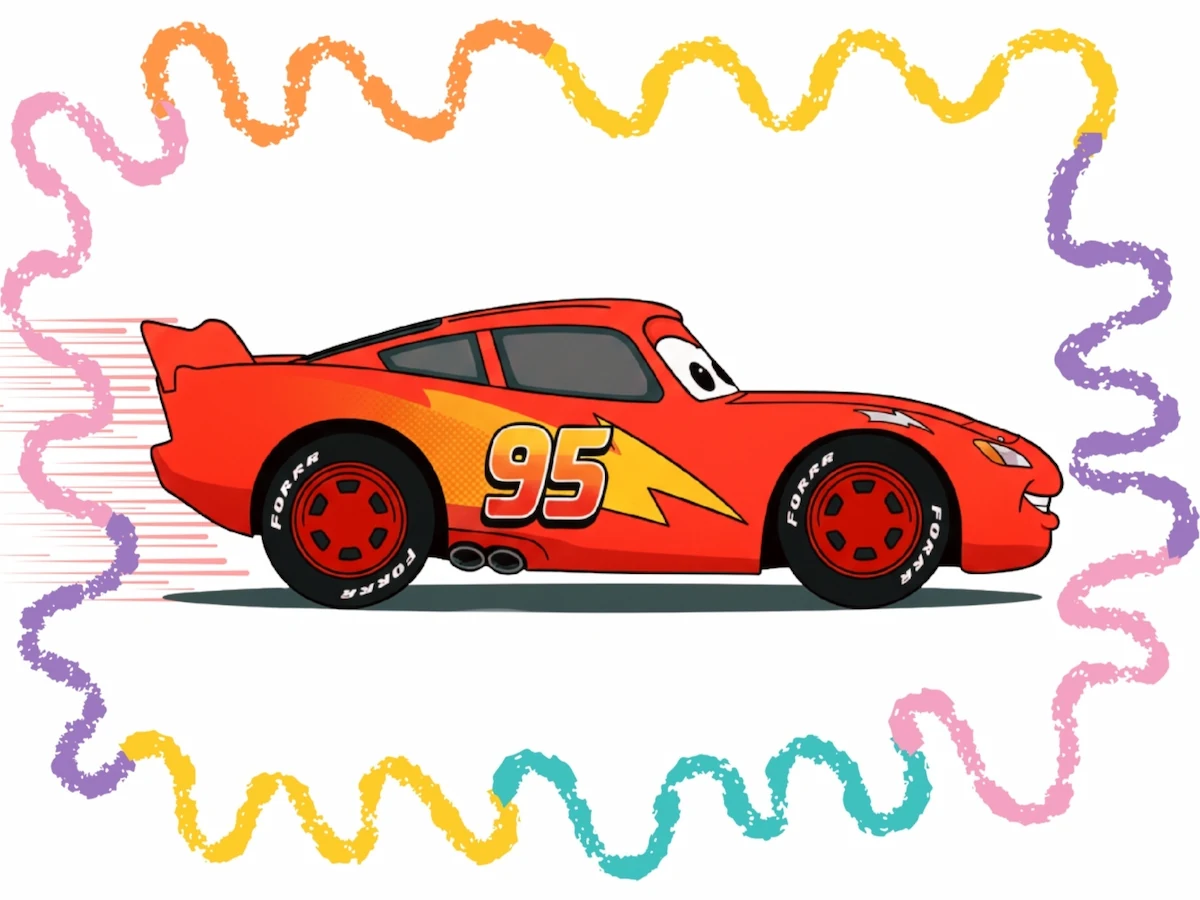
In this guide, you’ll discover how to use basic shapes like rectangles, circles, and curves to build Lightning’s cool racing car body. We’ll add details like his big eyes, smiling mouth, racing number 95, and the famous lightning bolt on the side. Along the way, we’ll answer common questions like “how do you draw Lightning McQueen?”, “how to draw Lightning McQueen from Cars?”, and tips to make your sketch look amazing.
By the end, you’ll have a colorful, finished Cars Lightning McQueen drawing that looks just like the movie star himself! 🎉 Don’t worry if you’re a beginner, this is an easy Lightning McQueen drawing tutorial with fun emojis at every step to keep things light and joyful.
So grab your pencil, paper, eraser, and some crayons or markers, and let’s zoom ahead to learn how to draw Lightning McQueen step by step!
Table of Contents
Get ready to be a drawing champion! With our simple tips, you’ll feel like a true artist in no time. You’ll learn all the secrets of how to draw Lightning McQueen, so you can create your very own magical masterpiece that’s ready to race off the page!
🎨 Materials Needed
Before we start our step-by-step drawing, let’s make sure you have everything you need! You don’t need anything fancy, just a few basic tools to bring your drawing to life:
✅ Paper or Sketchbook – A blank page for your drawing. 📄
✅ Pencils (HB or 2B) – Light pencils help with outlining the drawing. ✏️
✅ Eraser – To fix mistakes while sketching. 🔄
✅ Black Marker or Fine Liner – For outlining and defining clearly. ✍️
✅ Colored Pencils – To color your drawing.
Now, let’s learn how to draw Lightning McQueen step by step…
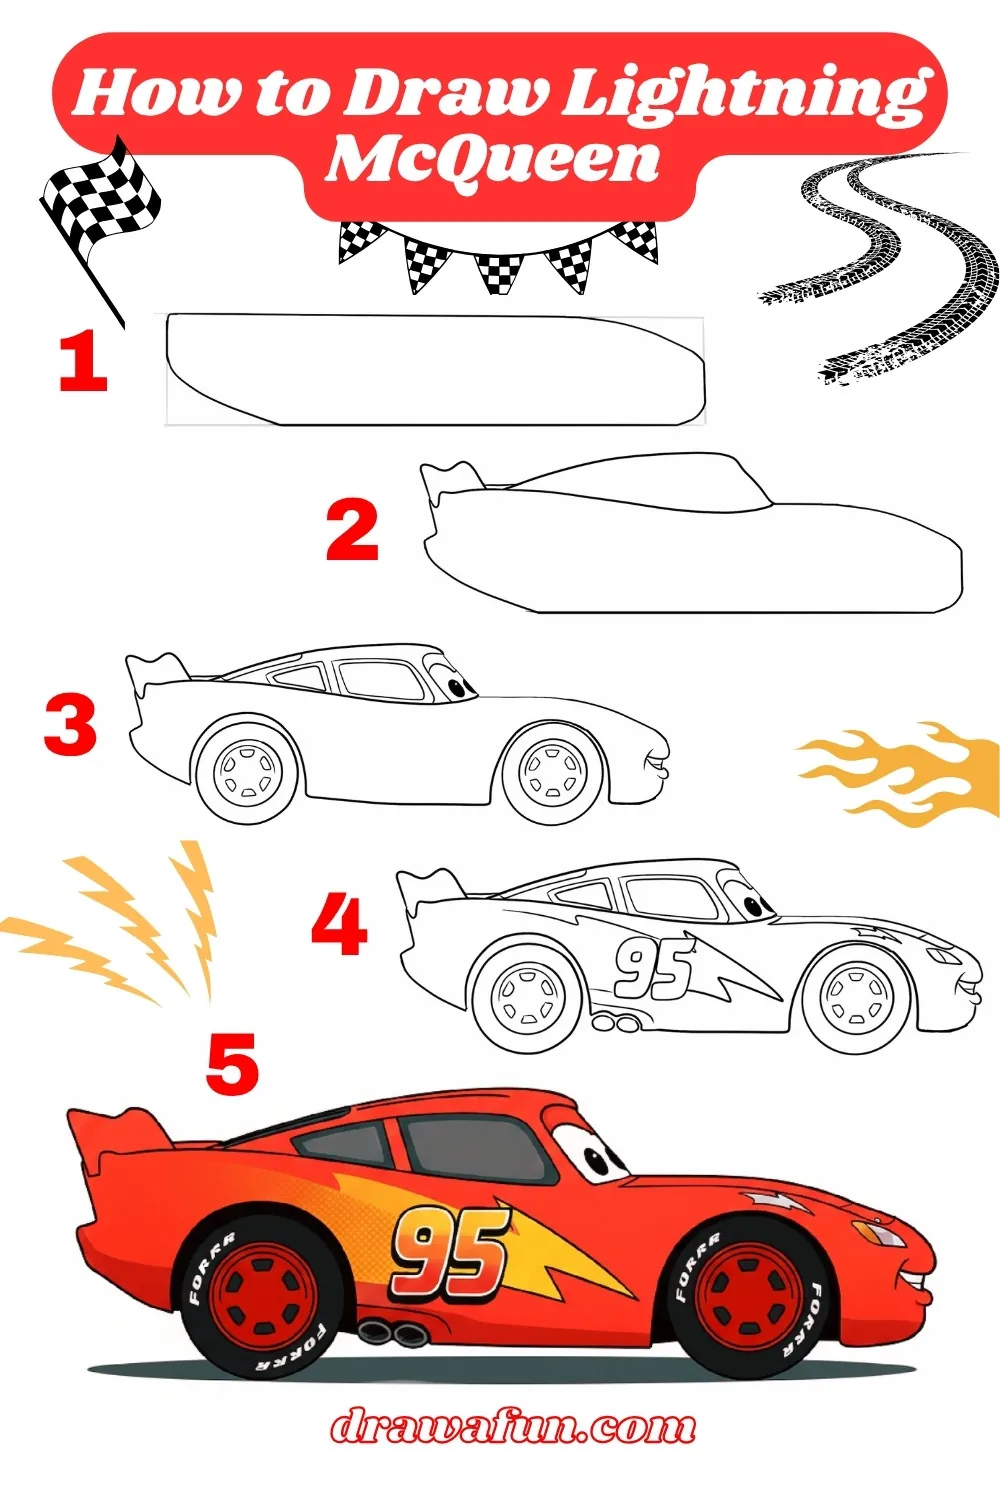
How to Draw Lightning McQueen Step by Step ✏️
Hey, racers! Are you ready to draw the fastest car on four wheels? You’ve come to the right place! We’ve created a super fun, easy-to-follow guide just for you. Let’s get started on this exciting step-by-step drawing tutorial to learn how to draw Lightning McQueen so you can bring this awesome character to life on your page!
Step 1: Draw the Car’s Base Shape 🚗⬜
Ready to zoom into action? Let’s kick off our drawing of Lightning McQueen! Imagine the coolest, fastest racecar you’ve ever seen, and let’s get that main body started. You’ll want to draw a nice, long rectangle shape right in the middle of your page, this big, simple shape is the very foundation of our awesome racing hero, so make it bold and fun!
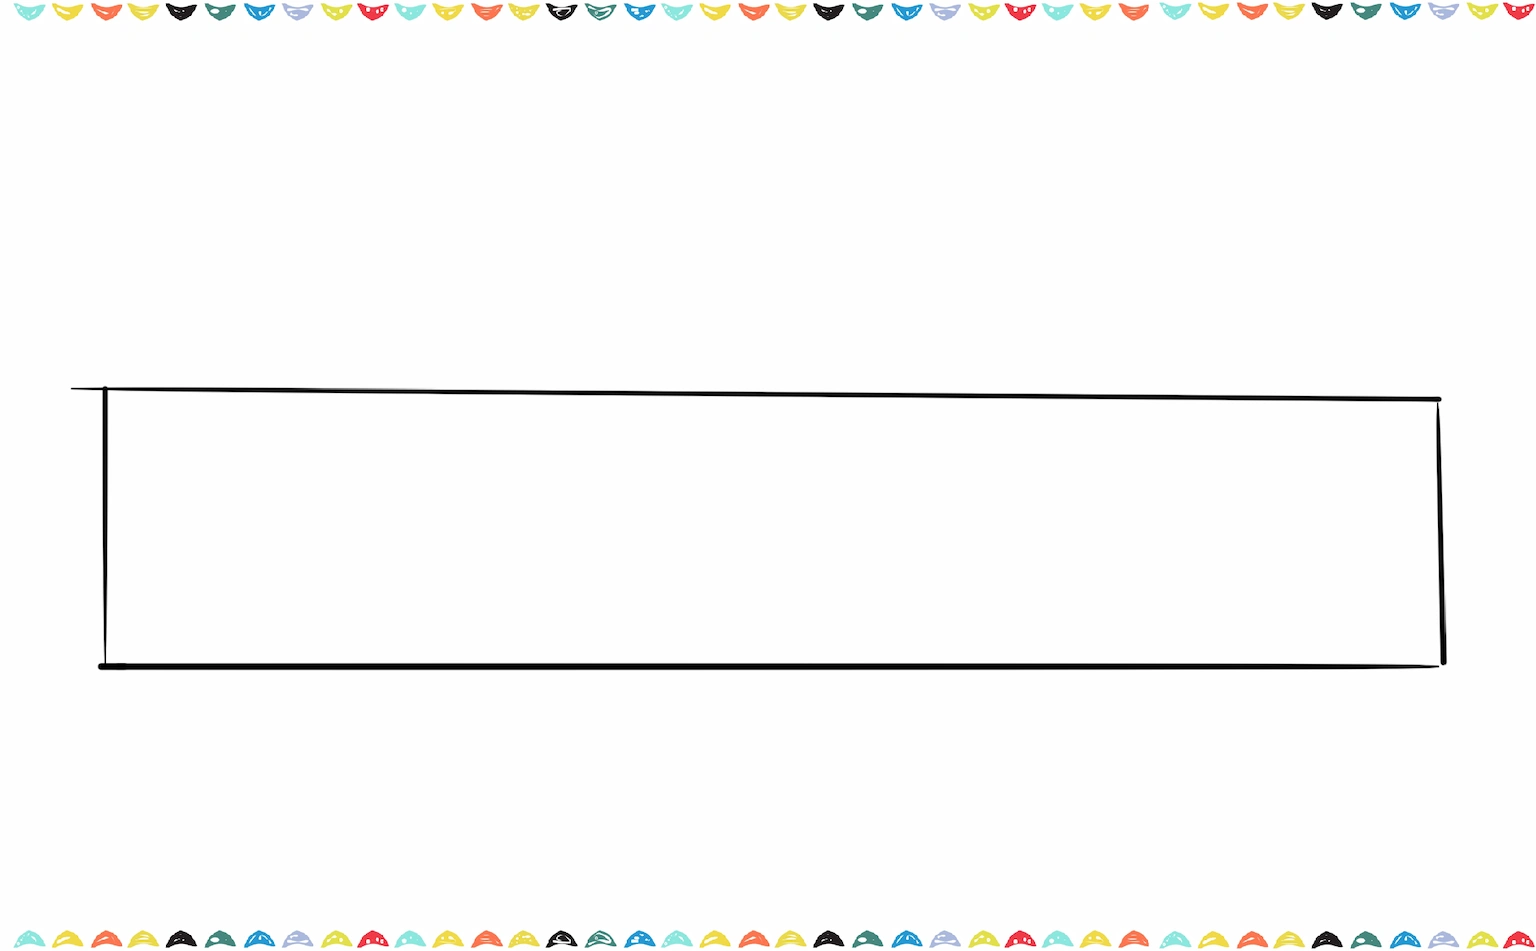
Instead of sharp, pointy corners, let’s give them a little hug and round off the corners slightly to make your rectangle look super sleek and speedy! Imagine your pencil is making smooth, gentle curves, because this long, friendly box is about to transform into the coolest, fastest racecar around: Lightning McQueen!
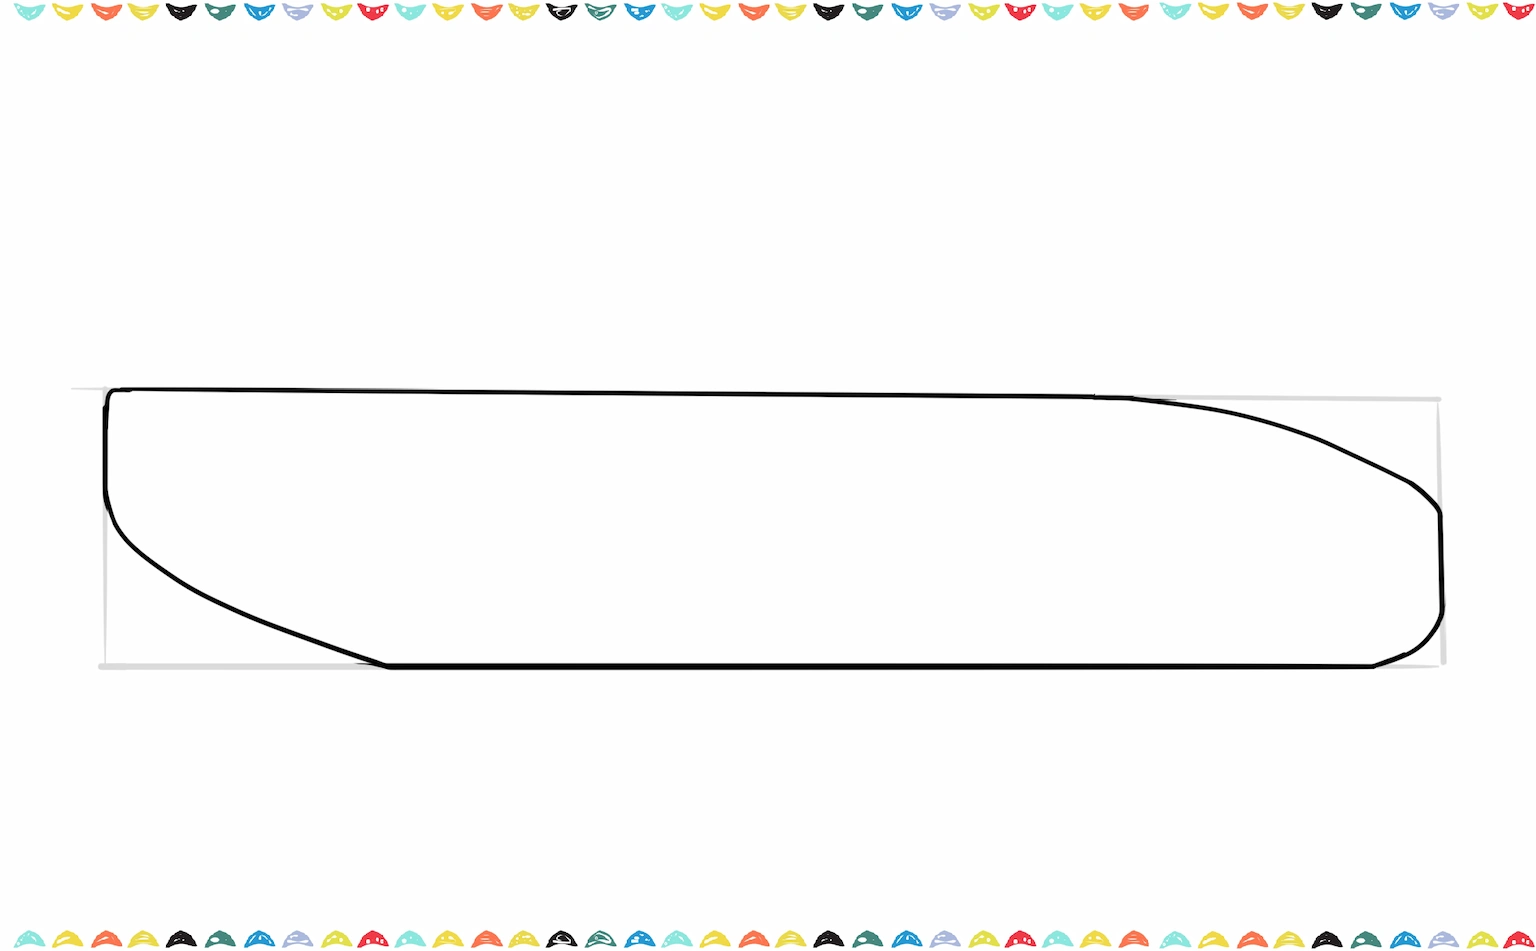
👉 Drawing Tip: When you’re first learning how to draw Lightning McQueen, grab your pencil and draw with a light touch. This way, if you make a little mistake, it’s super easy to erase and fix your shapes without leaving any messy marks behind.
Step 2: Shape the Car’s Hood and Roof 🏎️🔲
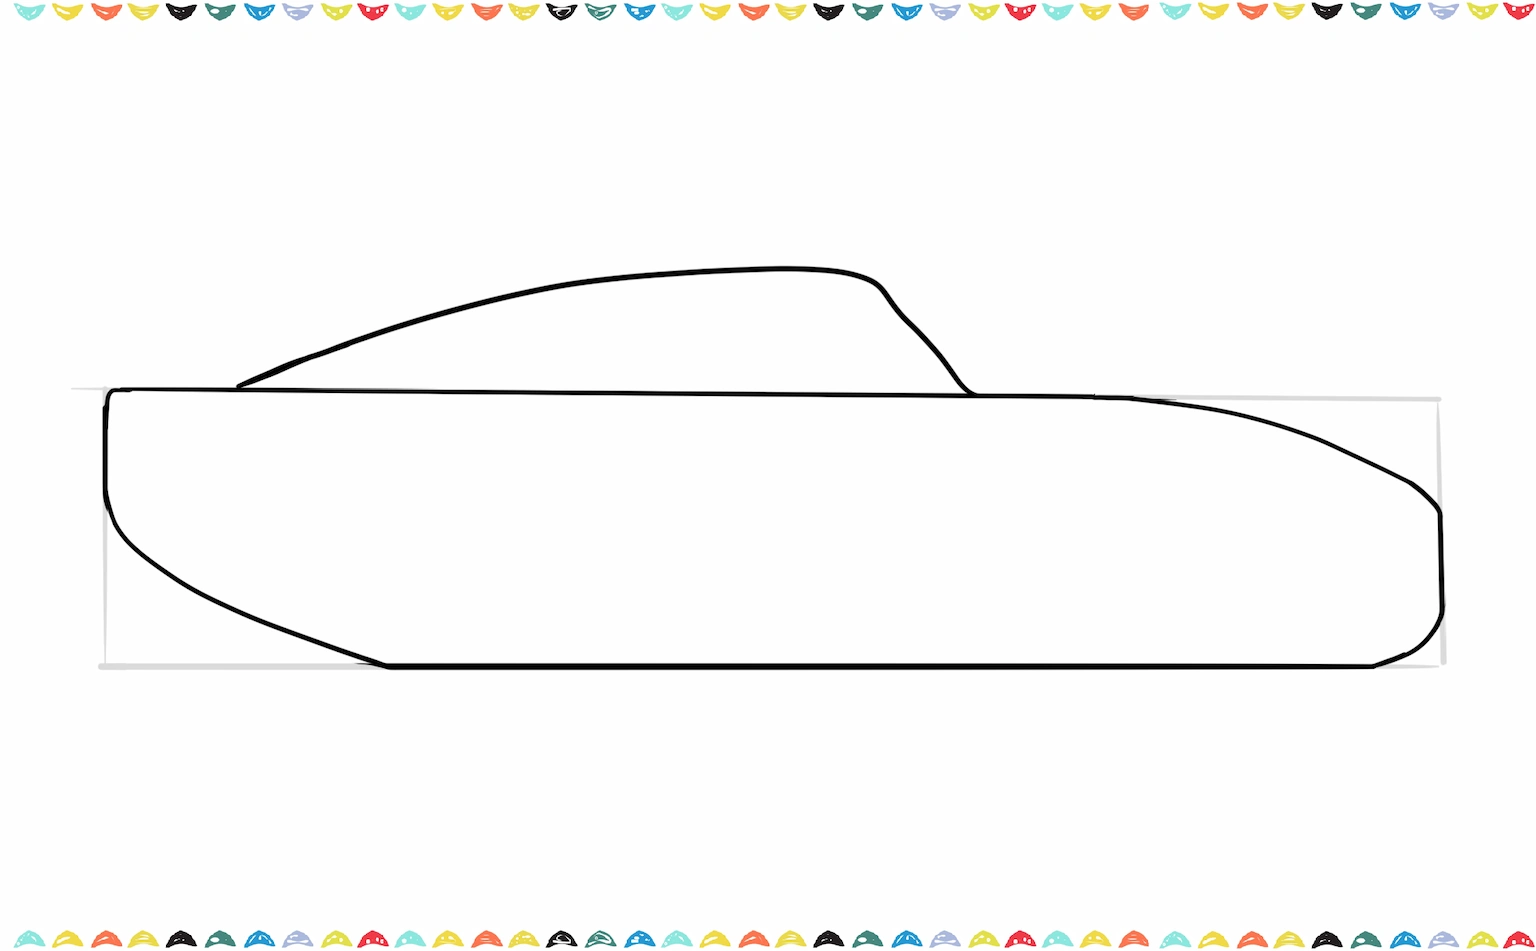
Now let’s shape the sleek front of Lightning McQueen drawing. We’re going to give our speedy friend a roof, so take your pencil and draw a smooth, gentle curved line right across the top of the rectangle shape. Remember, Lightning McQueen is a race car superstar with a super sporty design, so make sure that roof is nice and rounded, we want it looking fast, not like a boring old cardboard box!
Step 3: Draw the Back of the Car 🚗⬅️
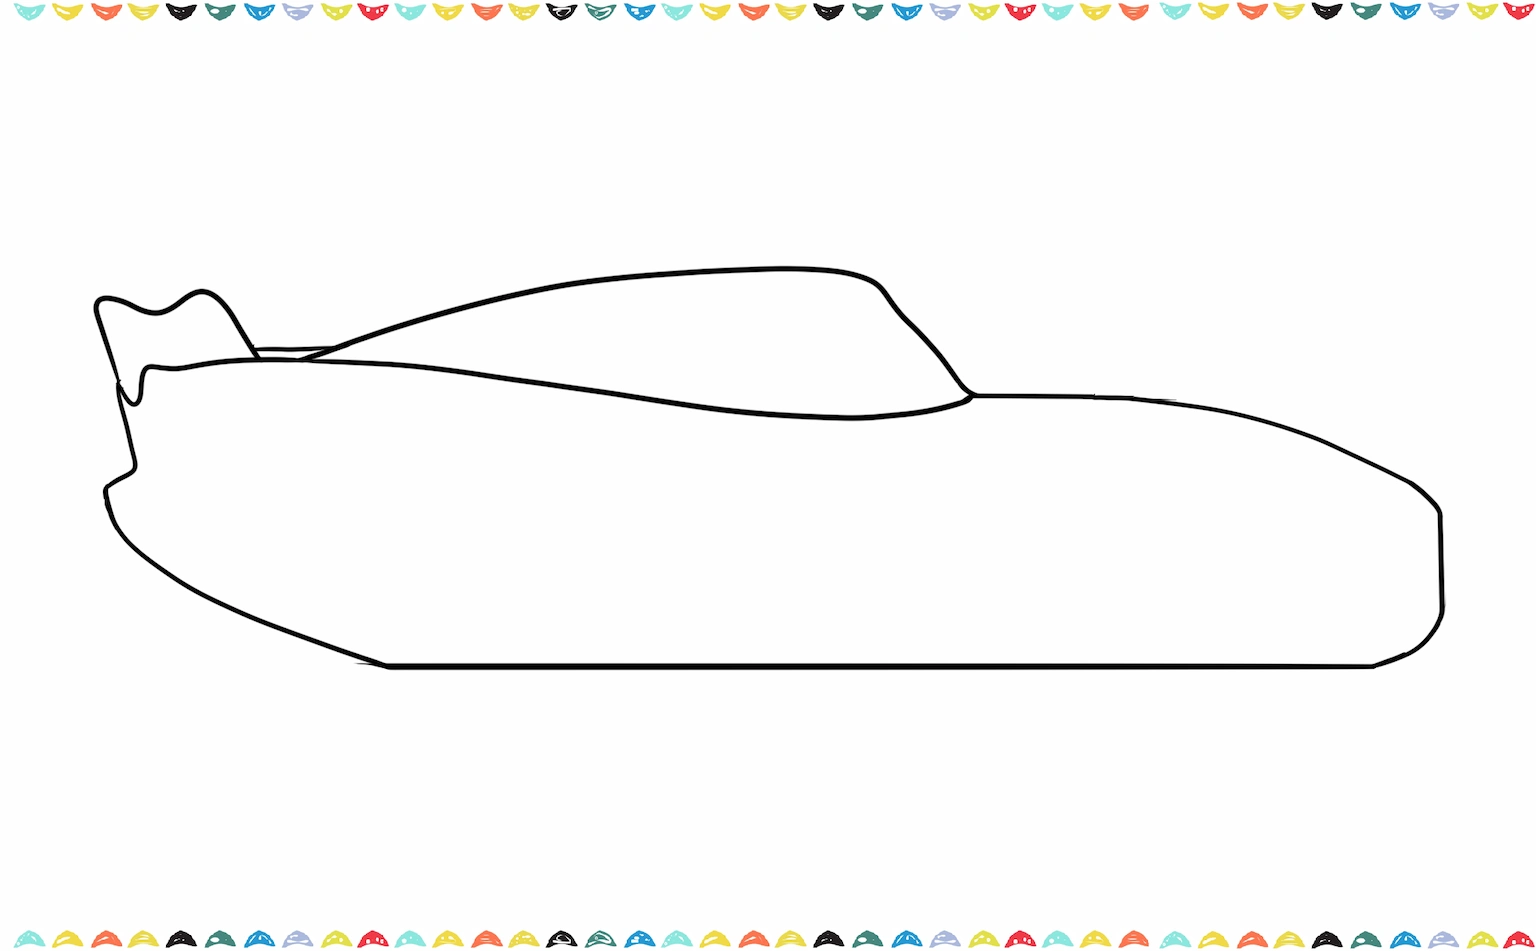
Now for one of the coolest parts when learning how to draw Lightning McQueen, the spoiler! Think of it as his awesome little back wing. It’s not just for looks; this iconic back fin actually helps him hug the racetrack! Gently add that small spoiler sticking out at the rear. To finish off the back end, gently curve that line you’re drawing smoothly downwards, tucking it right into the trunk to give him that perfect, aerodynamic shape. You’re doing an amazing job, so keep those wheels rolling!”
After learning how to draw Lightning McQueen, check out our fun guide on How to Draw a T-Rex for more fun drawing activity.
Step 4: Add the Wheels
Now for the wheels! Let’s give our racer some power on the road, following our guide on Lightning McQueen drawing tutorial! Gently draw two big, beautiful rainbow shapes, semicircles, on the bottom side of the Lightning McQueen’s body.
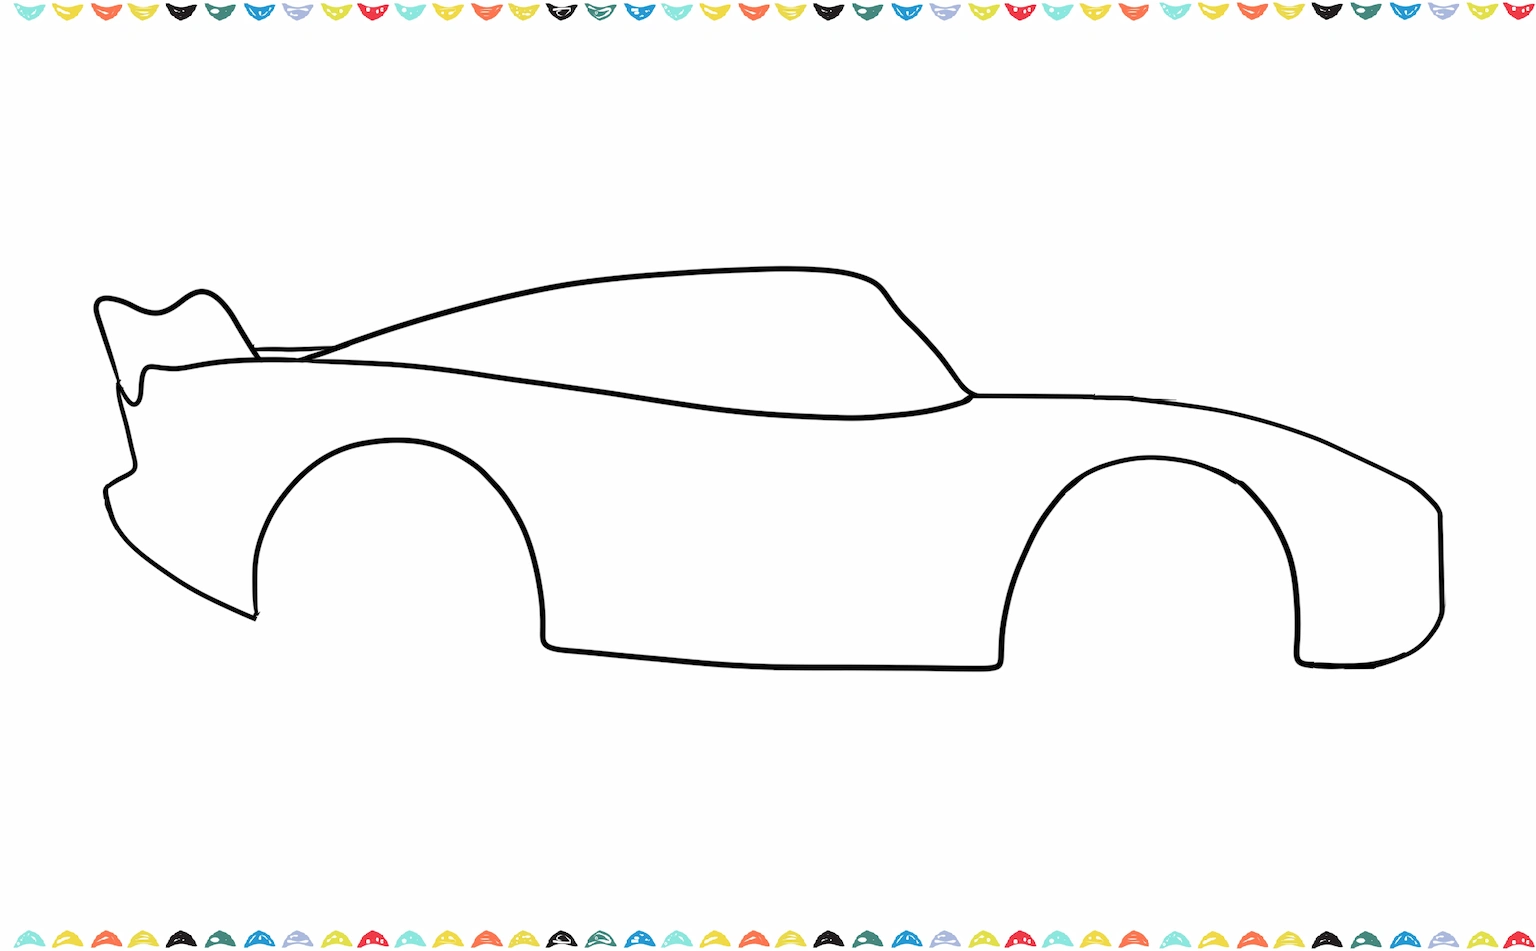
Then, draw two big, perfect circles right at the bottom of the car, one close to the front bumper and one near the back. These are his big, super-fast tires! To make them look extra cool, carefully draw a smaller, perfect circle inside each of those big circles to create the shiny rims! You’re doing a fantastic job, Ka-Chow!
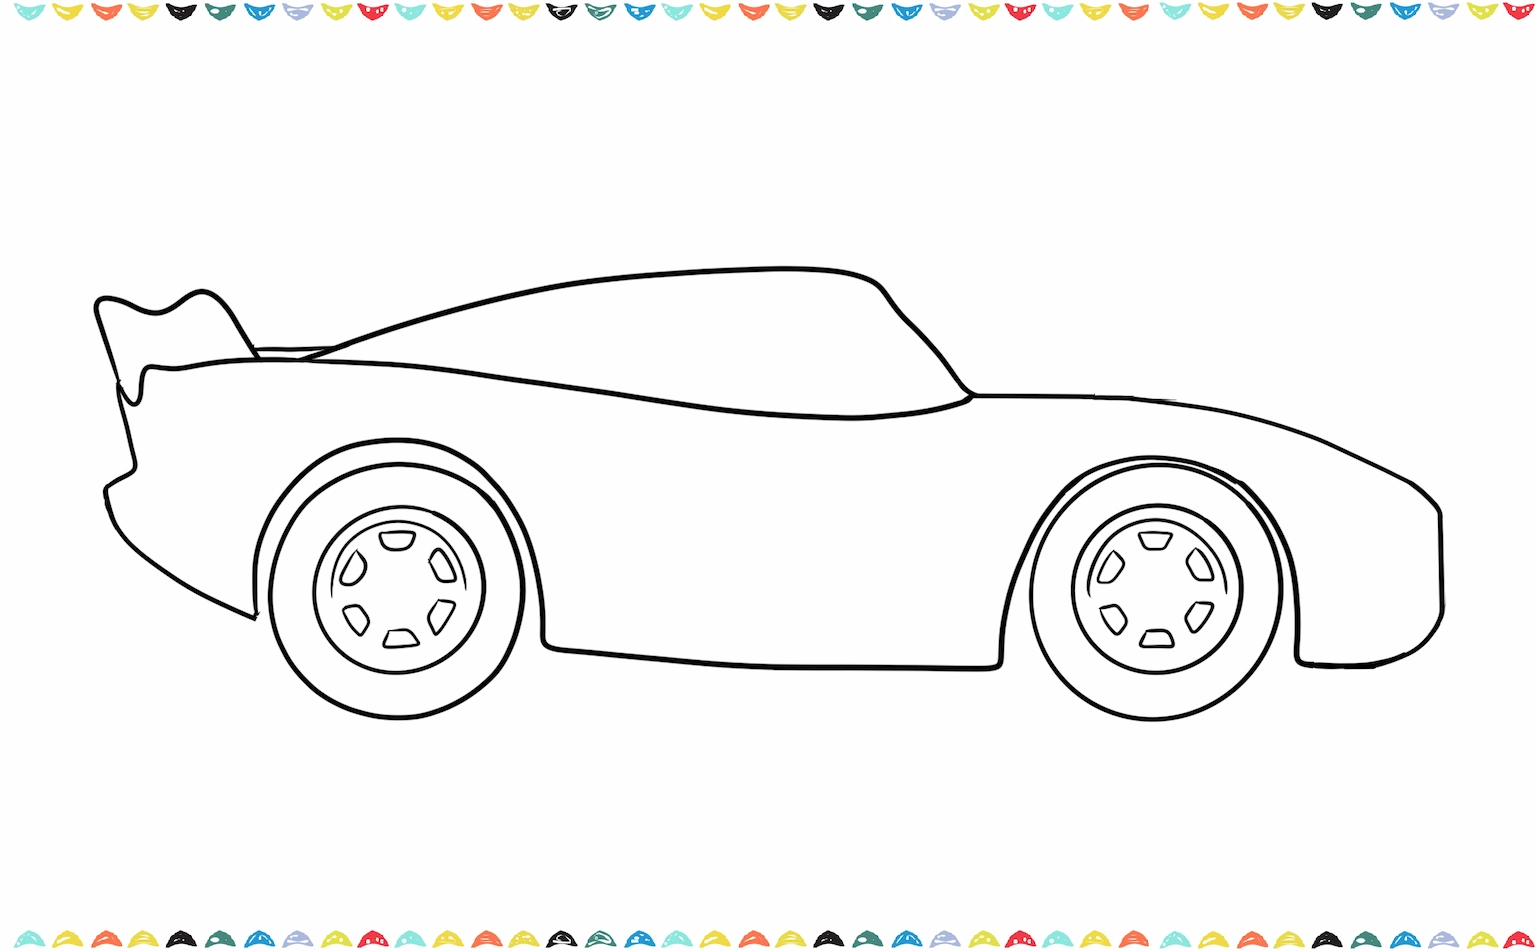
👉 Tip: Use a coin or round object to trace perfect circles if needed!
Step 5: Draw the Windows
Now let’s tackle the windows! Right inside that awesome red body you drew for our friend Lightning McQueen, sketch a long, skinny rectangle, this will be the outline for the side window. How to draw Lightning McQueen tıtorial is all about getting those important details right! Next, imagine you’re drawing a happy face: we need to split that rectangle! The bigger part in the front is the windshield, which is where we’ll soon pop in Lightning’s big, enthusiastic eyes! The back, smaller section stays as the cool side window. Keep going, you’re doing a fantastic job!
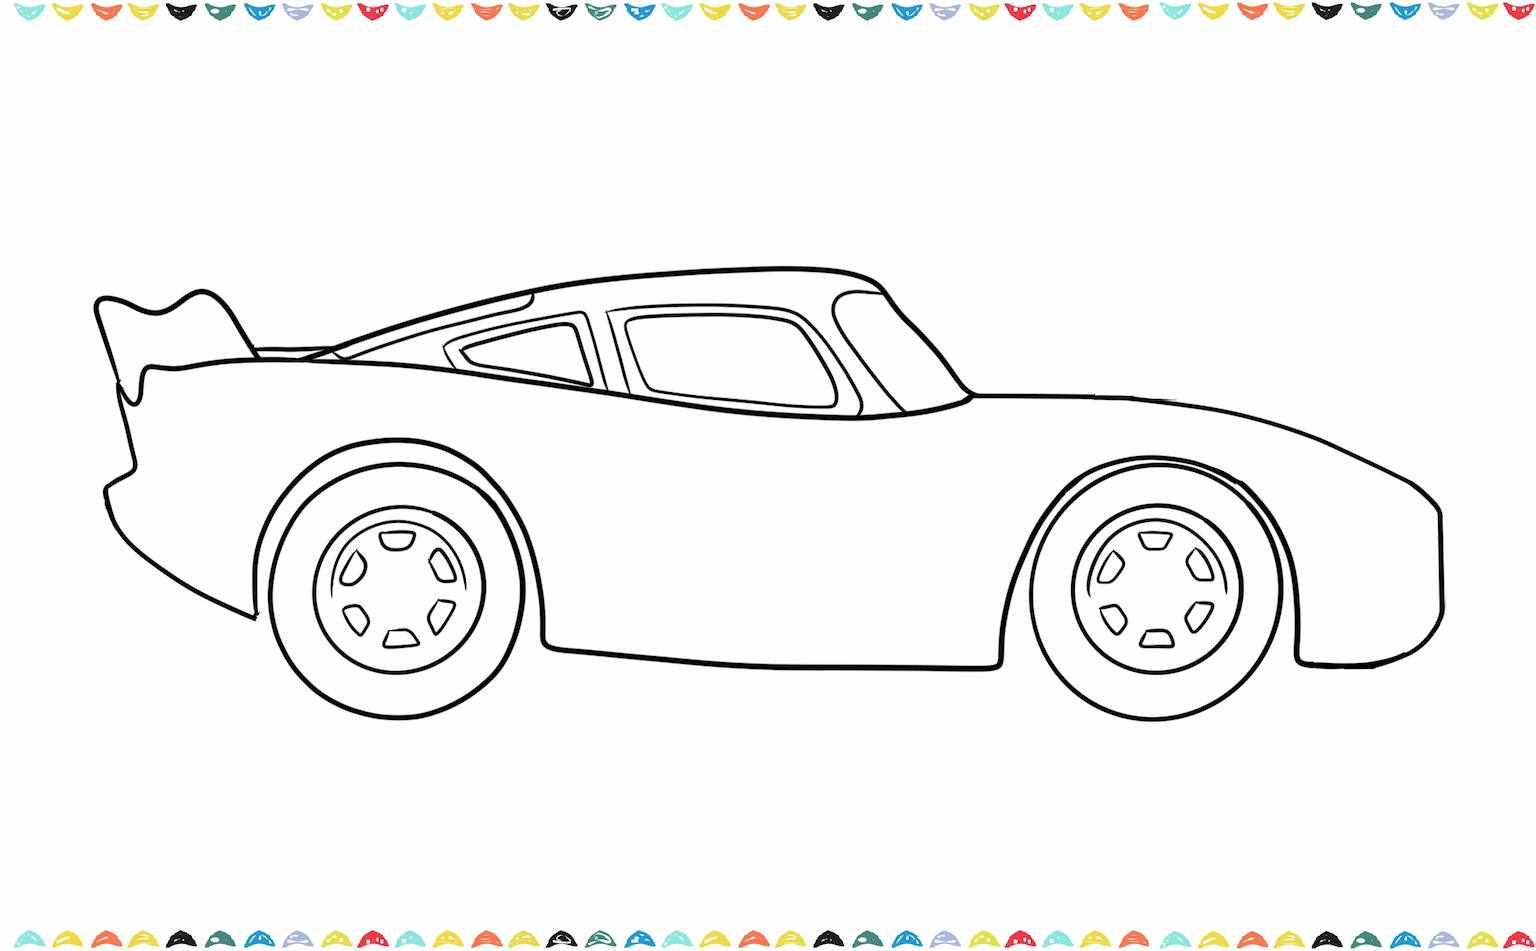
Step 6: Add Lightning’s Eyes and Mouth 👀
Now for the most important part that makes him Lightning McQueen! He’s not like other cars you see driving around, his big, friendly eyes are right on his windshield! Let’s make sure they are super bright and full of energy: draw two big, cheerful ovals for his eyes and pop a smaller black circle (that’s the pupil) inside each one. Give those eyes a happy sparkle, you’re bringing the fastest, friendliest racecar to life!
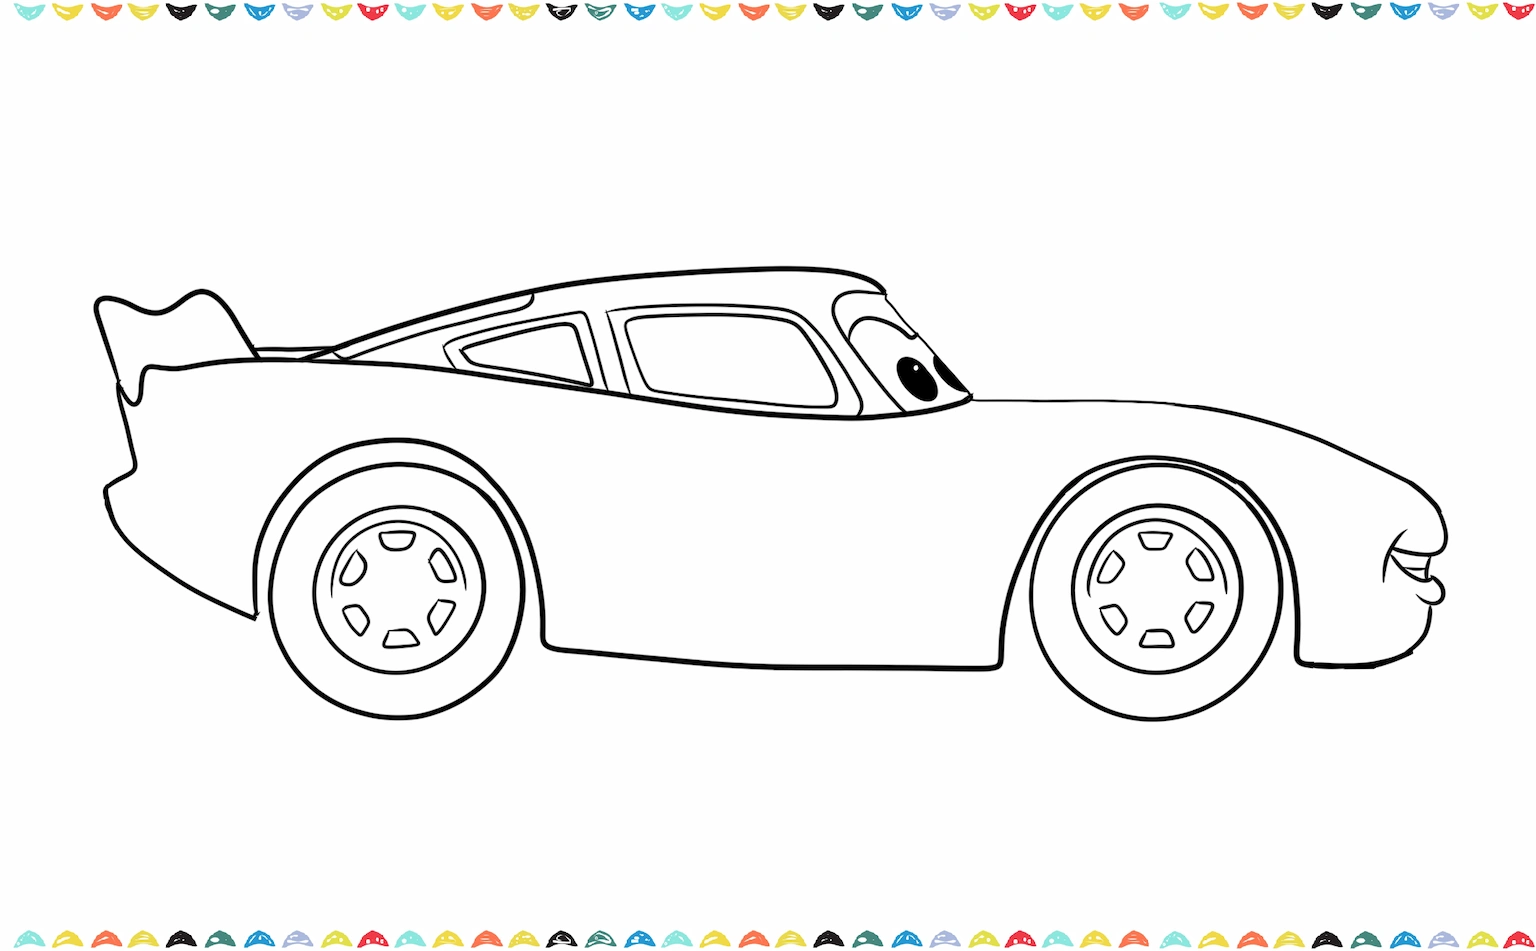
Then draw a small curved line at the front lower part of the car for Lightning’s smiling mouth. Add another line beneath it to give him a lip. This step gives him his fun personality.
Want more practice with simple shapes after how to draw Lightning McQueen? Learn How to Draw a Cake step by step.
Step 7: Add More Details to Lightning McQueen Drawing
We’re going to give our awesome racer some super cool details, like his flashy, bright headlights that help him zoom through the night and those tough-looking exhaust pipes sticking out the side. These little touches are what really make your Lightning McQueen drawing look like he’s ready to race to victory!”
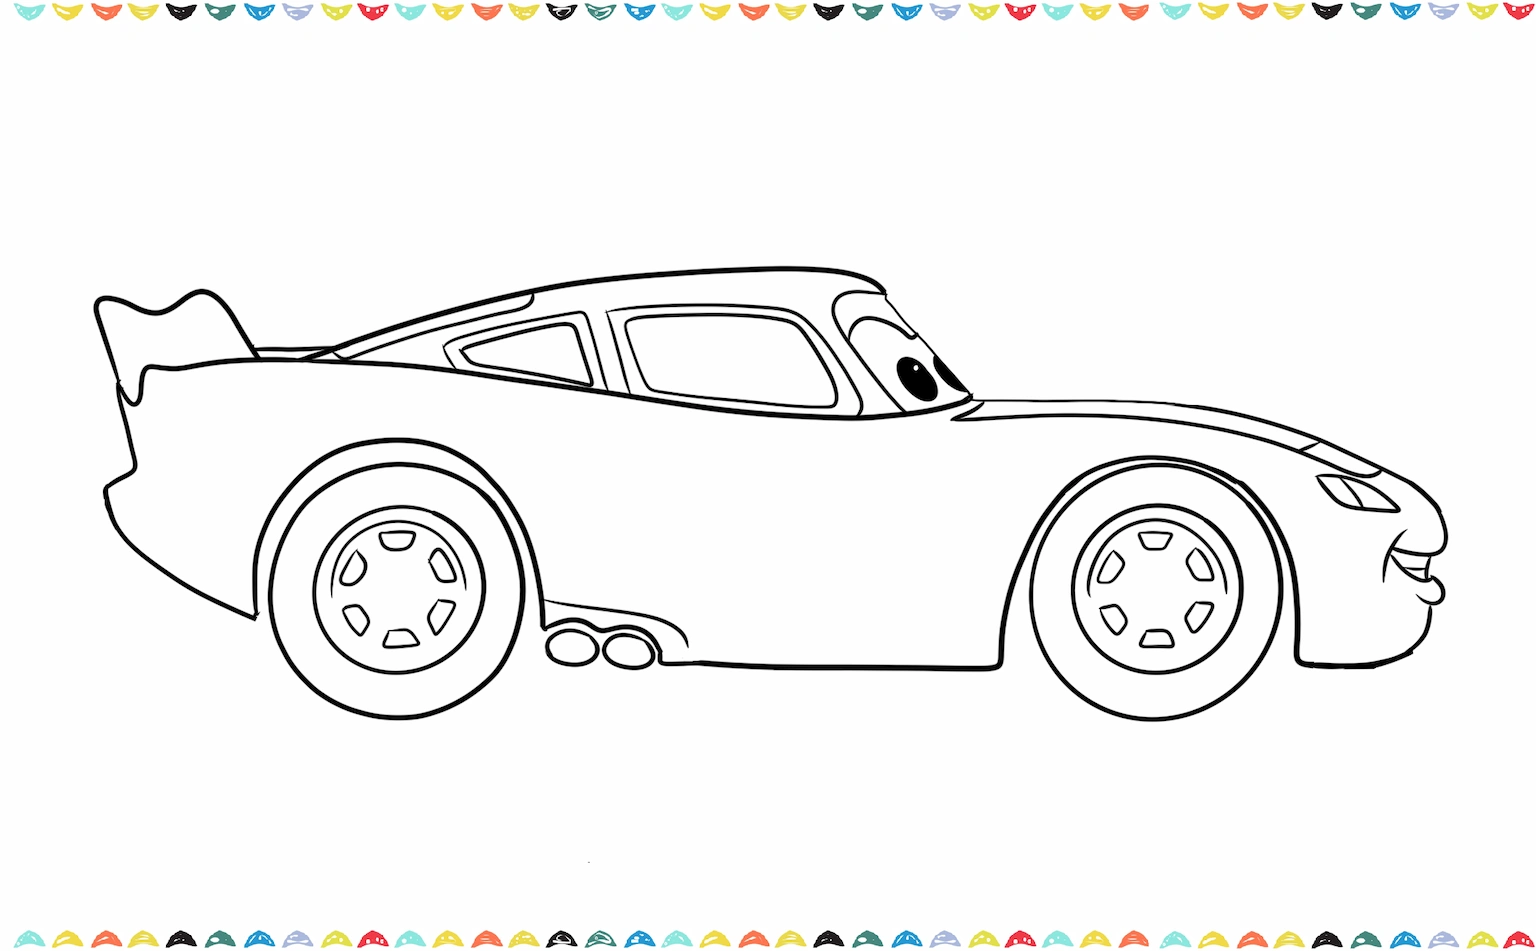
Step 7: Add the Lightning Bolt and Add the Number 95 ⚡🔥
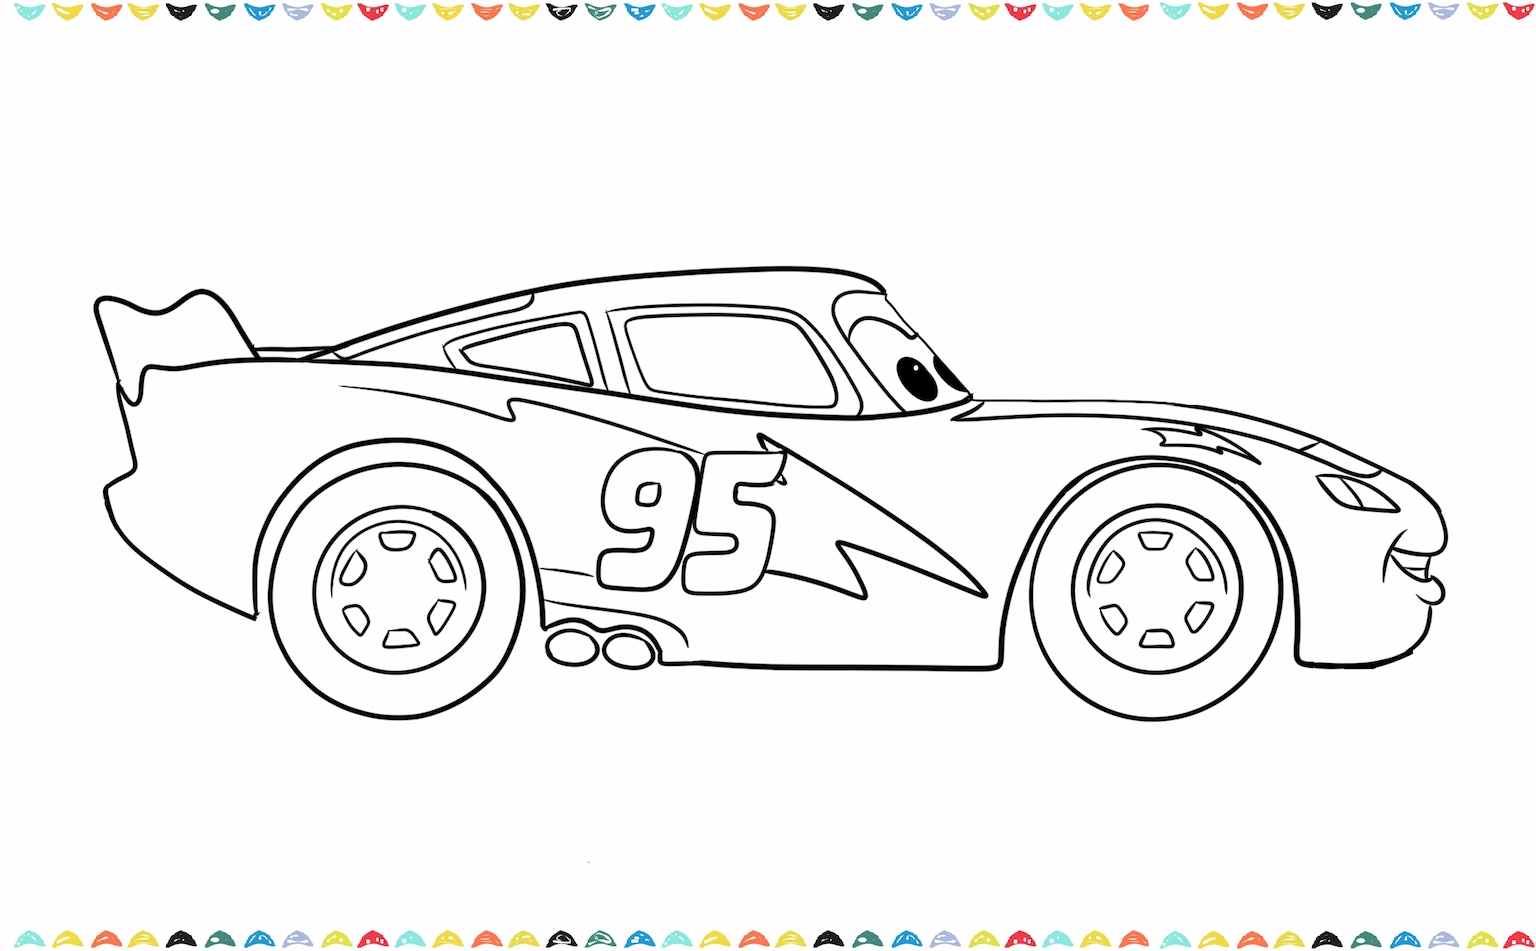
Now for the coolest part of how to draw Lightning McQueen, his awesome paint job! On the side of the car, draw a lightning bolt shape stretching across the door. Start with a zigzag line and then make it thicker. This is Lightning’s signature look! Right on the lightning bolt, write the number 95. Make it bold and tilted slightly to match the movie style. This is one of the most important parts of your McQueen car drawing.
Step 10: Refine the Car’s Shape
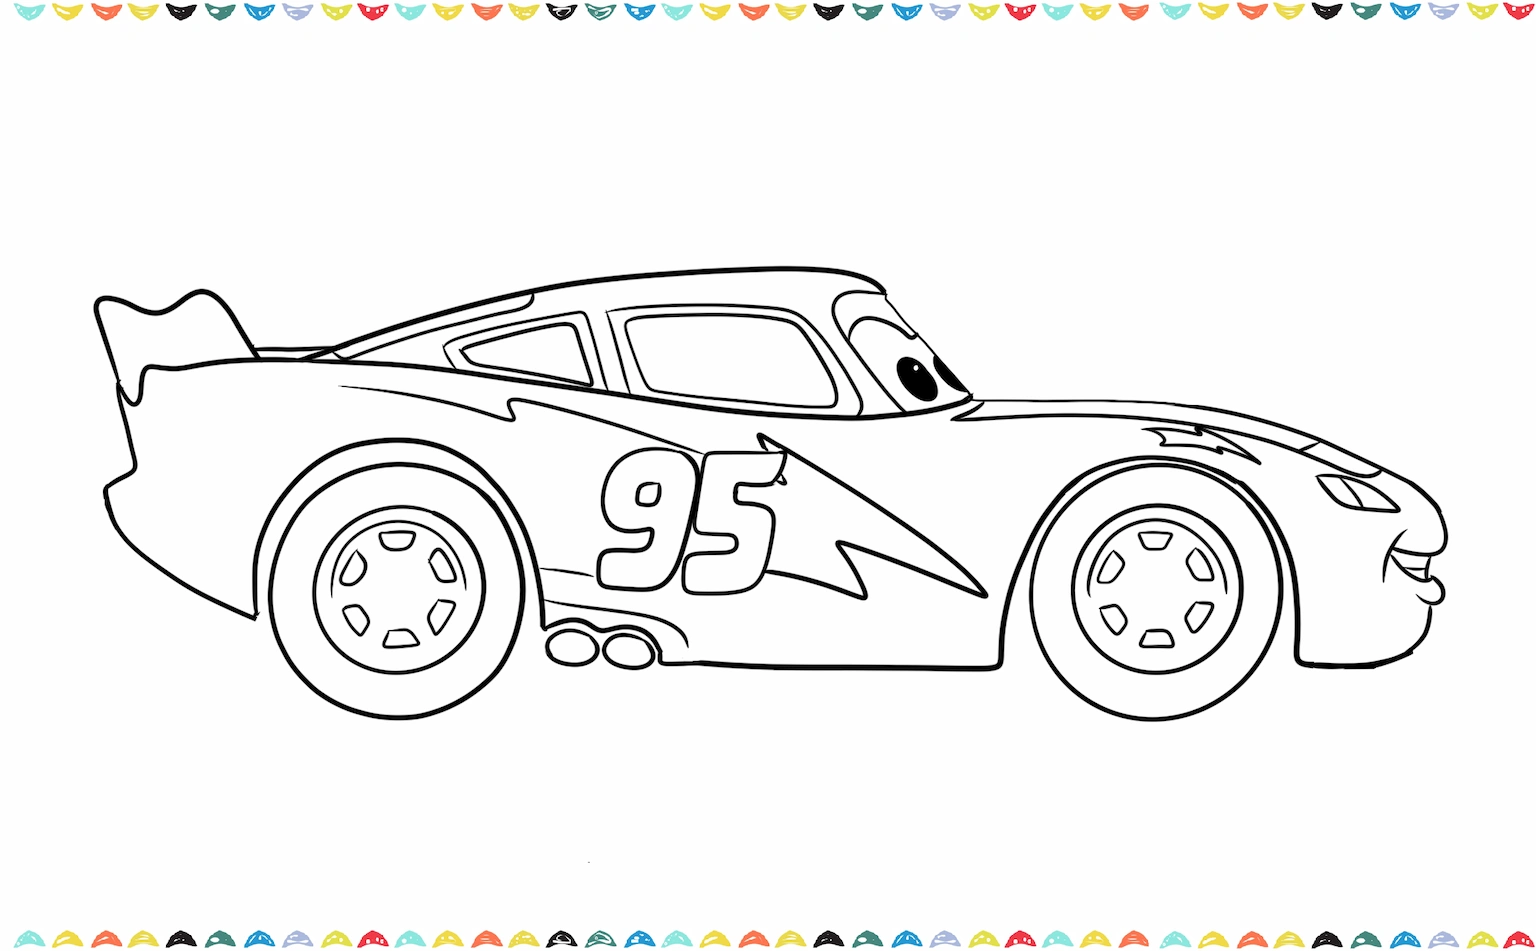
Time to take your pencils and give how to draw Lightning McQueen that final, awesome touch! Carefully trace over the body lines one more time, making sure those big, beautiful curves on the hood, roof, and trunk are super smooth and ready to race, it’s like giving him a high-five for a great drawing job! Now, grab that eraser and gently clean up any of the extra pencil marks or guidelines.
Step 12: Color Your Lightning McQueen 🎨❤️⚡
Vroom, Vroom! It’s time for the most exciting part of how to draw Lightning McQueen, bringing him to life with color! Get your brightest red crayons or markers ready and completely fill in his speedy body! Then, grab some electric yellow and orange to make his iconic lightning bolt graphics pop right off the page, and use your crisp white to give him those big, friendly eyes.
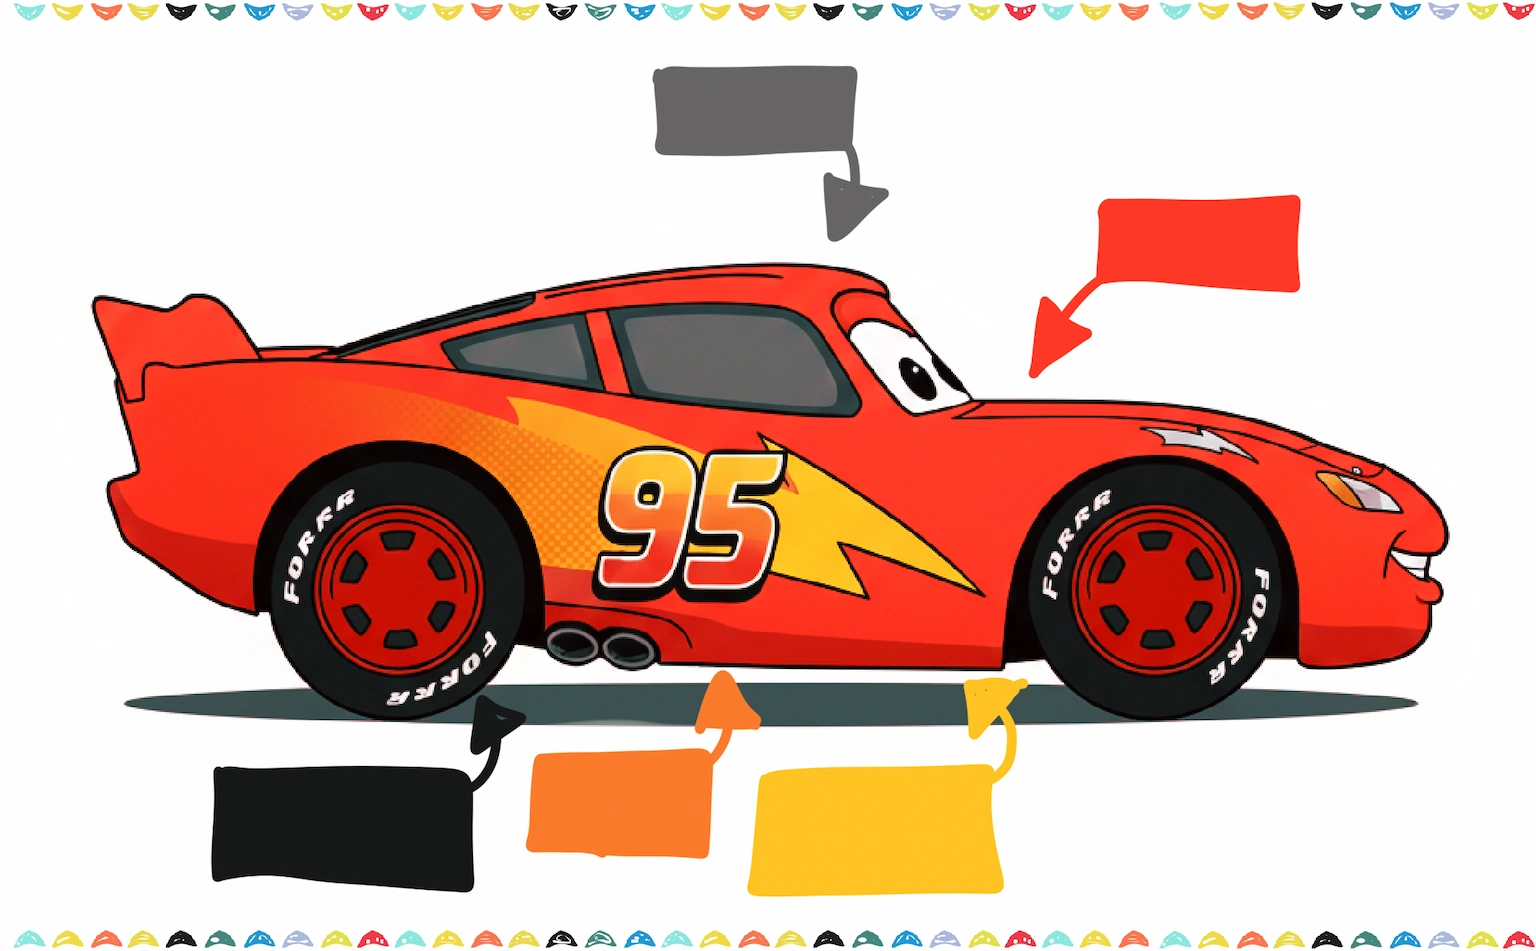
Don’t forget to fill his wheels with a nice dark black and use gray for his shiny windows, and most importantly, make sure his big, cheerful smile is colored in bright white, that’s the finish line touch that truly makes him the one and only Lightning McQueen!

Woohoo! Congratulations! You just finished learning how to draw Lightning McQueen step by step, and your drawing looks absolutely amazing! We’re so proud of you. If you had a blast with this tutorial, the drawing adventures don’t have to stop here! You might also love our other easy, step-by-step drawing guides about How to Draw a Fire Truck or How to Draw a Basketball.
Fun Facts About Lightning McQueen 🌟
Now that you know how to draw Lightning McQueen, let’s explore some fun facts! Here are some cool facts to enjoy as you finish your masterpiece:
- Lightning McQueen is named after Pixar animator Glenn McQueen. 🏆
- His racing number, 95, celebrates the release year of Pixar’s first movie, Toy Story (1995). 🌎
- In Cars, Lightning McQueen starts as a rookie racer but learns about friendship and teamwork.
- His top speed in the movie is 200 mph! ⚡
- The shape of Lightning McQueen is inspired by NASCAR cars.
This step-by-step guide is the perfect way to learn how to draw Lightning McQueen, whether you’re a beginner or an experienced artist. Want to learn more? click for Lightning McQueen Facts
FAQ – How to Draw Lightning McQueen ❓
Q1. What colors should I use for Lightning McQueen?
A1. Main body: bright red
Lightning bolt: yellow with orange shading
Wheels: black with silver hubcaps
Eyes: white with blue or green pupils
Q2. How to make my Lightning McQueen drawing look realistic?
A2. Add shading under the car, reflections on the windows, and gradients on the paint to give it a 3D effect.
Q3. Can I make a cartoon-style Lightning McQueen?
A3. Yes! You can exaggerate the features, make the eyes bigger, or give him an extra big smile.
Q4. How to draw Lightning McQueen for beginners?
A4. To draw Lightning McQueen, start with a simple car-shaped outline, add wheel arches, draw the wheels, sketch the windshield with his big eyes, then add a smile and racing details like the number 95. Finally, color him bright red with yellow lightning bolts.
Q5. What materials do I need to draw Lightning McQueen?
A5. You’ll need a pencil, eraser, fine-tip black pen or marker for outlining, coloring tools (colored pencils, crayons, or markers), and paper. Optional: a ruler for straight lines.
🎨 Conclusion: You Did It, Artist!
Now you know exactly how to draw Lightning McQueen step by step! With just a few shapes and details, you’ve created your very own drawing of McQueen. From the bold number 95 to the iconic lightning bolt, you’ve captured the spirit of Pixar’s famous racecar.
The more you practice, the better your Lightning McQueen sketch will look. Try making different poses, like a racing stance or a smiling close-up. You can also experiment with drawing other Cars characters after this, like Mater or Sally. Drawing is all about having fun and expressing creativity. So keep practicing, keep experimenting, and don’t forget to share your Cars McQueen drawing with friends and family. They’ll be amazed by your artistic skills! 🎨
👉 If you enjoyed learning how to draw Lightning McQueen, don’t stop here! Ready for another drawing adventure to complete your art collection. Visit How to Draw Sonic, How to Draw a Person or How to Draw a Soccer Ball. Collect them all, and turn your favorites into one amazing, shared scene!
👉 For artists who love animal drawings, our step-by-step tutorials on How to Draw a Penguin, How to Draw a Hippo or How to Draw a Tiger are another fun projects to try next. 🌟
Looking for creative inspiration? Check out our Pinterest page for some magical ideas!
Keep drawing and having fun with it, just like playing your favorite game every day! The more you draw, the better you’ll get, and you might even discover new ways to draw that you never knew before. Check out our blog post about Drawing Ideas for Beginners – 100 Easy and Fun Things to Draw for more inspiration about drawing.
Share Your Drawing With Us! 💯🎁
We’d love to see your amazing artwork! When you finish your drawing, send us a picture of it. Whether it’s your first try or your masterpiece, we’re excited to cheer you on. Your creativity could even be featured on our site – so grab your crayons and show us what you’ve made! 🎉🖍️
Looking for more step-by-step drawing tutorials? Visit the A-Z Drawing Tutorials Index to browse all lessons, organized alphabetically.