Introduction
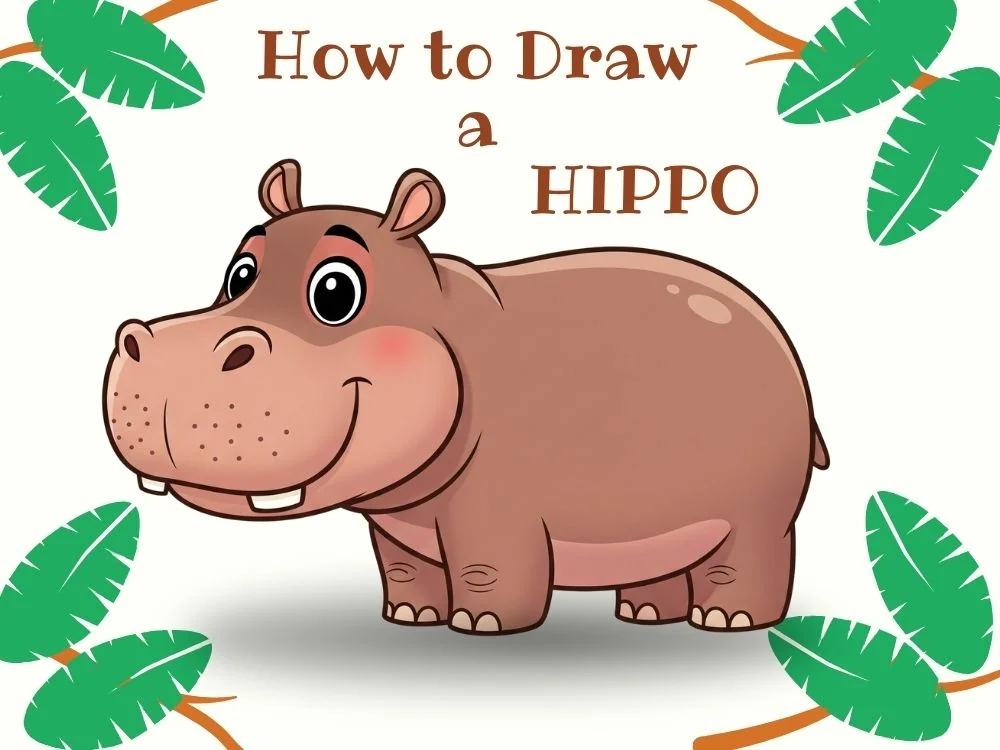
Learning how to draw a hippo is easier than it looks, especially when you break it into simple shapes. In this cheerful, kid-friendly tutorial, you’ll learn how to draw a hippo step by step using circles, ovals, and gentle curves. We’ll outline the head and body, place tiny ears, big friendly eyes, and a wide smiling muzzle, then add chunky legs, soft toes, and a little tail. Each step is short and clear, so beginners won’t get stuck. You only need a pencil, eraser, and crayons or colored pencils no fancy tools required.
Next, we’ll show quick sketching tricks: keep lines light, erase guides slowly, and use short strokes to suggest a smooth, round belly. You’ll also learn simple shading under the chin and belly, plus easy water ripples if you want a swimming hippo scene. Prefer a cartoon style or something more realistic? We cover both, with options for bold outlines or gentle color blends. By the end, you’ll have an adorable hippo drawing you’ll be proud to share, along with the confidence to try new poses, standing on the riverbank, peeking from the water, or yawning with a big happy smile.
Whether you want a simple hippo sketch or a playful cartoon-style illustration, this guide will help you every step of the way. Let’s grab our pencils and dive into the adventure of learning how to draw a hippo today!
Table of Contents
Materials Needed 🎨
Before we start our step-by-step drawing, let’s make sure you have everything you need! You don’t need anything fancy, just a few basic tools to bring your drawing to life:
✅ Paper or Sketchbook – A blank page for your drawing. 📄
✅ Pencils (HB or 2B) – Light pencils help with outlining the drawing. ✏️
✅ Eraser – To fix mistakes while sketching. 🔄
✅ Black Marker or Fine Liner – For outlining and defining clearly. ✍️
✅ Colored Pencils – To color your drawing.
Now, let’s learn how to draw a hippo step by step…
How to Draw a Hippo Step by Step
Are you ready to create an awesome hippo drawing? We’re going on a fun adventure to learn how to draw a hippo! We’ll use simple shapes and easy steps that are perfect for beginners, so you can have a blast bringing your very own hippo to life on the paper.

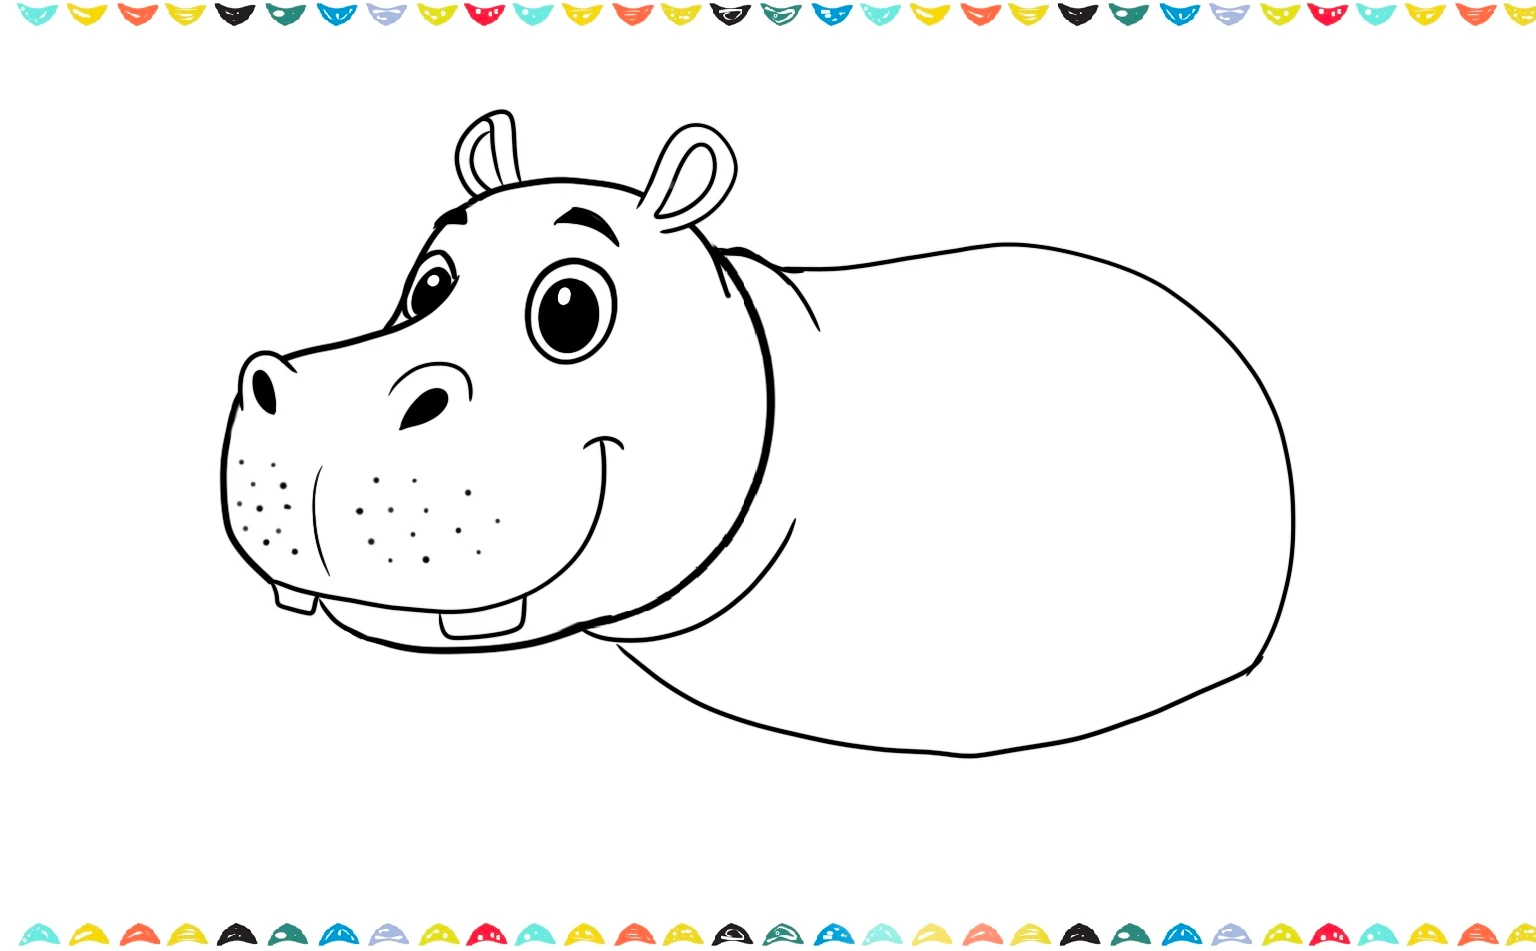
Step 1. Draw the Big Rounded Head
Let’s get started on our big adventure of learning how to draw a hippo! To begin, draw a giant oval or a round shape right in the middle of your paper. This big shape is the most important part, it’s the base for your hippo’s friendly face and those wonderfully chubby cheeks!
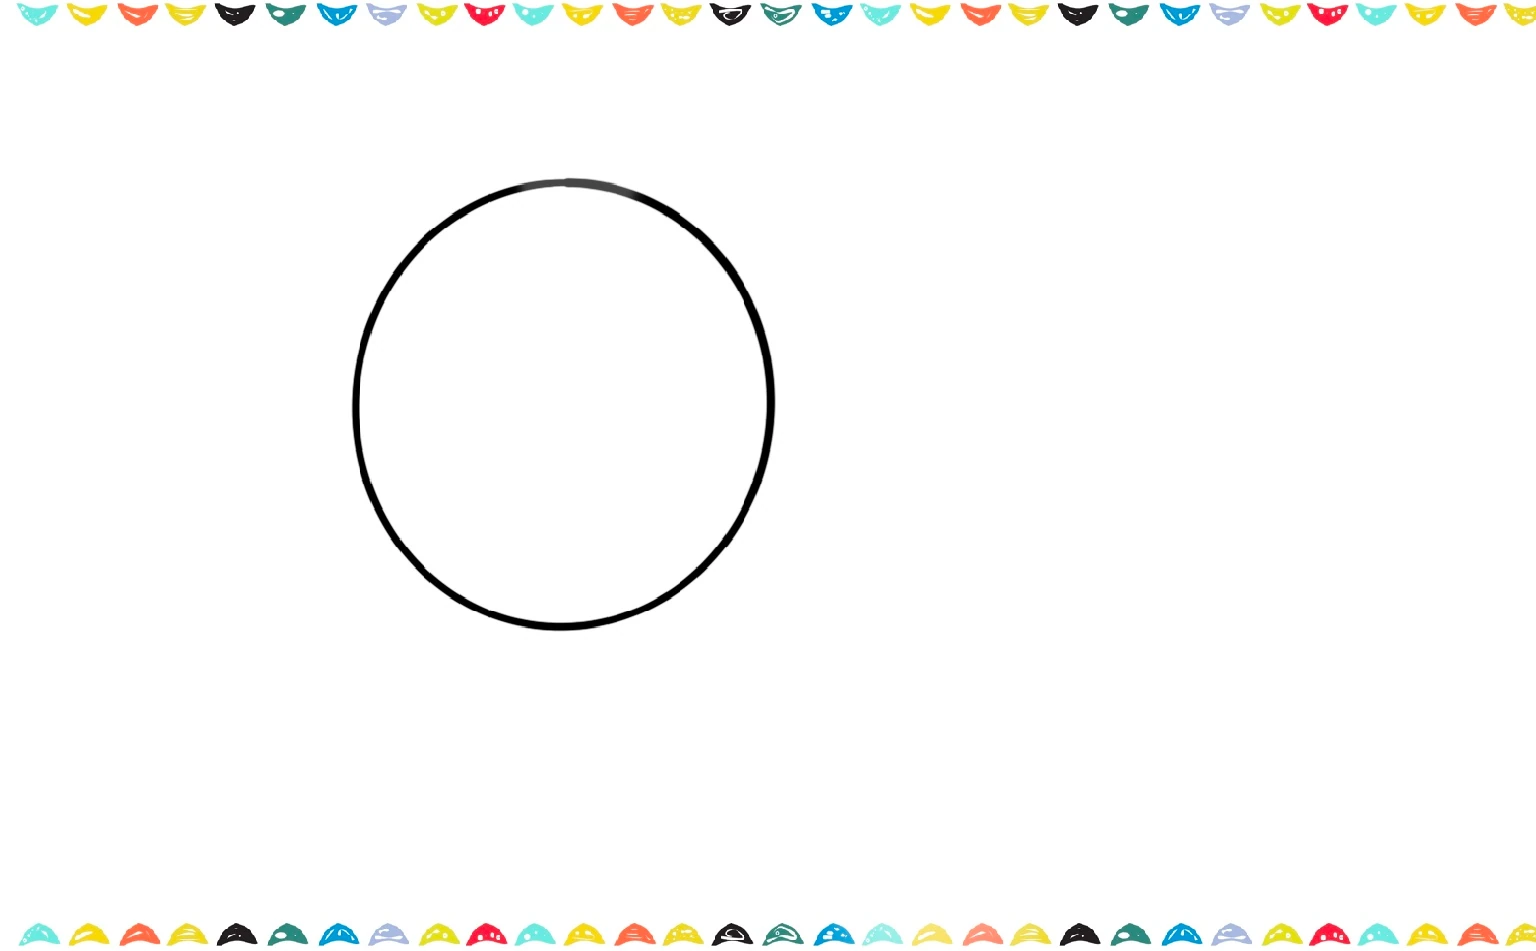
Now for the fun part: let’s start on our hippo’s face! To begin, draw a gentle, little bump to make its nose. This one simple step will give your hippopotamus drawing its very own unique and super cute look, so let’s make it extra special!
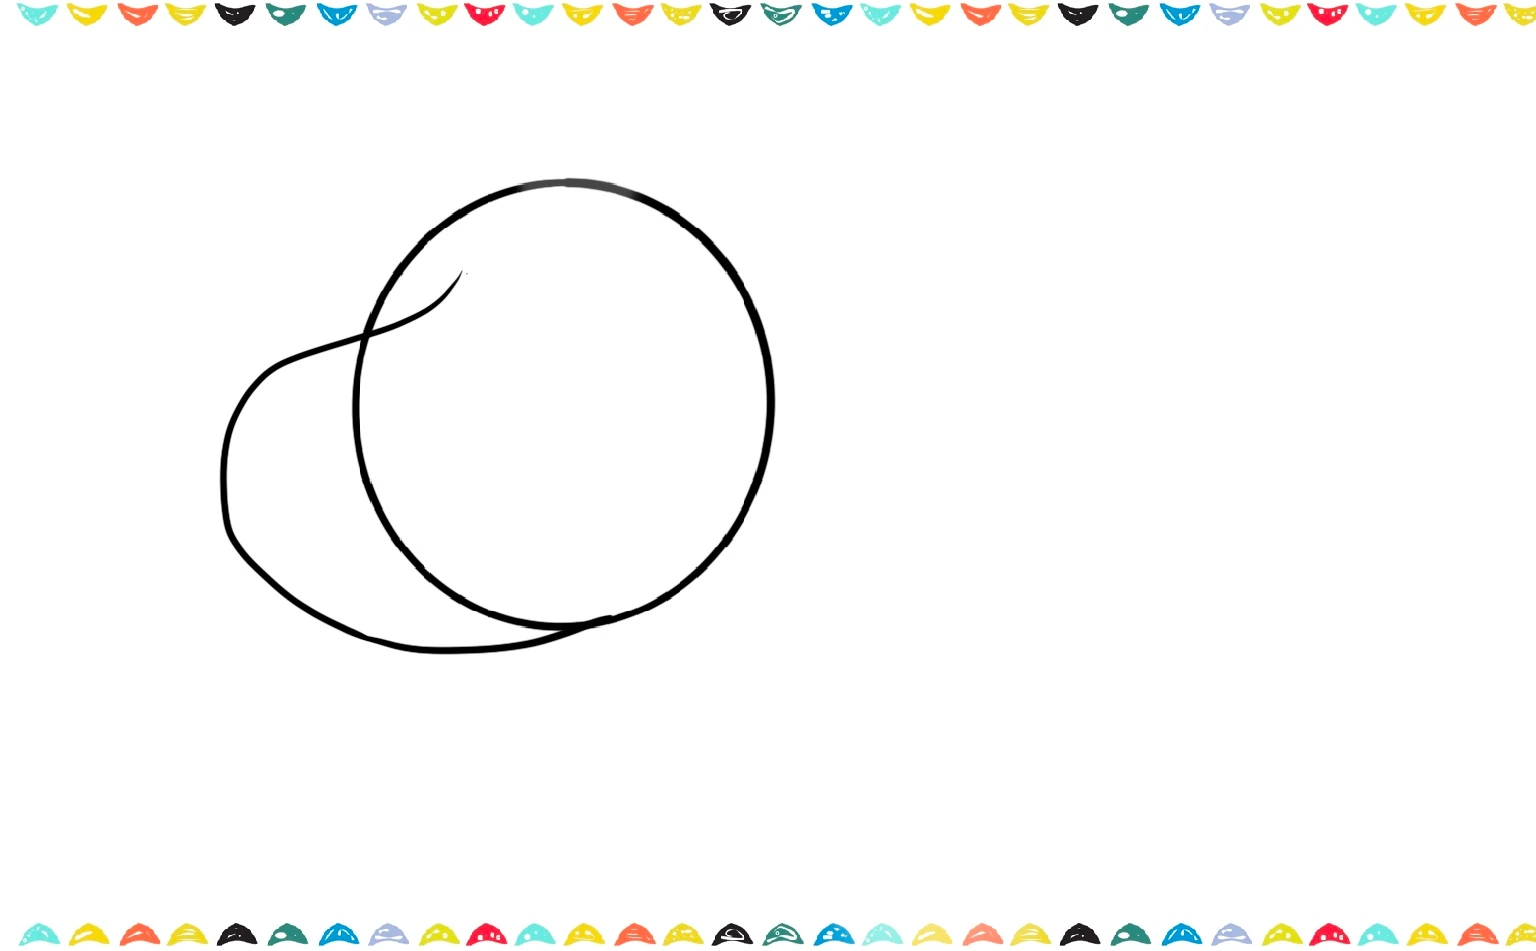
Drawing Tip: Here’s a helpful tip as we begin our how to draw a hippo adventure: use your pencil with a light touch. It’s much easier to erase any lines you don’t need, and it keeps your page from getting messy.
Step 2. Sketch the Facial Features 😊
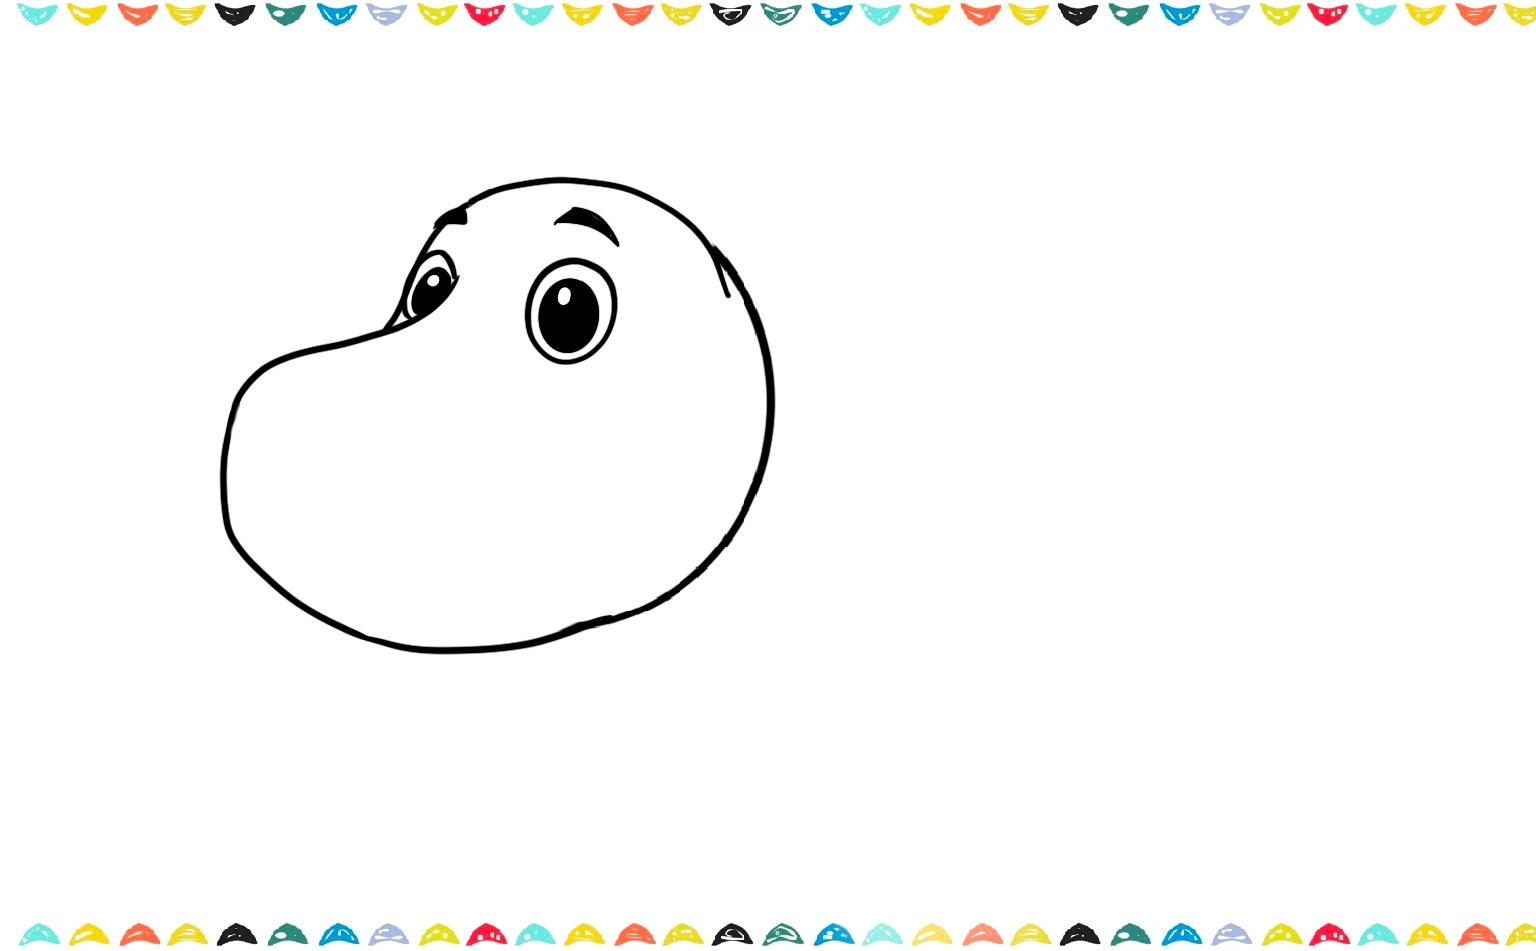
Inside the head, we’ll draw two big, round circles. Then, to make them look like they’re looking at us, we’ll add a smaller black circle inside each one for the pupils. Finally, to give our hippo a friendly face, let’s draw two little curved lines just above the eyes for the eyebrows. When you learn how to draw a hippo, big expressive eyes are one of the best ways to make it cute.
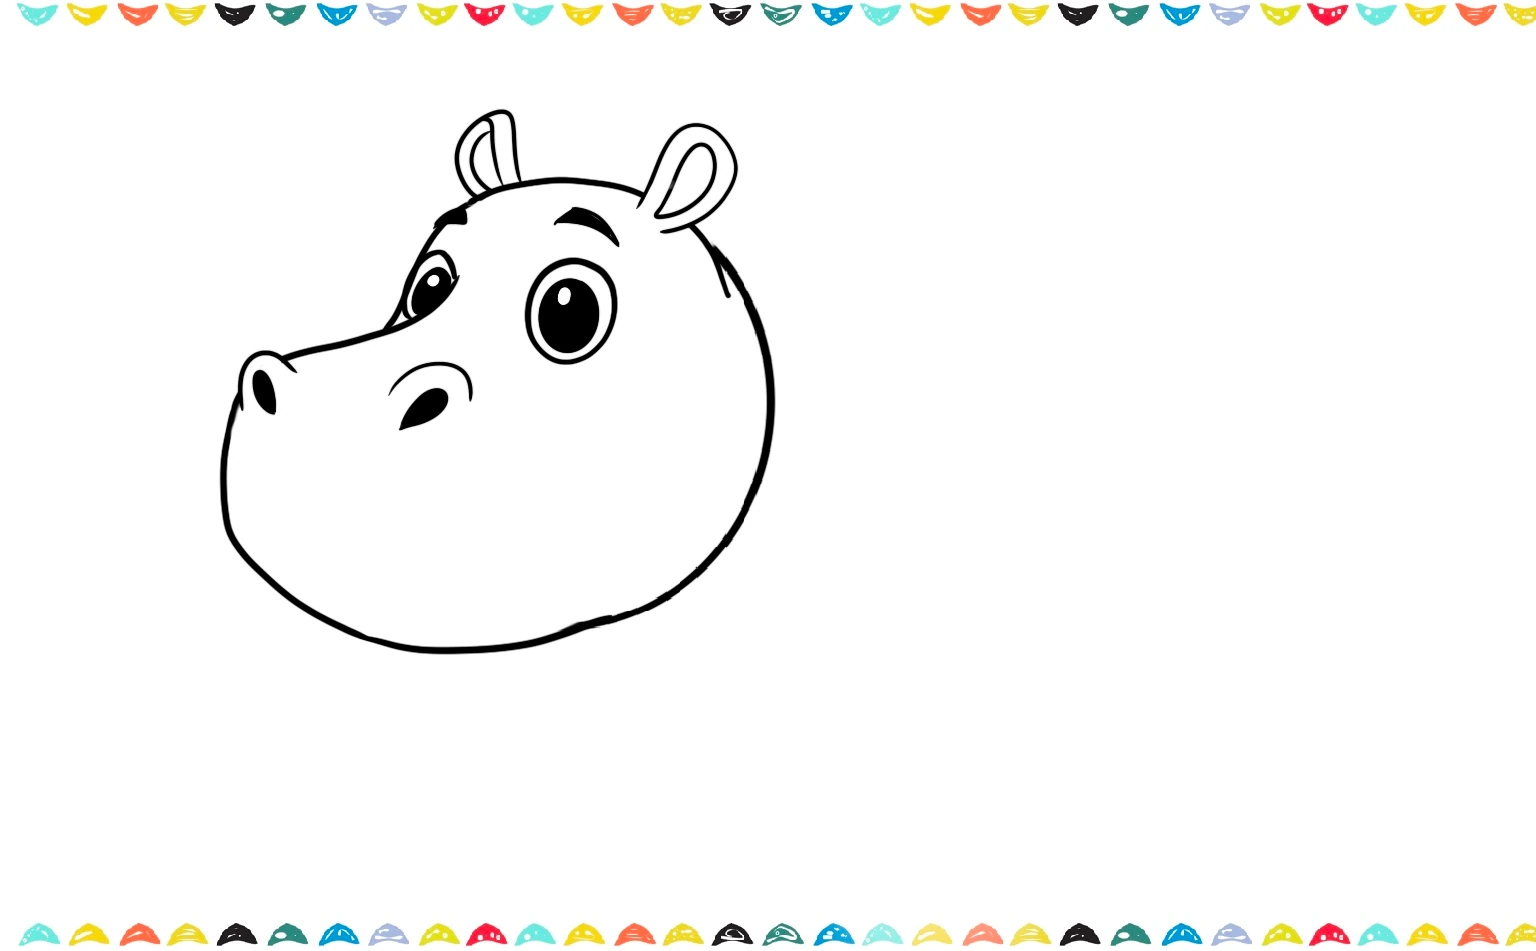
We’ll now add some super cute details to our hippo drawing! First, draw two tiny, round ears right on top of its head. And don’t forget to add two cute curved nostrils on its big snout, so it can make those funny snorting sounds!
Let’s keep powering through with our amazing guide on how to draw a hippo. Now, give our hippo drawing a big, happy smile that stretches wide across its face! And don’t forget to add two tiny, little teeth right at the bottom. This is what gives your cute hippo its unique personality and makes it look so friendly!
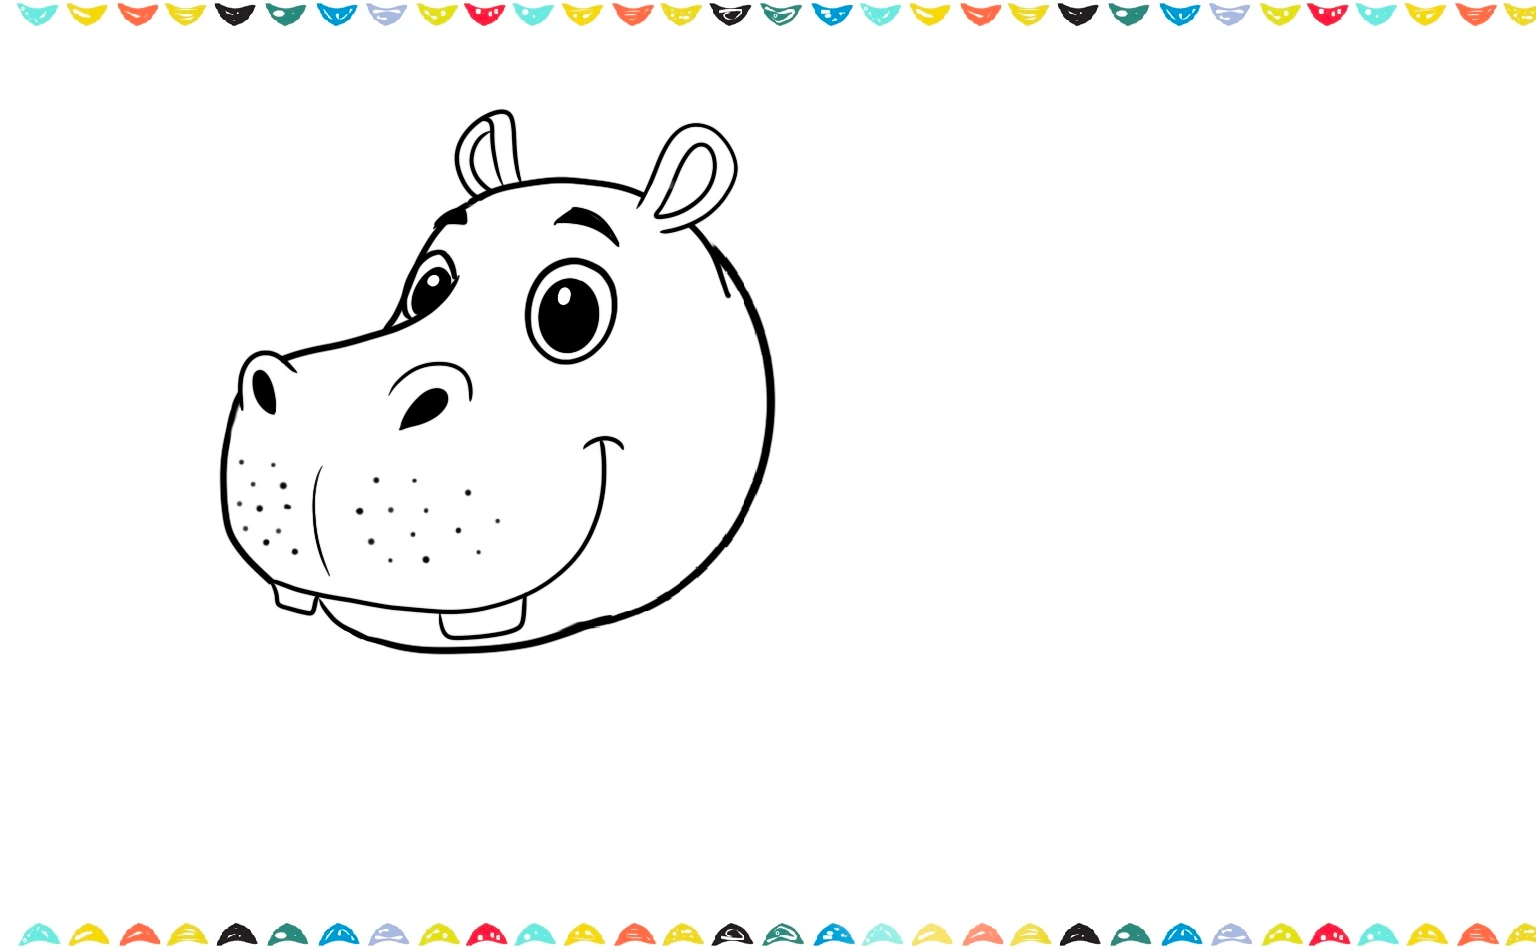
To make your hippo drawing look even more like a real hippo, you can add little freckles to its face! It’s a fun detail that makes your hippo sketch look super unique. Now, let’s keep going for the next step in our guide on how to draw a hippo? Give our hippo its big, chunky body! Make it nice and round, because a hippo’s body is what makes it so big and strong.
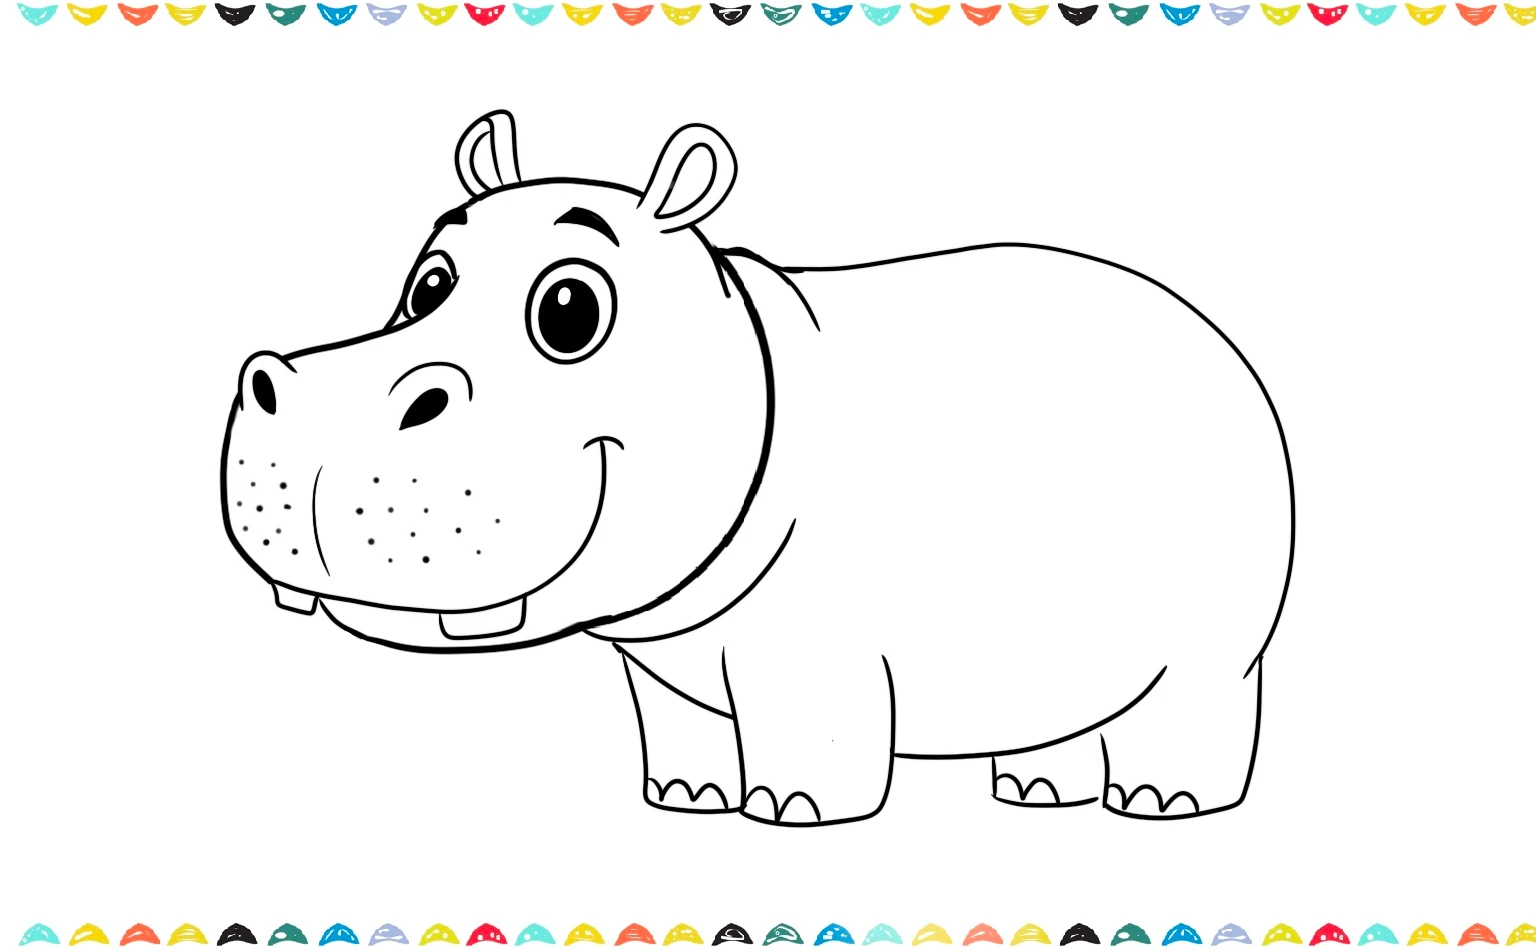
Step 3. Draw the Body and Belly 💙
Now, let’s give our hippo a big, round tummy! Draw a large oval shape right behind and just below the head you already made. Make sure it’s nice and big, because hippos are lovable and a bit chunky! To finish off the body, add a curved line underneath the big oval to make a cute, round belly.
We’re so close to a finished drawing! Want to learn a cool trick to make your hippo look extra big and chunky? Just add a few lines and folds where its head connects to its body. That’s a secret artists use to make their drawings look more realistic and your hippo will look huge and awesome!
After learning how to draw a hippo, would you like to try some new drawing ideas? Like How to Draw a Crab or How to Draw a Cow.
Step 4. Add the Legs and Feet 👟
Ready to give our hippo some legs? Let’s add four short, chubby legs right under its big body. Make sure they’re nice and thick so they look strong. Then, at the bottom of each leg, add a few little bumps or tiny ovals for the feet, so your hippo can stomp around!
Wow, look at that! Your cartoon hippo drawing is really starting to come alive on the page! You’re doing an amazing job bringing this cute hippo to life, and it’s looking fantastic. Now let’s continue to learn how to draw a hippo’s tail.
Step 5. Add Hippo’s Tail 🌟
Let’s keep adding the finishing touches! Draw a cute, short, and curvy tail with a little bit of fluff at the very end. Once you’ve done that, use your pencil or a marker to carefully go over the lines on your hippo’s body to make them stand out even more. For extra detail, you can draw some small lines on its legs and feet.
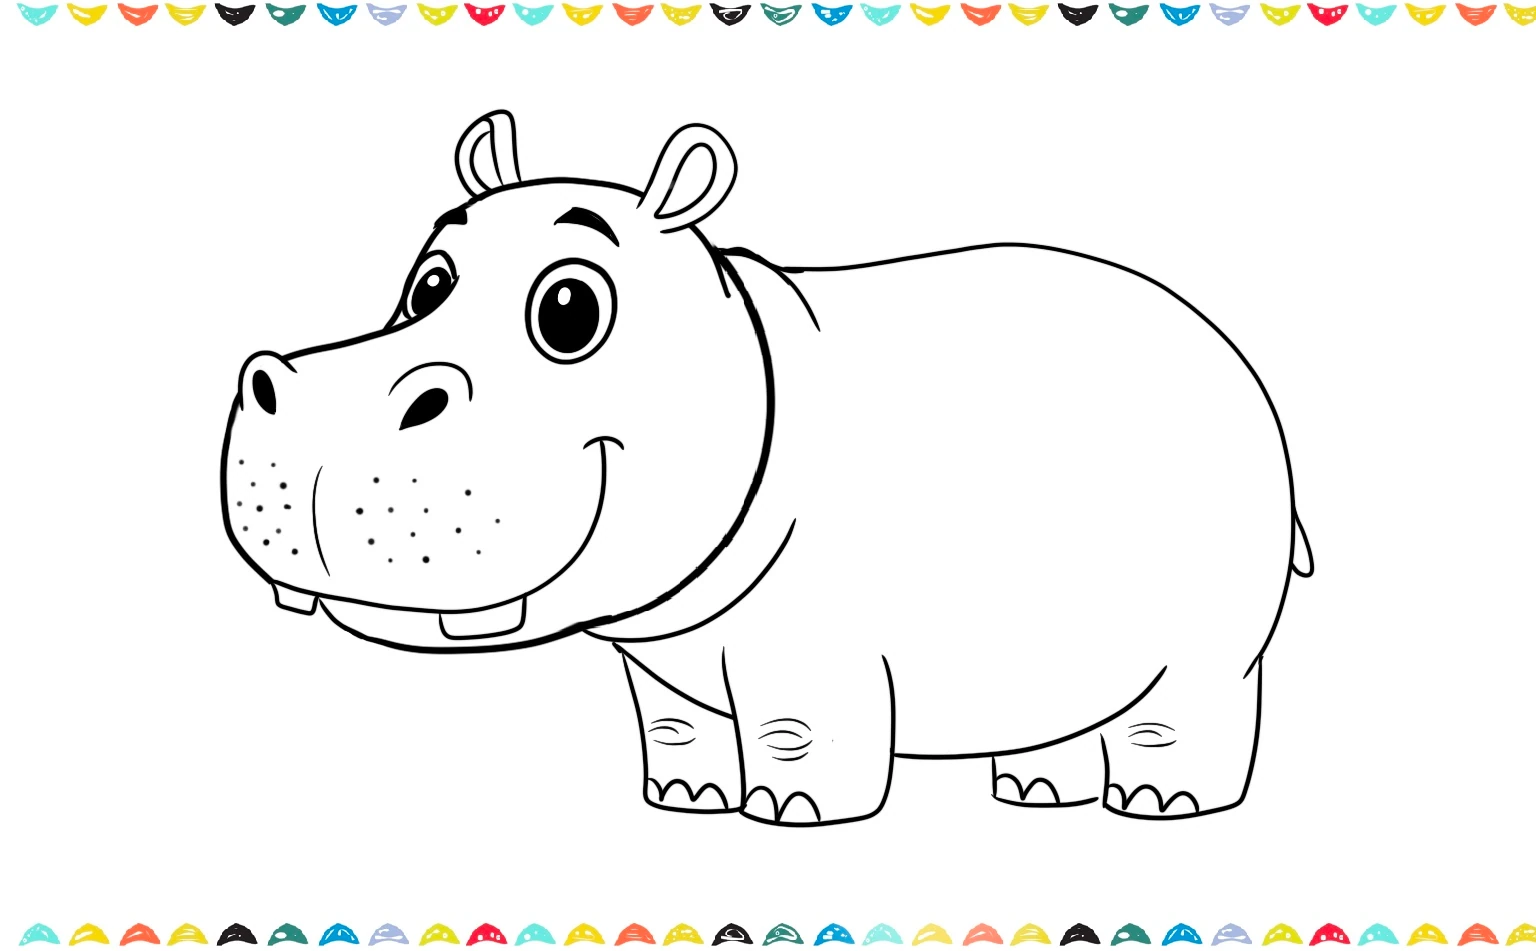
These little steps will really help you learn how to draw a hippo with all of its adorable features!
Step 6. Final Details and Color 🌈
Great job on the sketch! Now it’s time to make your hippo look extra awesome. First, take your eraser and gently get rid of any extra lines you don’t need anymore. Then, grab a black pen or marker and carefully trace over the main lines of your hippo drawing to make it stand out and really pop!
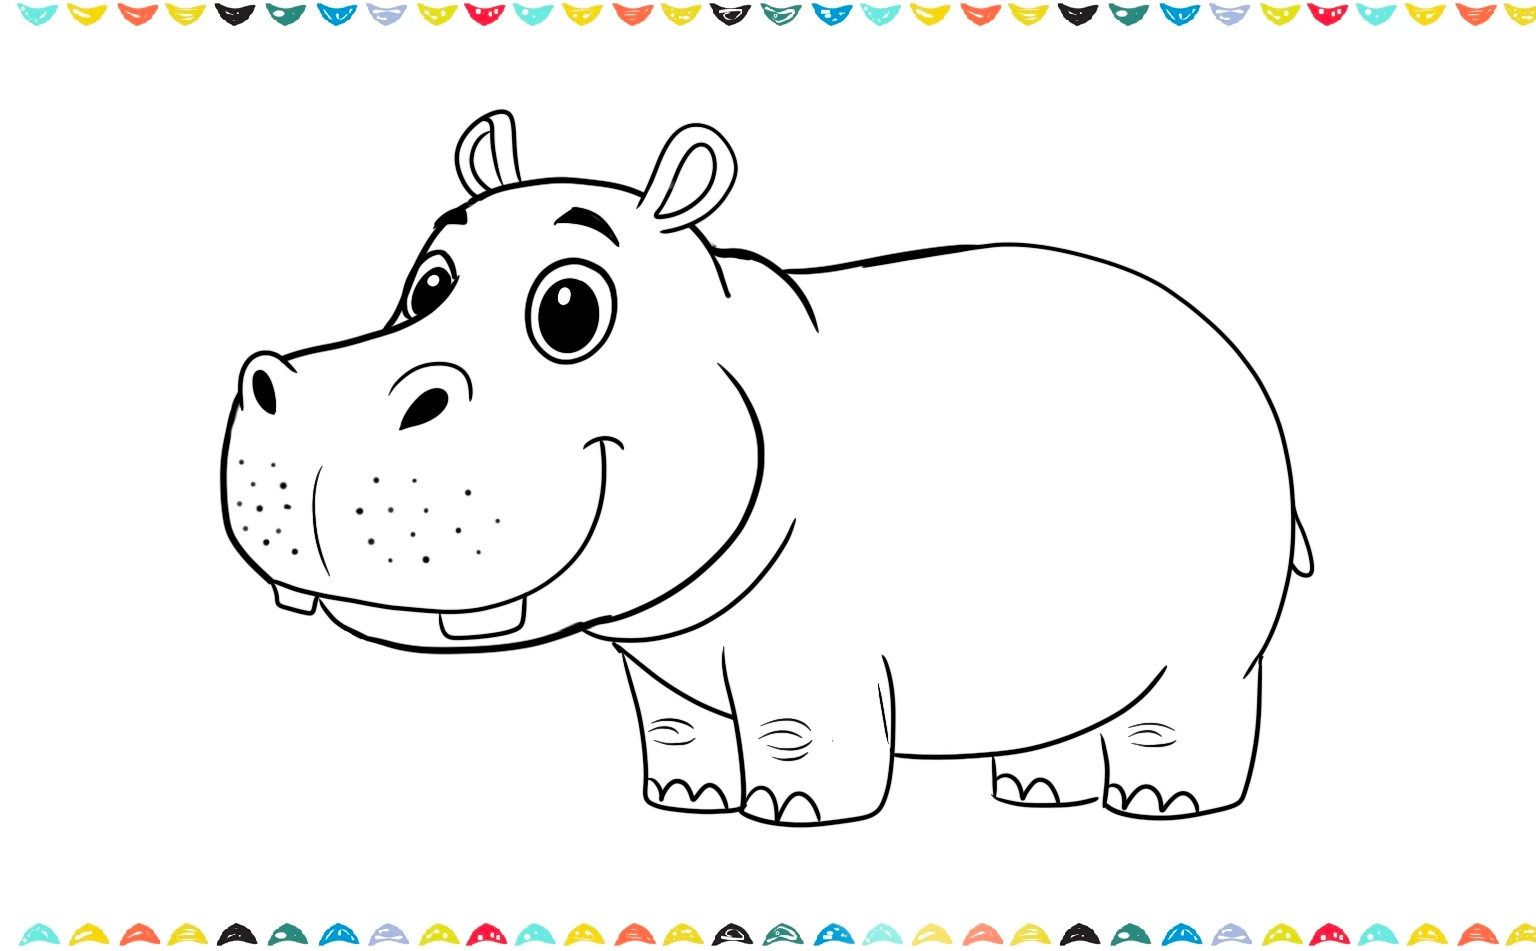
Hooray! It’s time for the most exciting part of your how to draw a hippo adventure: Coloring! Most hippos are a gray or brownish-pink color, so you can start with one of those for your hippo drawing. For some extra cuteness, give its cheeks a little rosy blush, and add a soft pink to its belly and the inside of its ears. To make your hippo look like a fun cartoon, carefully outline all your pencil lines with a black pen or marker when you’re finished.
Awesome! You’ve now learned how to draw a hippo easy and in a super fun way. ✌️ If you like drawing a hippo you may also like our step by step tutorials about How to Draw a Turtle or How to Draw a Palm Tree.
Fun Facts About 🌟
You’ve done an amazing job, and now you know hippopotamus drawing! To celebrate your awesome new art skills, let’s learn some fun facts about our favorite animal!
- Semi-aquatic pros: Hippos spend hours in water, add ripples around the belly for an instant scene.
- Wide mouths, gentle curves: Their muzzles are big and rounded, use a broad U-shape for a friendly smile.
- Tiny ears, big bodies: Make ears small and close together to keep that cute proportion.
- Shiny skin look: A soft highlight along the back and muzzle makes the skin look smooth.
- Heavy but quick: They’re bulky yet speedy, tilt the body forward slightly for a lively pose.
- Social vibes: Hippos rest together, draw a smaller hippo beside yours to tell a story.
- Splash effect: Little water dots and curved lines around the feet create playful movement.
This step-by-step guide is the perfect way to learn how to draw a hippo. Want to learn more about hippos? Check: 10 Hippo Facts.
Frequently Asked Questions – How to Draw a Hippo ❓
Q1: How do I draw a hippo easily?
A1. Start with a big oval (body) and a smaller circle (head). Add a wide U-shape for the muzzle, two tiny ear triangles, and tube legs. Refine the outline, then ink and color.
Q2: How do I draw a cartoon hippo vs. a realistic hippo?
A2. Cartoon: larger head, tiny ears, big eyes, bold outline. Realistic: smaller eyes, subtle ear shape, softer edges, layered shading.
Q3: What tools do I need for this hippo drawing?
A3. Pencil, eraser, paper, colored pencils or crayons, optional fineliner. Cartoon: 10–15 minutes; shaded scene: 25–35 minutes.
Q4: Is this suitable for beginners?
A4. Absolutely! It’s made for kids and beginners. Anyone can follow this easy drawing tutorial to draw cartoon hippo characters.
Q5: After drawing a hippopotamus, can I try other animal drawings like this?
Q6: What basic shapes help most when learning how to draw a hippo?
A6. Use ovals for body and belly, a circle for the head, a U-shape for the muzzle, tubes for legs, and small ovals for toes. These keep proportions simple and cute.
Q7: How do I draw a friendly hippo face?
A7. Place eyes low on the head circle, sketch a rounded muzzle, add two small nostrils, and a gentle smile curve. Keep the teeth tiny or hidden for a sweet look.
Conclusion: You Did It, Artist! 🎨
Great job, now you truly understand how to draw a hippo from the first light shapes to a finished, colorful character! Begin with simple ovals for the body and head, build a wide, rounded muzzle, and place small ears and gentle eyes low on the face. Keep your sketch light as you refine the outline, then add chunky legs, rounded toes, and a short tail. For depth, shade under the chin, along the belly, and where legs overlap, leaving tiny highlights on the muzzle and eyes. Ready to level up? Try three mini drills:
- Three mouth shapes, closed smile, tiny “o,” big grin;
- Two poses, standing on a riverbank and half-submerged;
- Quick color studies, gray, lilac, and warm brown.
👉 If you loved this lesson, don’t stop here! Explore more of our tutorials like How to Draw a Giraffe, How to Draw a Seahorse or How to Draw a Penguin to complete your art collection. You can even combine them all into one big drawing idea for an awesome scene!
👉 For kids who love magical characters, our step-by-step tutorial on How to Draw Sonic, How to Draw Dragon Ball Z Goku or How to Draw SpongeBob are another fun projects to try next. 🌟
The more you practice how to draw a hippo, the smoother your lines and shading will become. Keep your sketchbook nearby, draw a little each day, and share your friendly hippo with family and friends, you’re building real drawing skills, one happy curve at a time!
Looking for creative inspiration? Check out our Pinterest page for some magical ideas!
Keep drawing and having fun with it, just like playing your favorite game every day! The more you draw, the better you’ll get, and you might even discover new ways to draw that you never knew before. Check out our blog post about Drawing Ideas for Beginners – 100 Easy and Fun Things to Draw for more inspiration about drawing.
Share Your Drawing With Us! 💯🎁
We’d love to see your amazing artwork! When you finish your drawing, send us a picture of it. Whether it’s your first try or your masterpiece, we’re excited to cheer you on. Your creativity could even be featured on our site – so grab your crayons and show us what you’ve made! 🎉🖍️
Looking for more step-by-step drawing tutorials? Visit the A-Z Drawing Tutorials Index to browse all lessons, organized alphabetically.