Why Jellycat Amuseables Are the World’s Trendiest Plushies to Draw
Jellycat drawing is one of the biggest kawaii art trends right now! From social media reels to sketchbook spreads, artists everywhere are learning How to draw Jellycat characters in their own adorable style. These plushies are soft, smiley, and full of personality, which makes Jellycat drawing perfect for kids, beginners, and anyone who loves cute plush toy art.
The reason Jellycat drawing is so popular is simple: the Amuseables collection turns everyday objects like eggs, avocados, suns, and coffee cups into smiling plush friends with dangling legs. It’s a mix of cozy, aesthetic, and playful.

In this ultimate guide, you’ll learn how to draw Jellycat egg, avocado, cake, sun, croissant, and coffee cup step by step drawing for kids style. Grab your pencils – let’s start creating adorable Jellycat drawing masterpieces! ✨🖍️
Table of Contents
Jellycat Drawings Step by Step
Ready to start your Jellycat drawing journey? Choose your favorite Amuseable below and jump straight into the full step-by-step tutorial. From the cute Jellycat egg drawing to the cozy croissant and coffee cup, each guide is simple, beginner-friendly, and perfect for kawaii art practice. Click on a character and start drawing your plush-inspired masterpiece today! 🎨
How to Draw a Jellycat Egg 🥚
The Jellycat egg drawing is perfect for beginners!
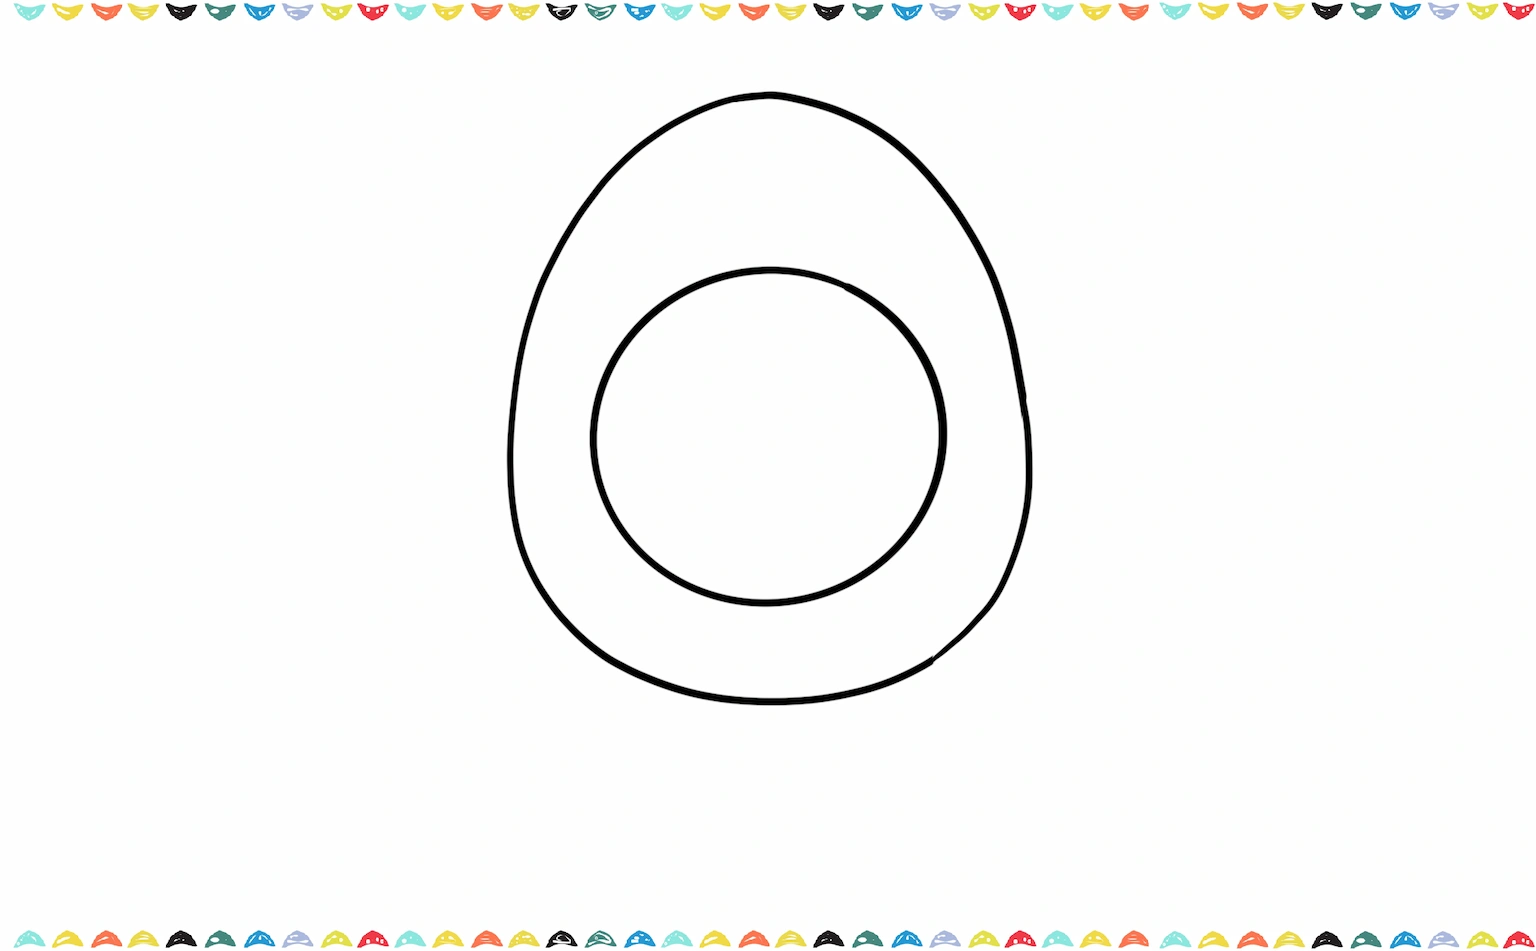
Step 1 – Oval Body
Draw a soft oval shape. This forms the base of your Jellycat egg drawing.

Step 2 – Inner Yolk Circle
Inside the oval, draw a round circle for the yolk.
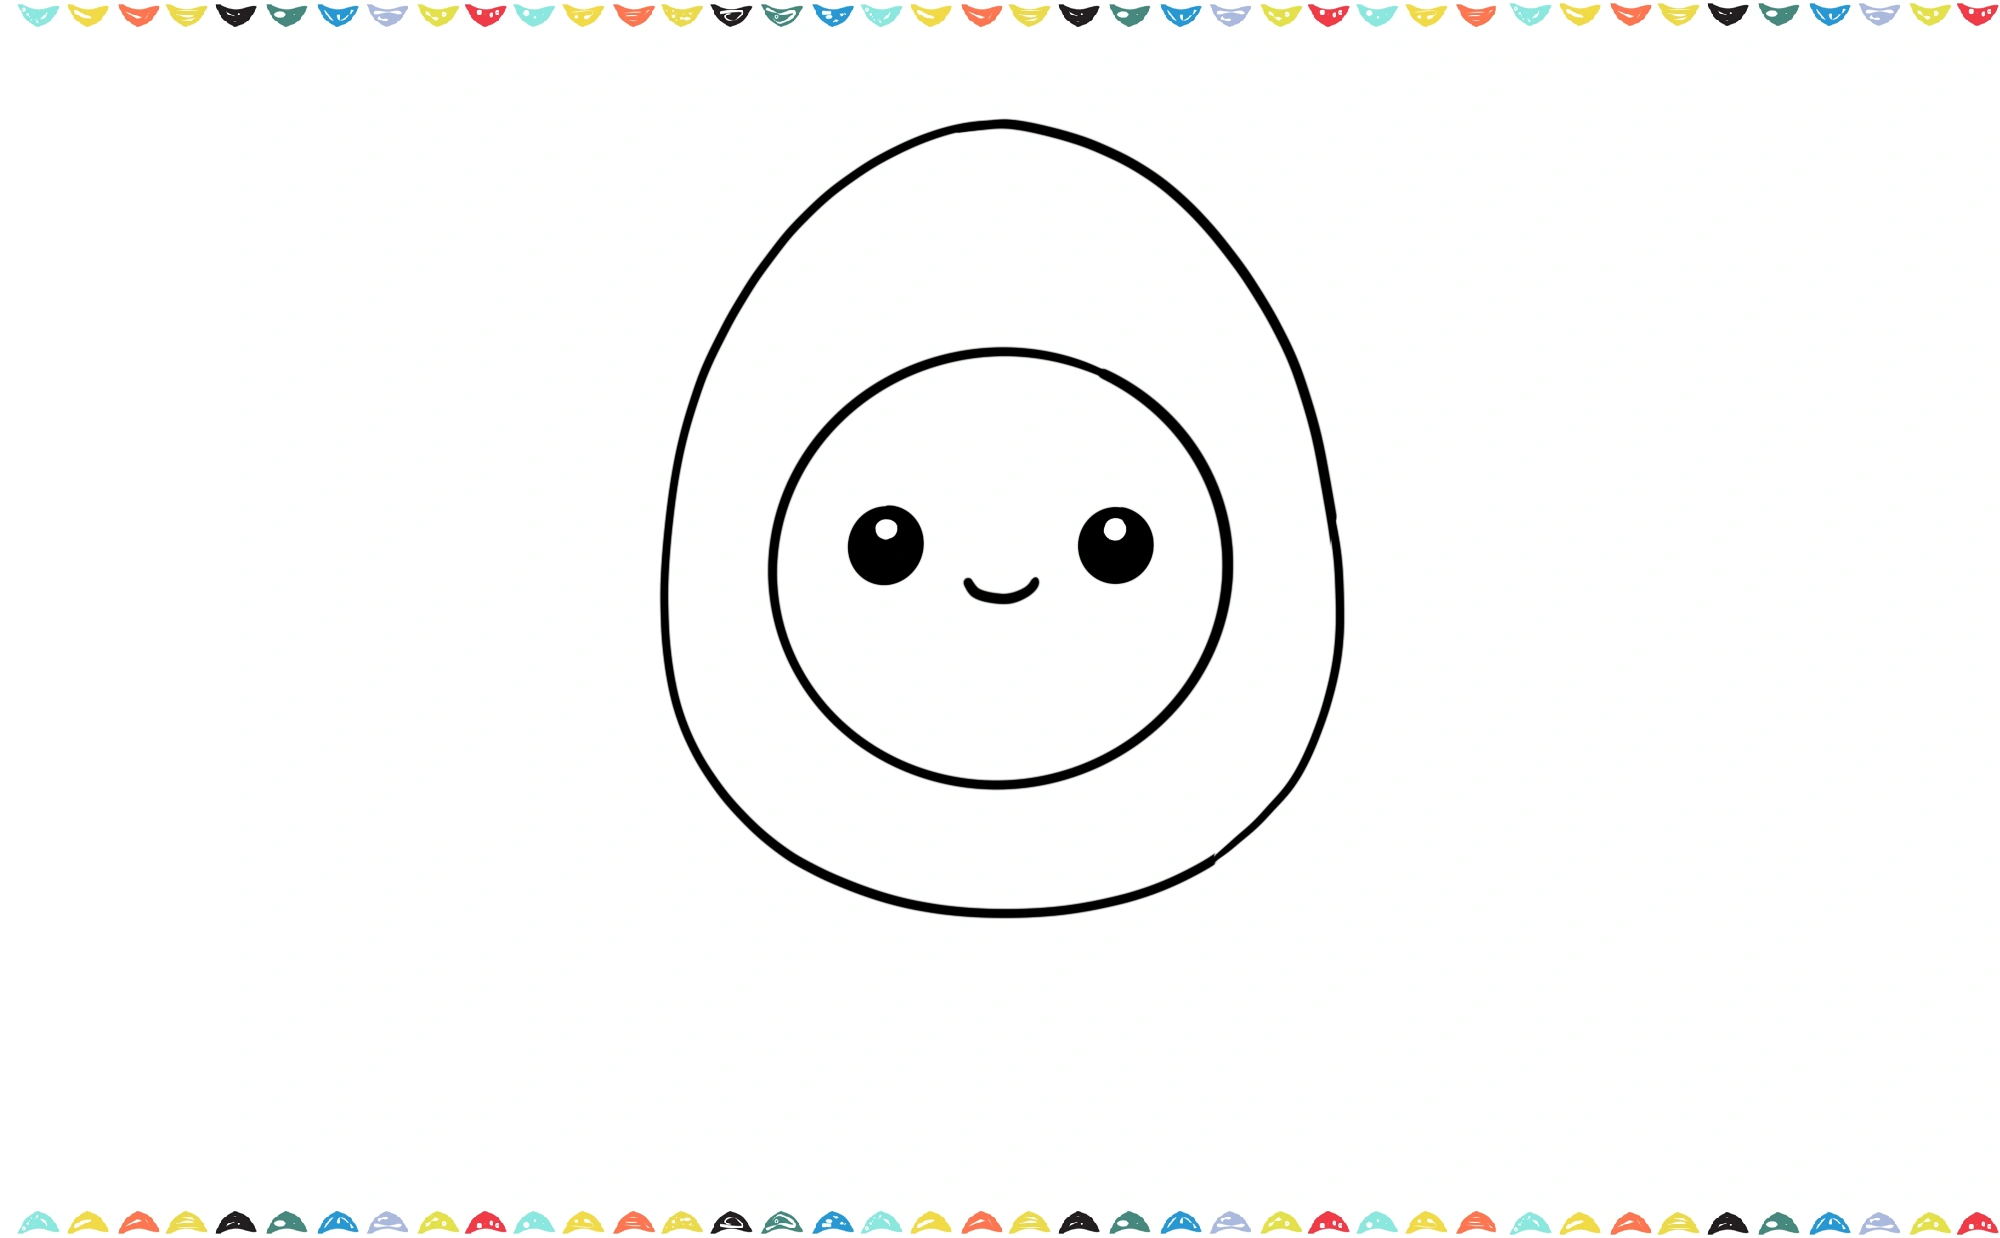
Step 3 – Minimalist Face on the Yolk
Place two tiny oval eyes and a small smile on the yolk. This makes your Jellycat egg drawing come alive!
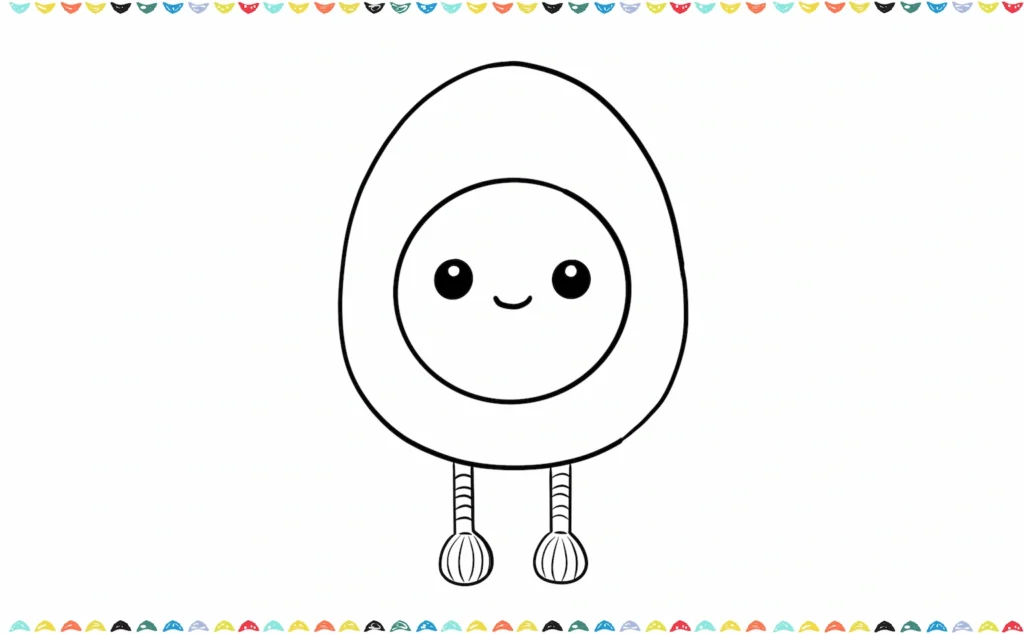
Step 4 – Corduroy Dangling Legs
Draw two thin lines under the egg with tiny oval feet.
Step 5 – Color Your Jellycat Egg Drawing 🎨🥚✨
Now it’s time to bring your Jellycat drawing to life with soft, cozy colors!
- Use a warm off-white or light cream color for the egg white.
- Color the yolk with a bright but slightly soft yellow or orange-yellow.
- Add gentle shading under the yolk and at the bottom of the egg to create depth.
- Color the dangling legs with a light brown or beige tone to match the plush style.
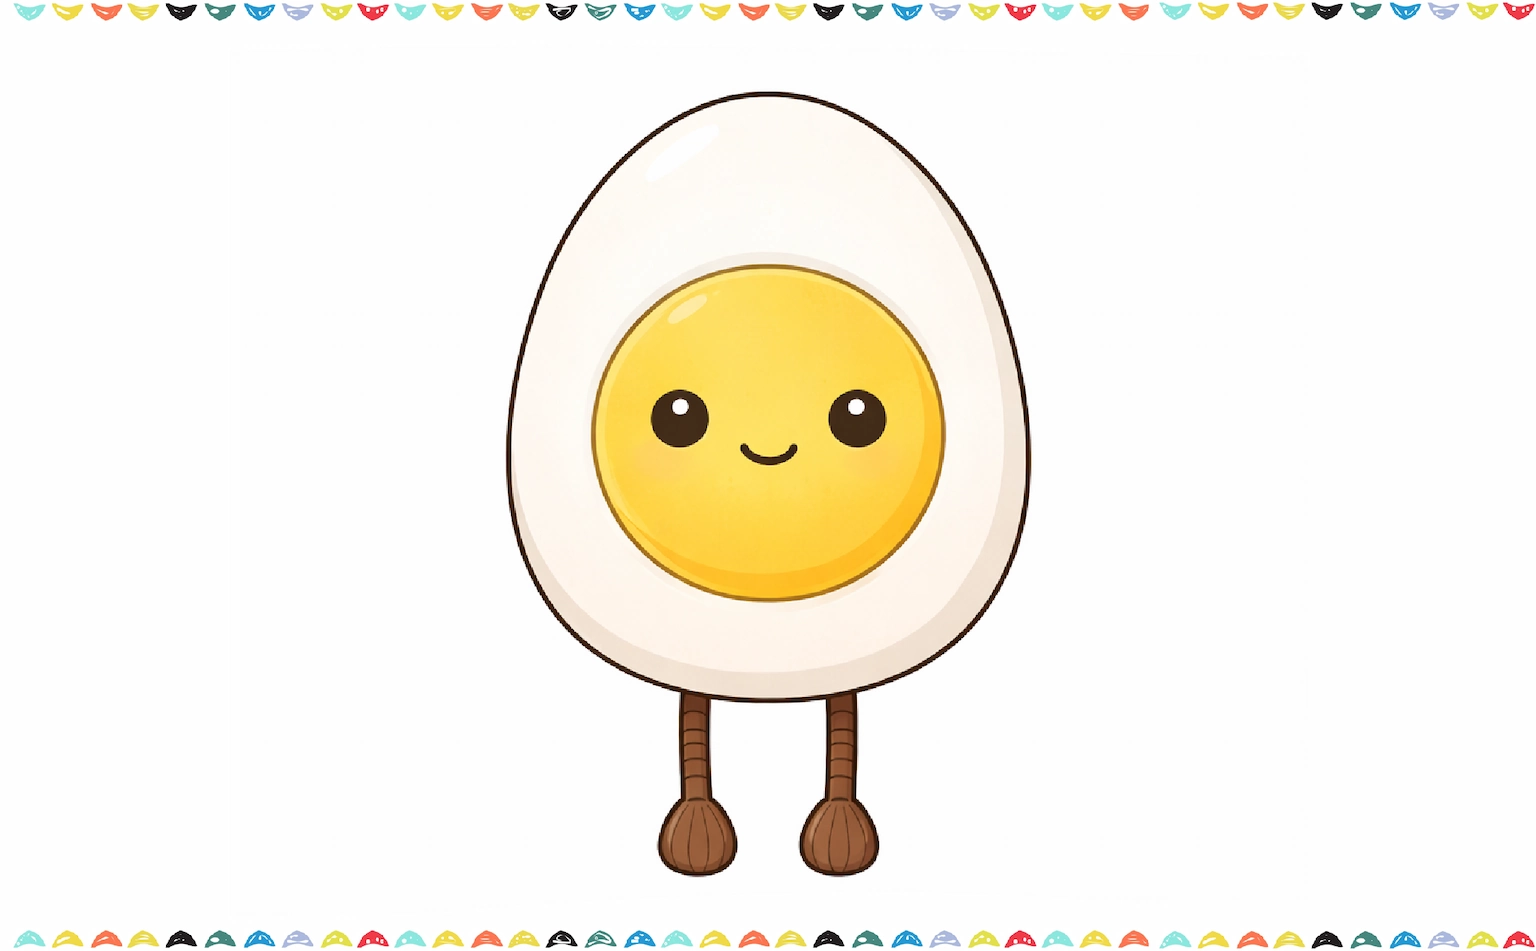
Now you’ve completed your first Jellycat drawing! Practice multiple times to master How to draw Jellycat egg style.
Sonny Angel Drawing Guide: How to Draw Step-by-Step
Sonny Angel drawing easy tutorial! Learn how to draw Sonny Angel Strawberry step-by-step in kawaii style. 🍓✨
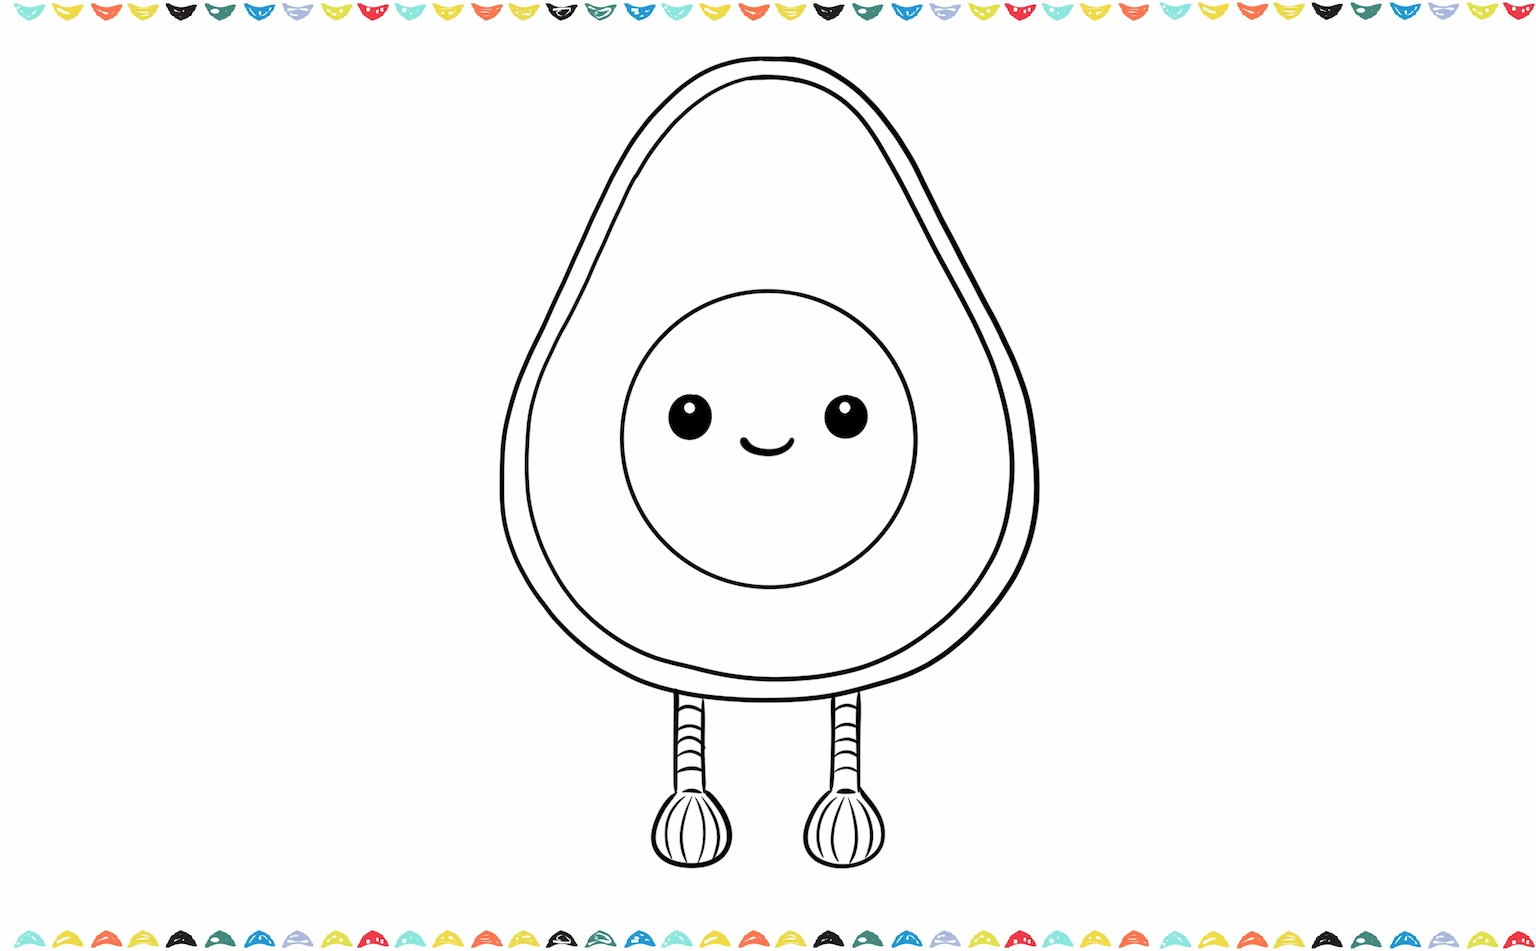
How to Draw a Jellycat Avocado 🥑
The Jellycat avocado drawing is another favorite!
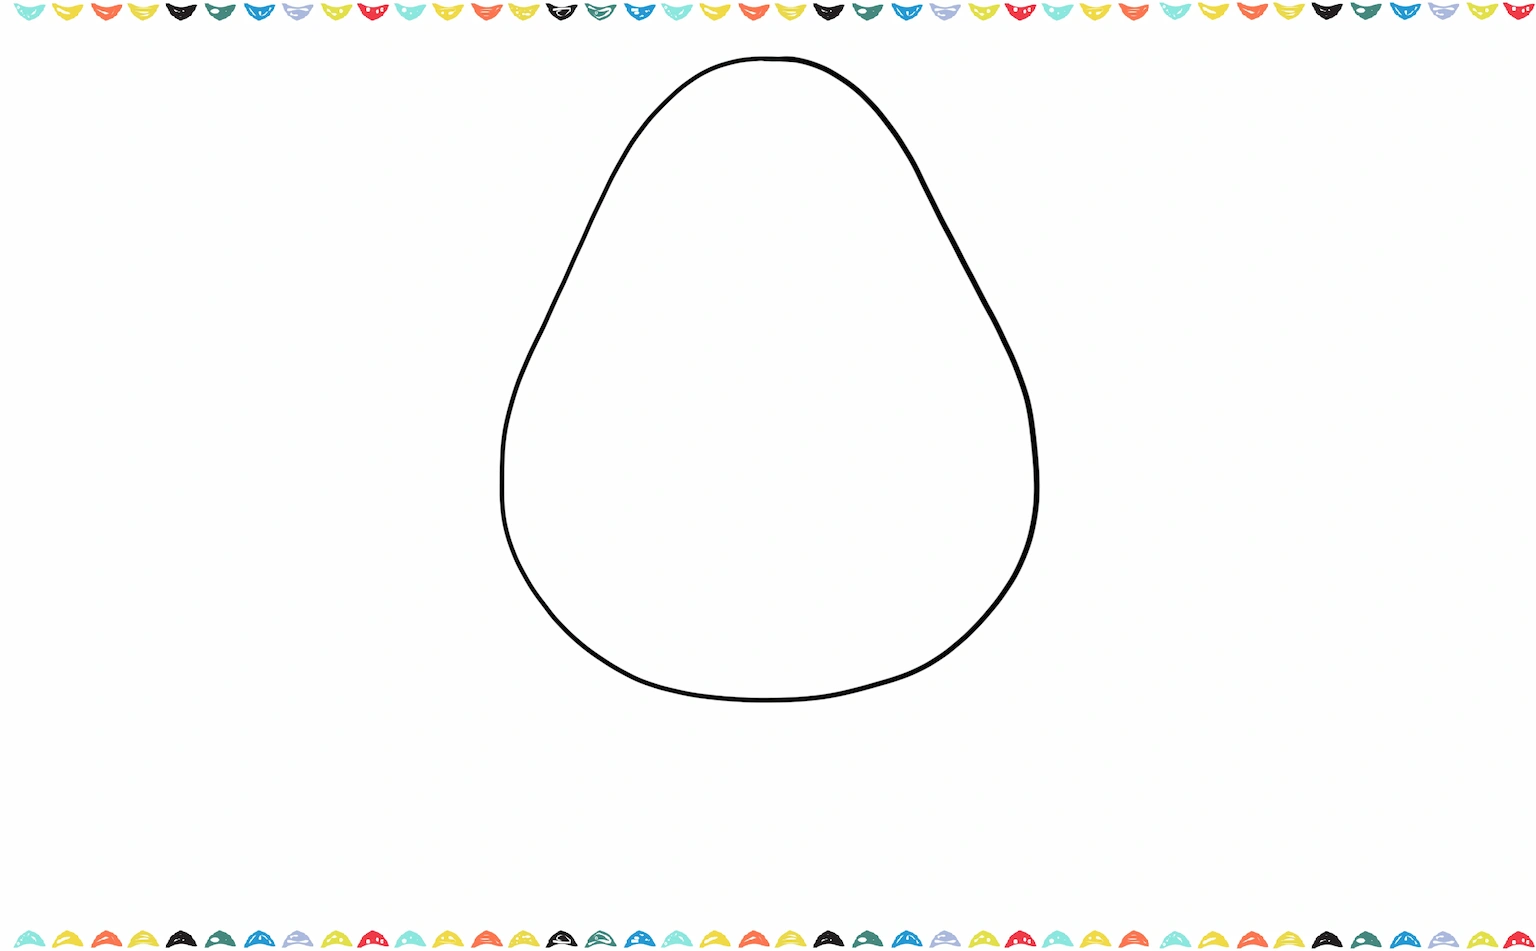
Step 1 – Pear Shape
Draw a pear-shaped outline for the avocado.
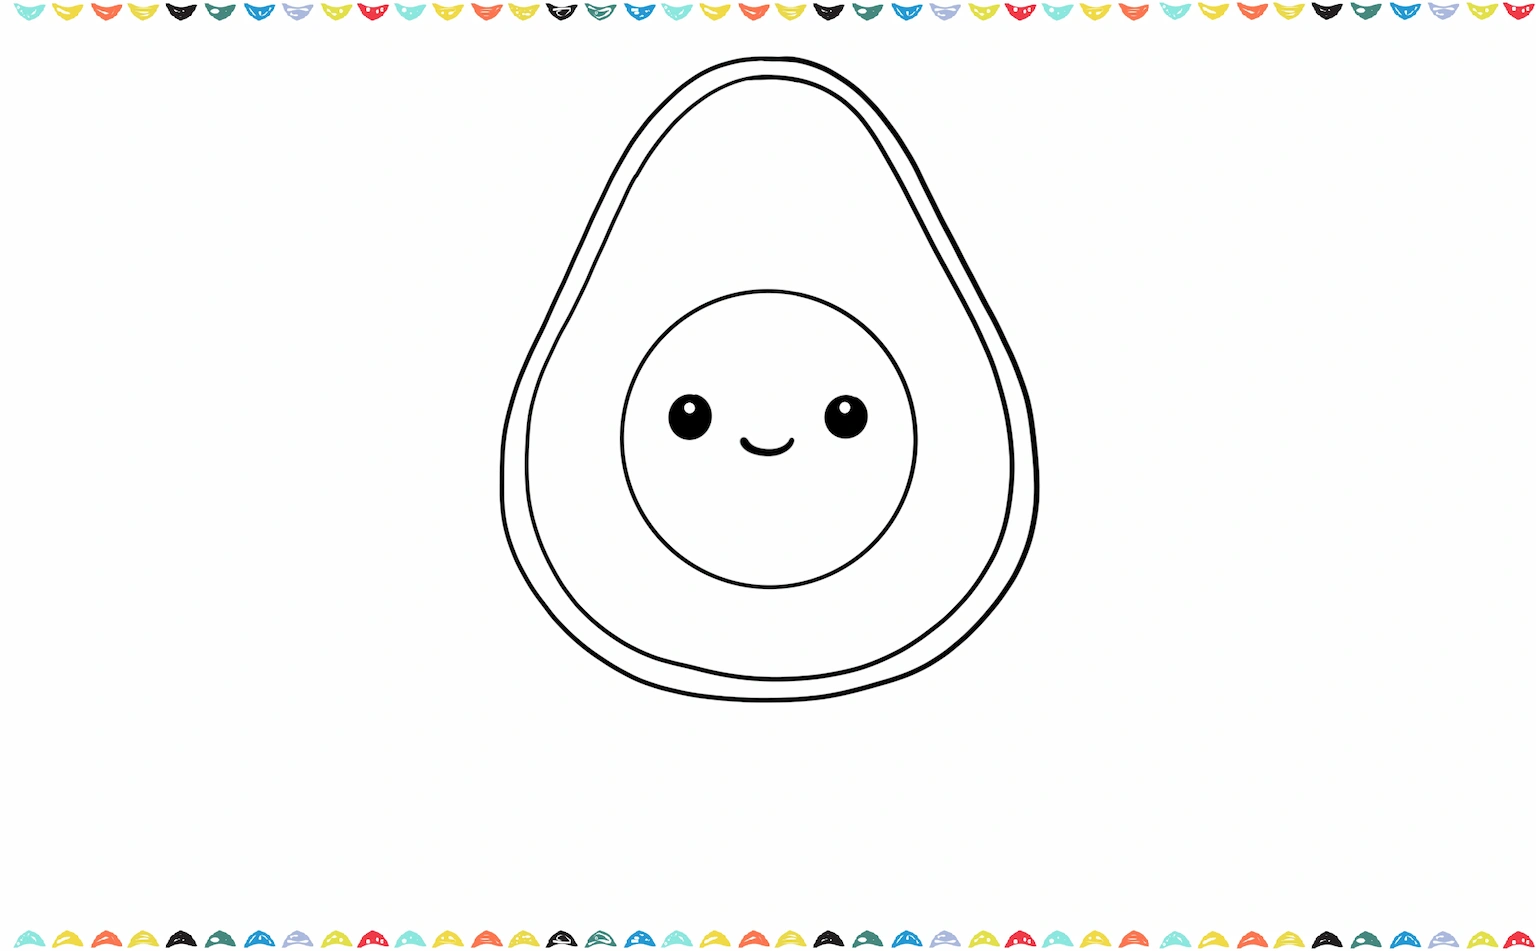
Step 2 – Round Brown Pit
Add a circle in the center for the pit.
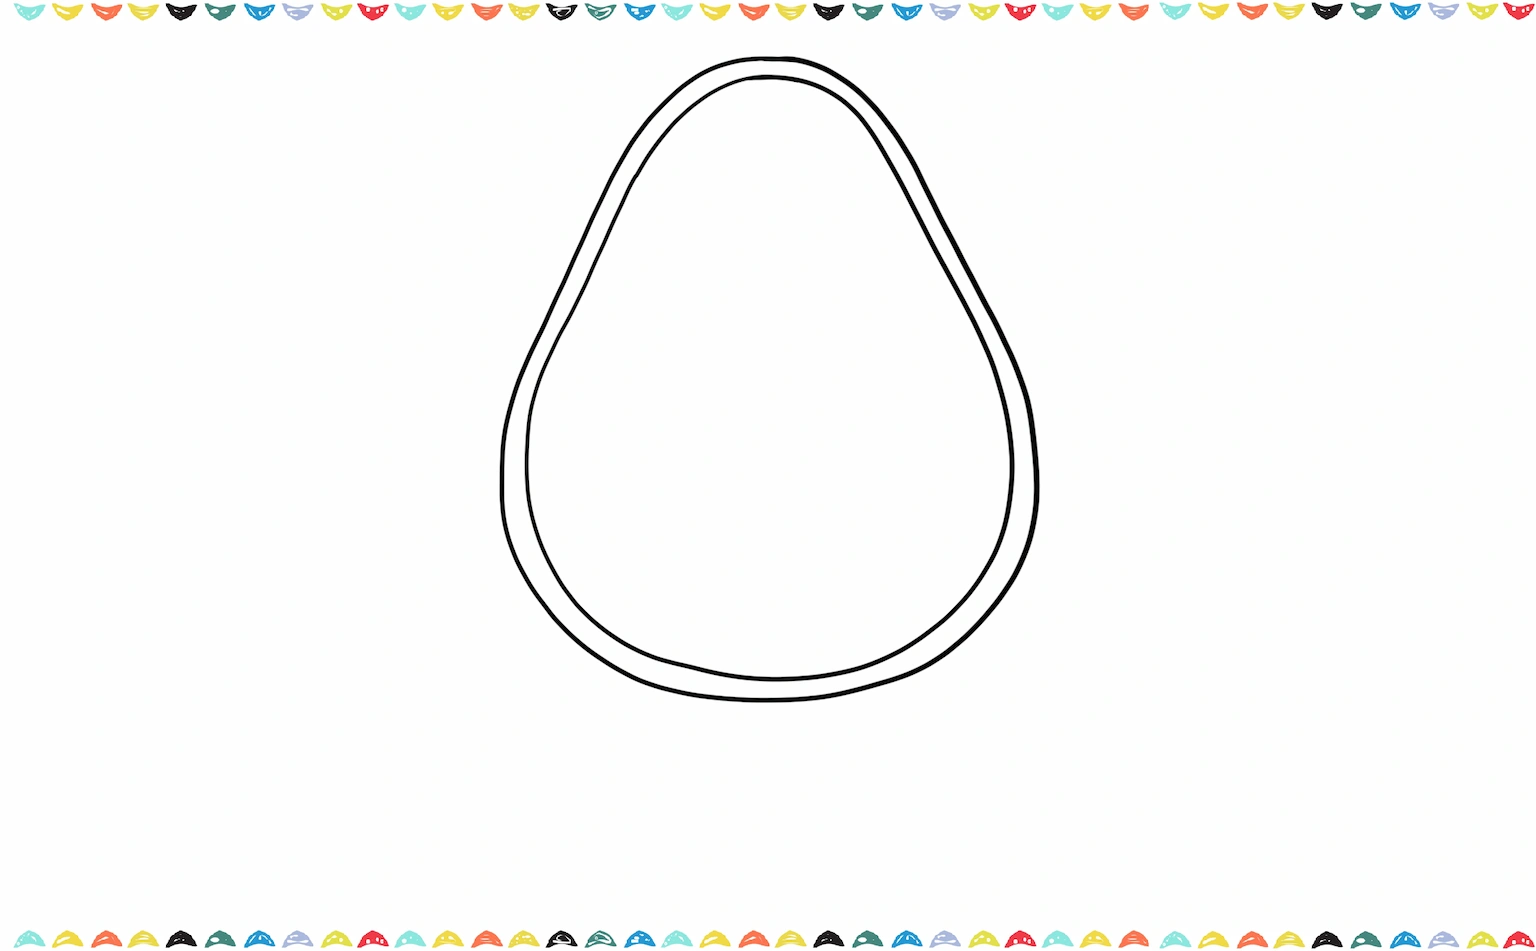
Step 3 – Happy Face on the Pit
Place the minimalist face on the pit. This is the key to a cute Jellycat avocado drawing.
Step 4 – Dangling Legs
Add two thin legs under the avocado.
Step 5 – Color Our Jellycat Avocado Drawing ✨🥑
Now let’s bring your Jellycat drawing to life with soft, cozy colors!
- Use a light pastel green for the inner avocado flesh.
- Add a darker green around the outer edge to create the peel.
- Color the pit with a warm medium brown tone.
- Use a slightly darker brown near the bottom of the pit for soft shading.
- Color the dangling legs in a light beige or soft brown to match the plush look.
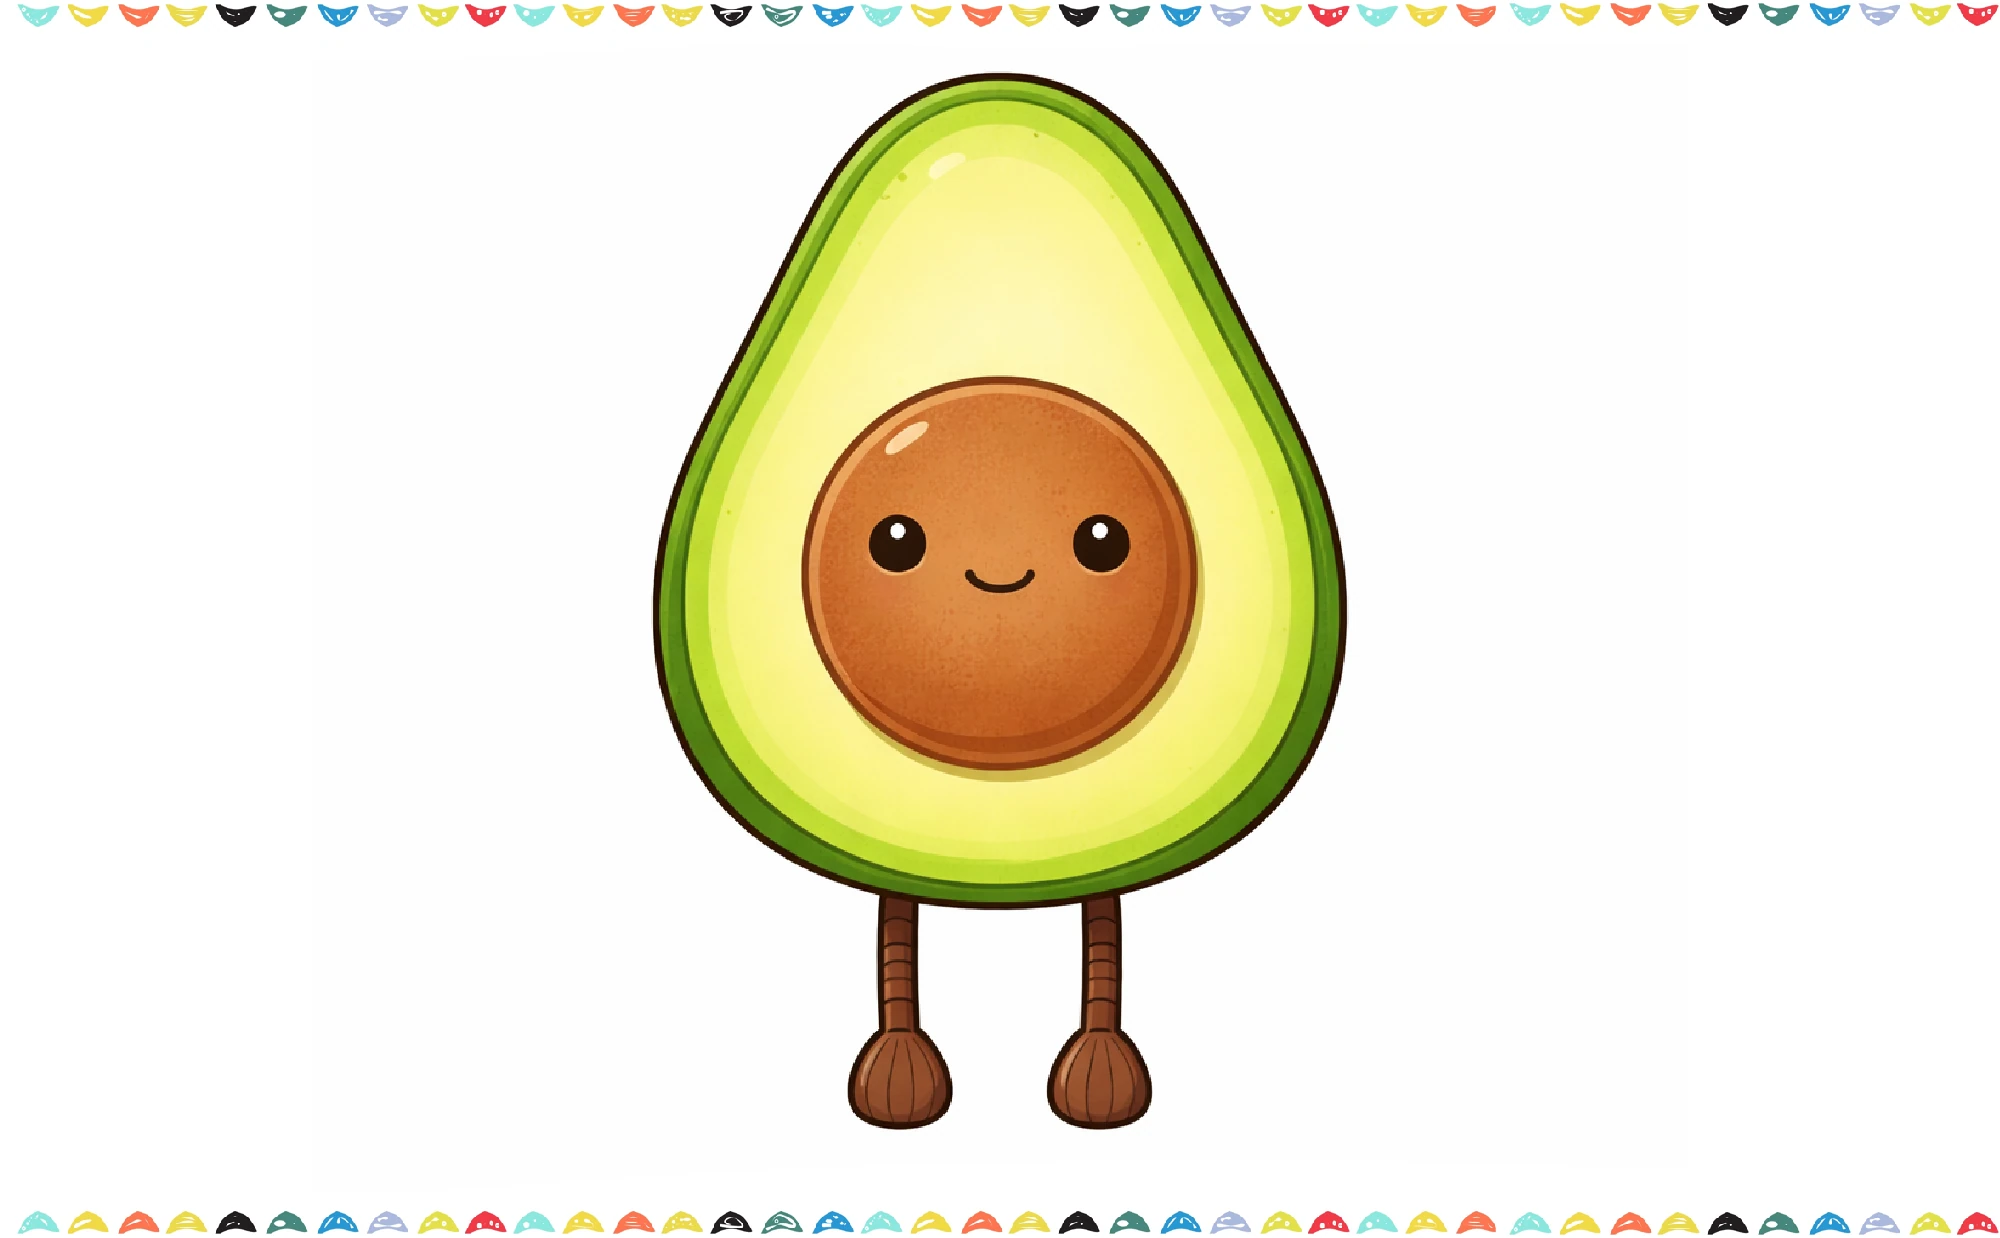
Your Jellycat avocado drawing is complete! If you love fruit characters, you might enjoy our Sonny Angel guide for more cute plush toy art inspiration.

Kawaii Drawing Guide: Trending Art Toy & Cute Character Tutorials for Beginners
Learn kawaii drawing step by step! Discover cute characters, art toys, and easy tutorials for beginners. 🎨✨
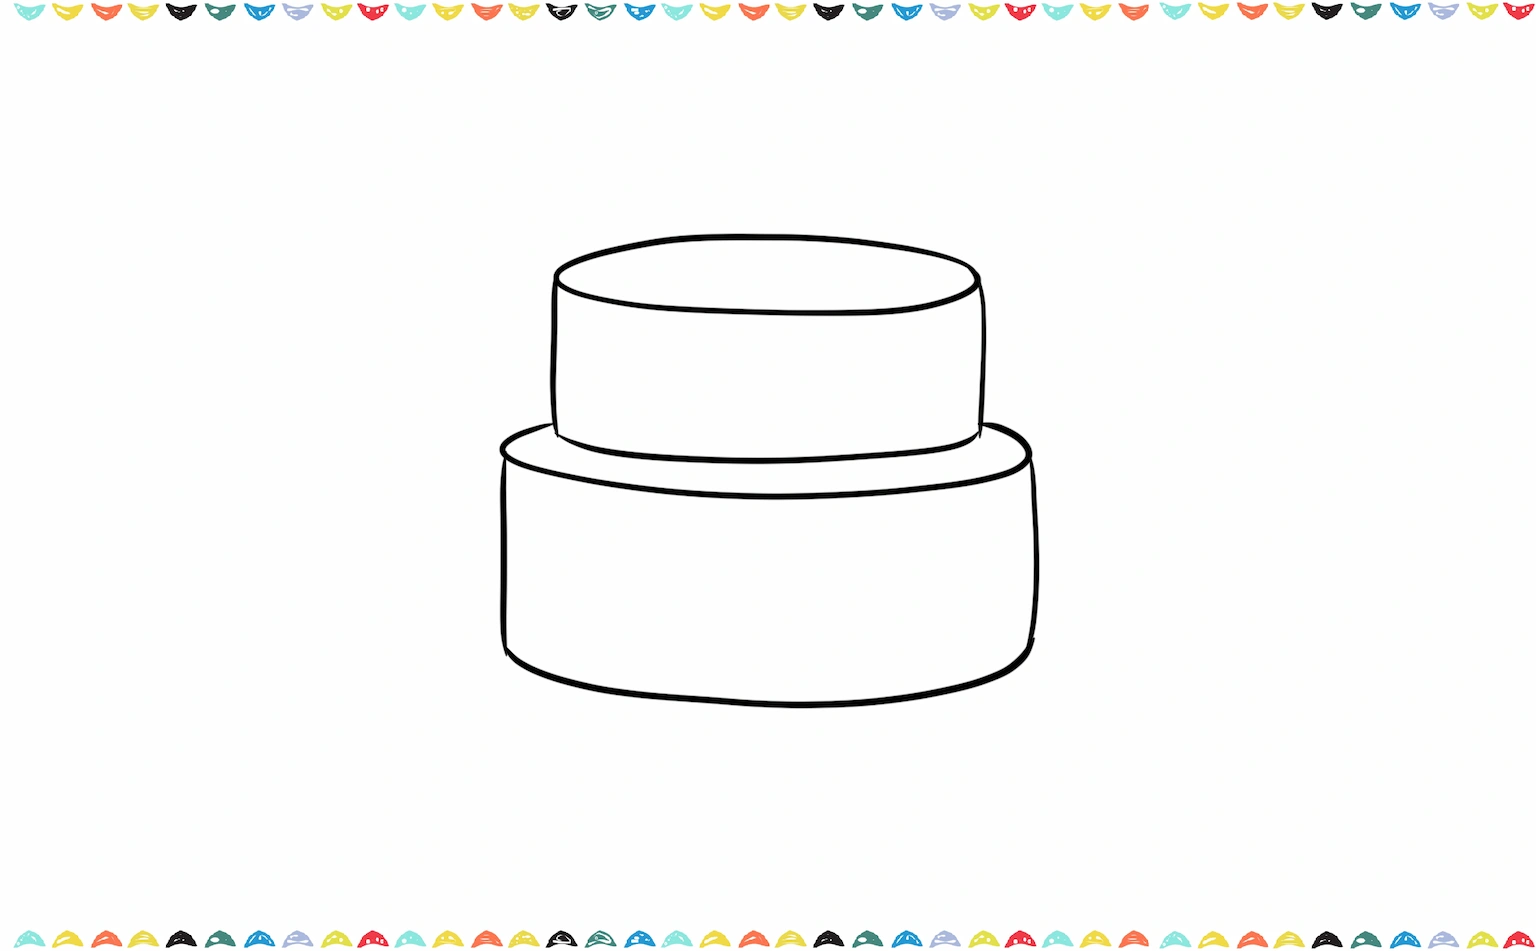
How to Draw a Jellycat Birthday Cake 🍰
The Jellycat cake drawing is perfect for celebrations!
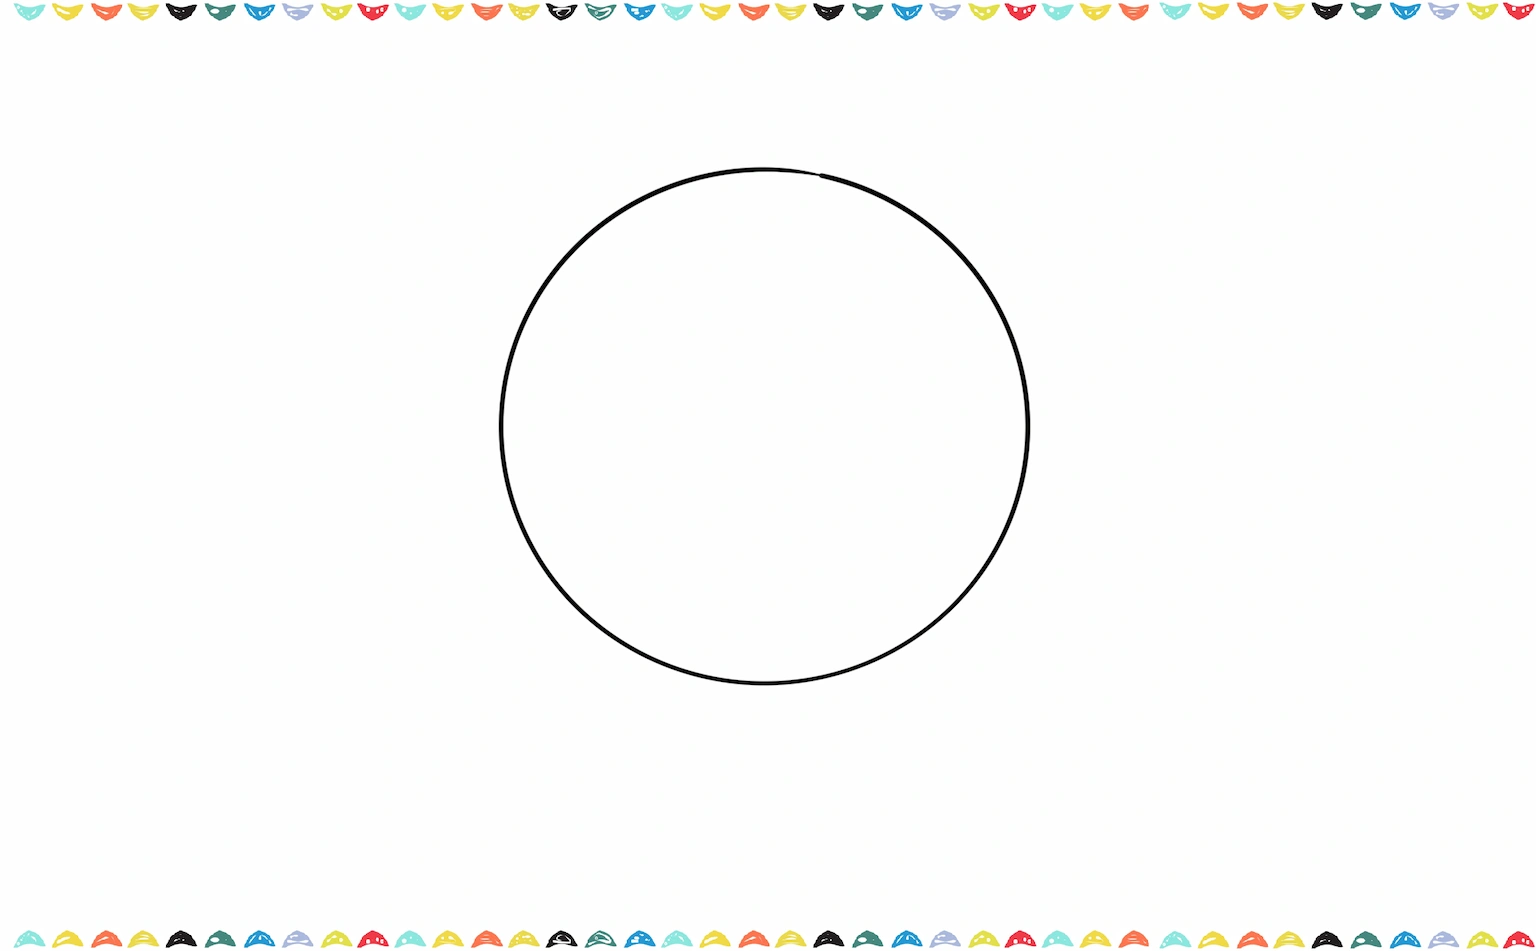
Step 1 – Two-Tiered Cake
Draw two stacked round shapes.

How to Draw a Cupcake – Fun Step-by-Step Drawing Tutorial
Want to draw a cupcake? 🧁 Follow this easy step-by-step cupcake drawing tutorial made for kids and beginners!
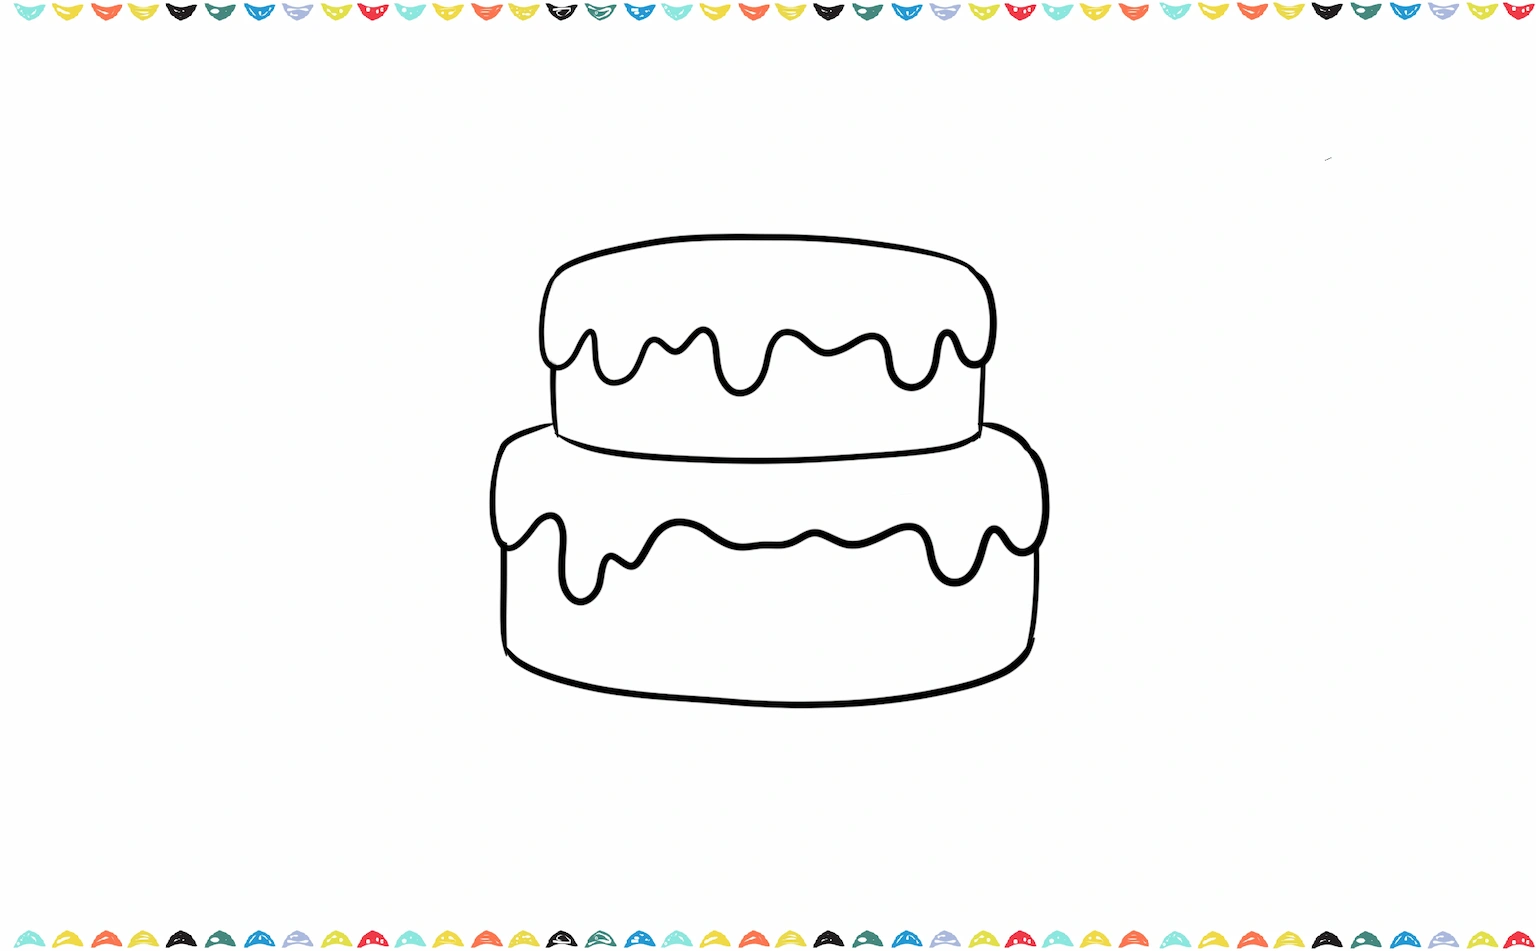
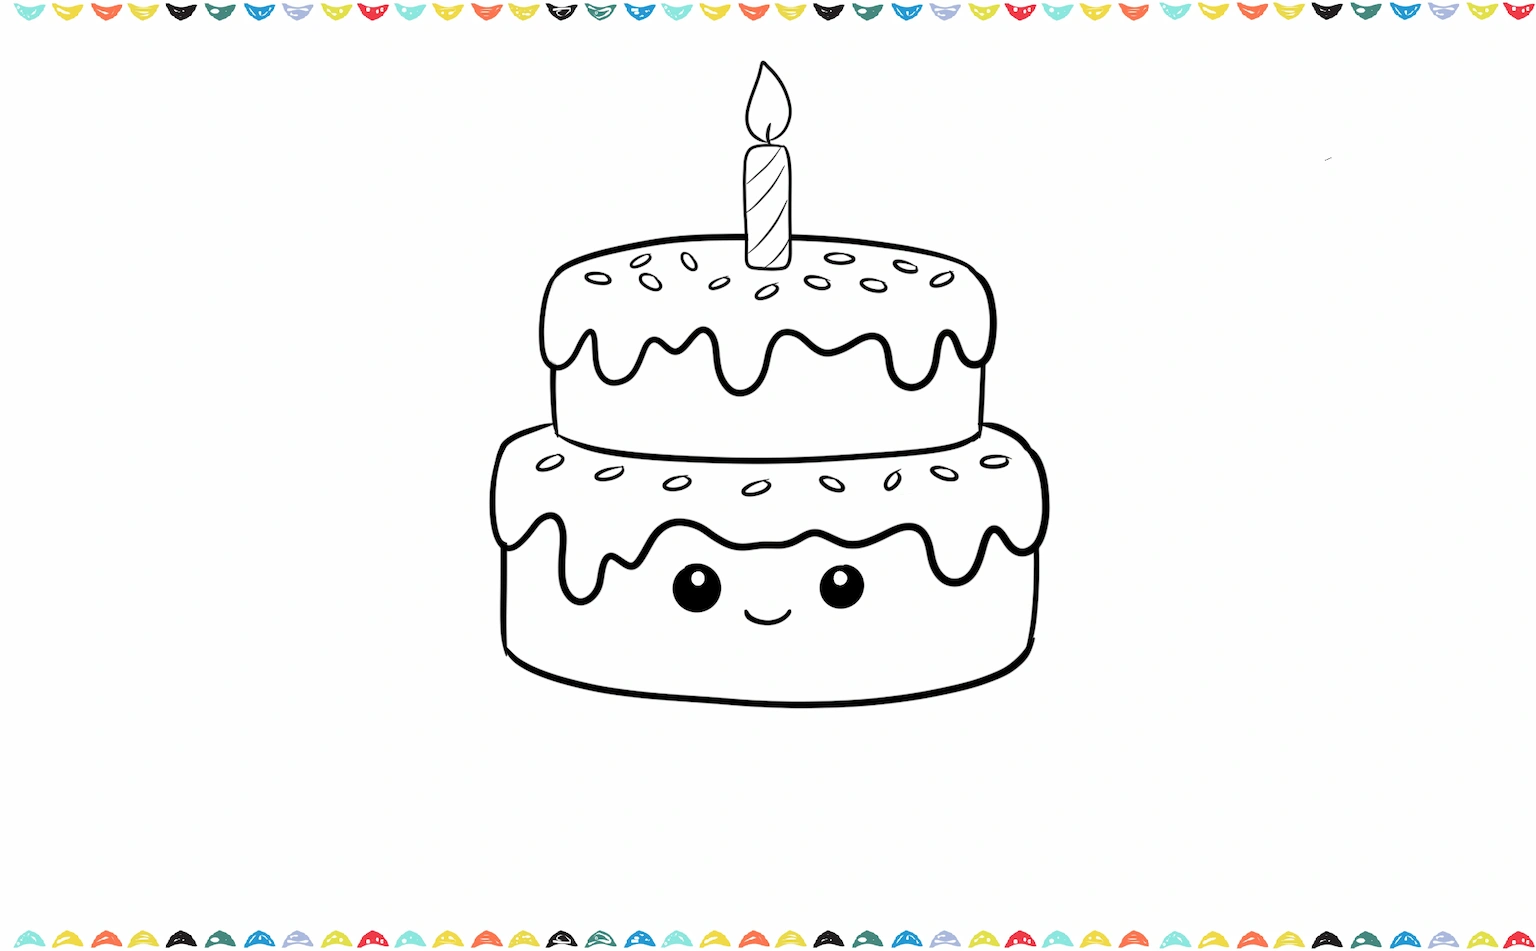
Step 2 – Drip Frosting
Add wavy frosting lines for frosting look.
Step 3 – Add Face, Sprinkles and a Candle
Draw the face on the bottom tier. Add colorful sprinkles and a candle on top in Jellycat cake drawing
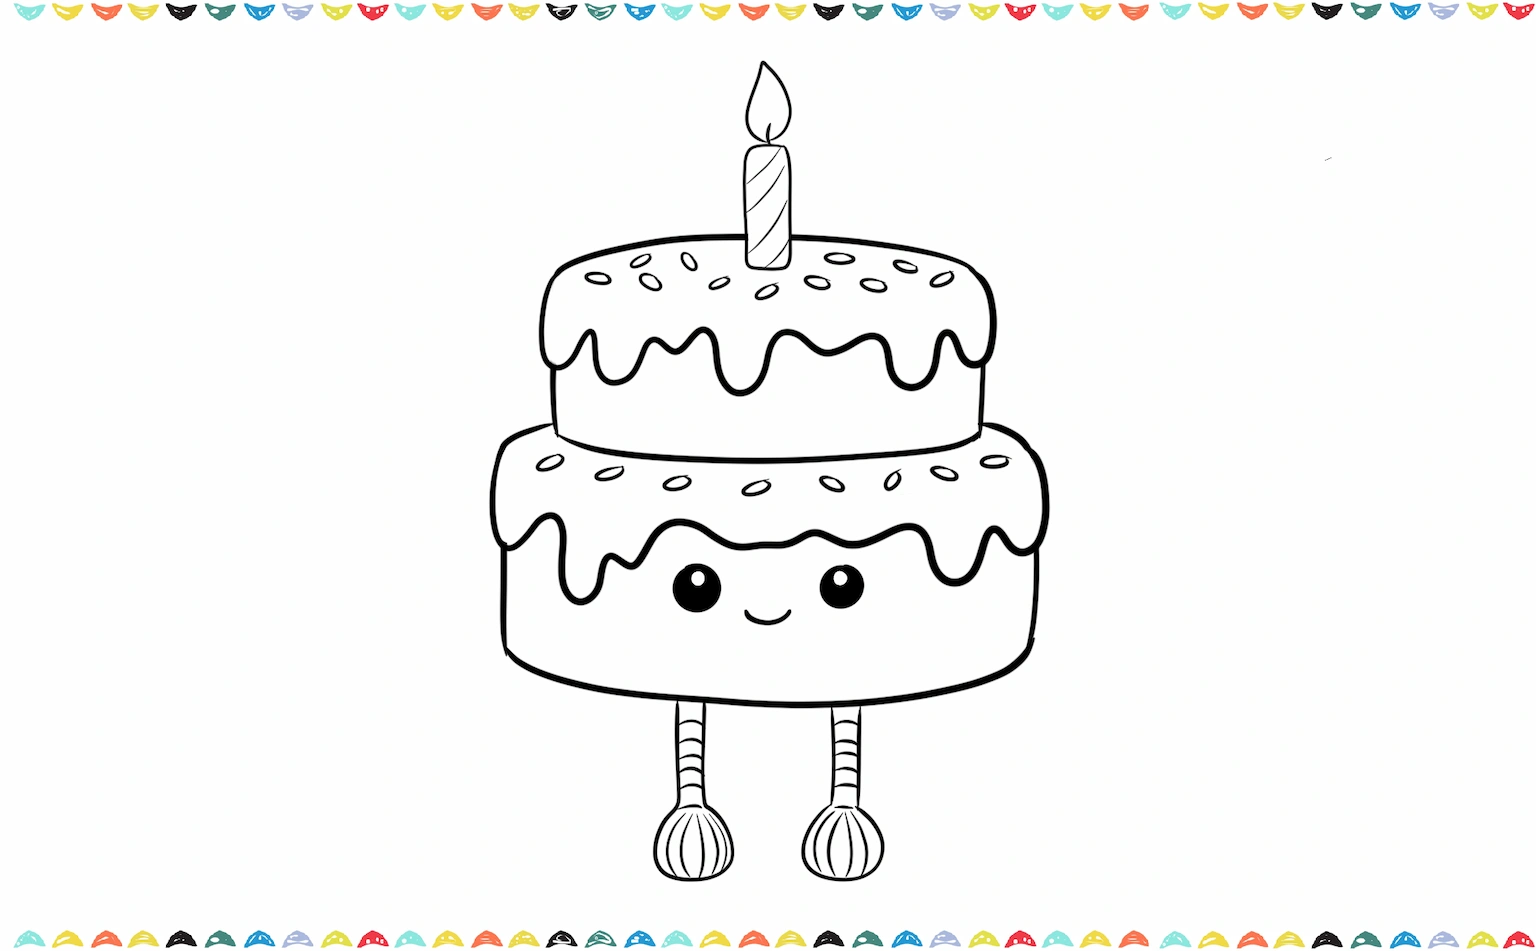
Step 4 – Dangling Legs
Attach the signature legs at the base.

How to Draw a Cake – Fun Step-by-Step Drawing Tutorial
Want to learn how to draw a cake? This fun step-by-step tutorial teaches kids and beginners to draw a birthday cake with candles, layers, and more!
Step 5 – Color Our Jellycat Cake Drawing ✨🍰
Now let’s color your Jellycat drawing and give it that soft plush Amuseables vibe!
- Start with the base cake layers and use a light beige or soft pastel yellow for the sponge.
- Choose pastel pink, cream, or baby blue for a kawaii look for the frosting.
- Finally color the candle with a soft pastel tone and use yellow and orange for the flame.
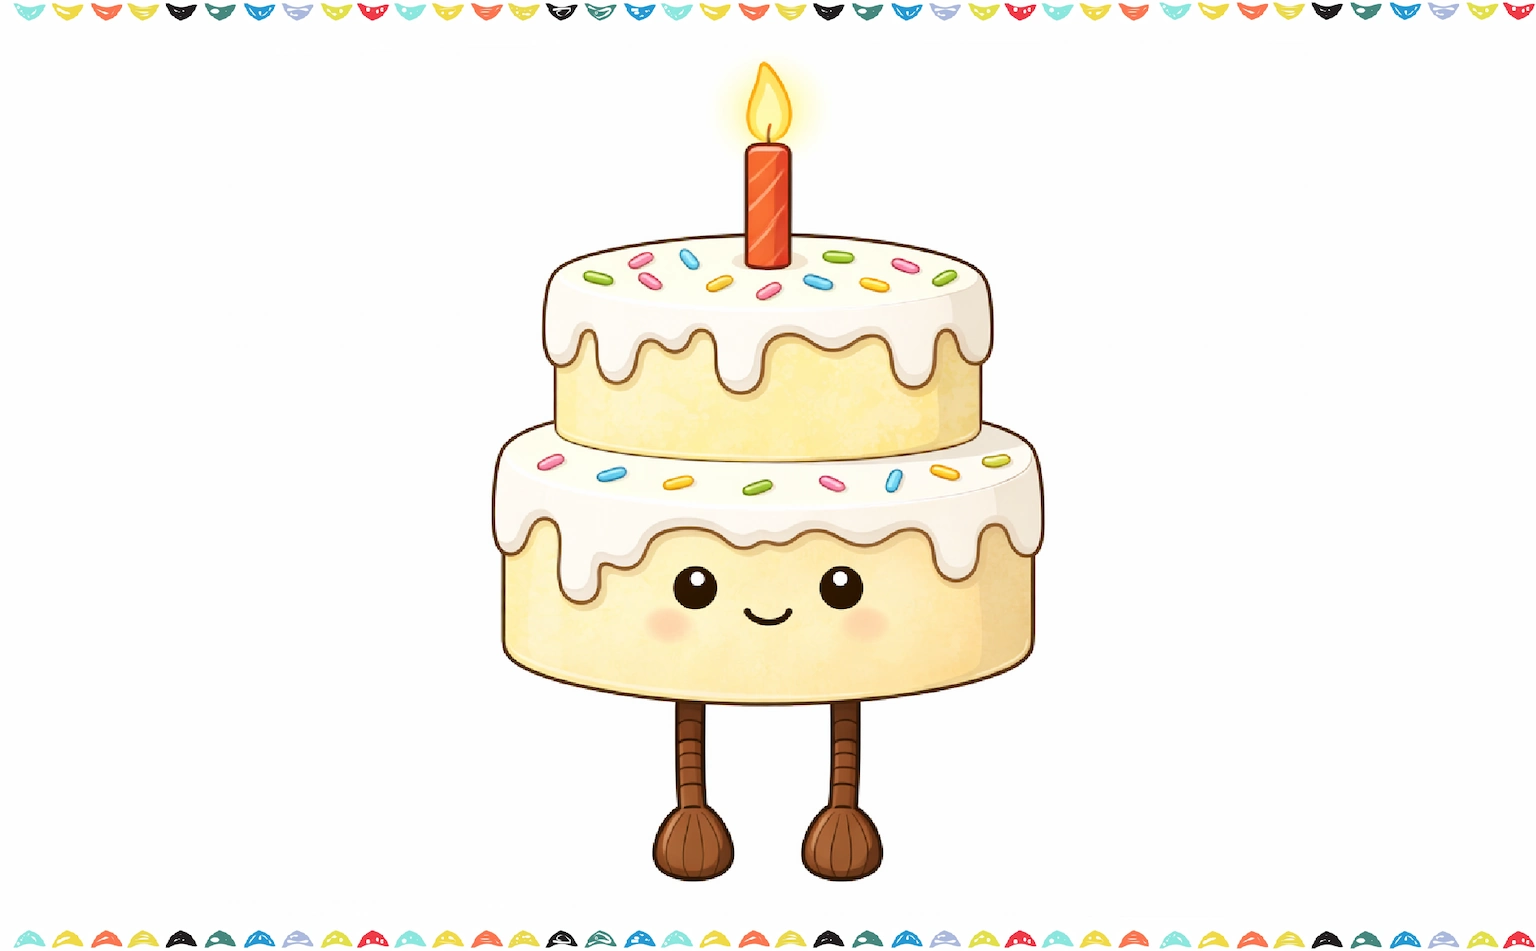
Now your Jellycat cake drawing looks party-ready! 🎉 Practice How to draw Jellycat cake again for smooth curves.
How to Draw a Jellycat Sun ☀️
The Jellycat sun drawing brings sunshine to your page!
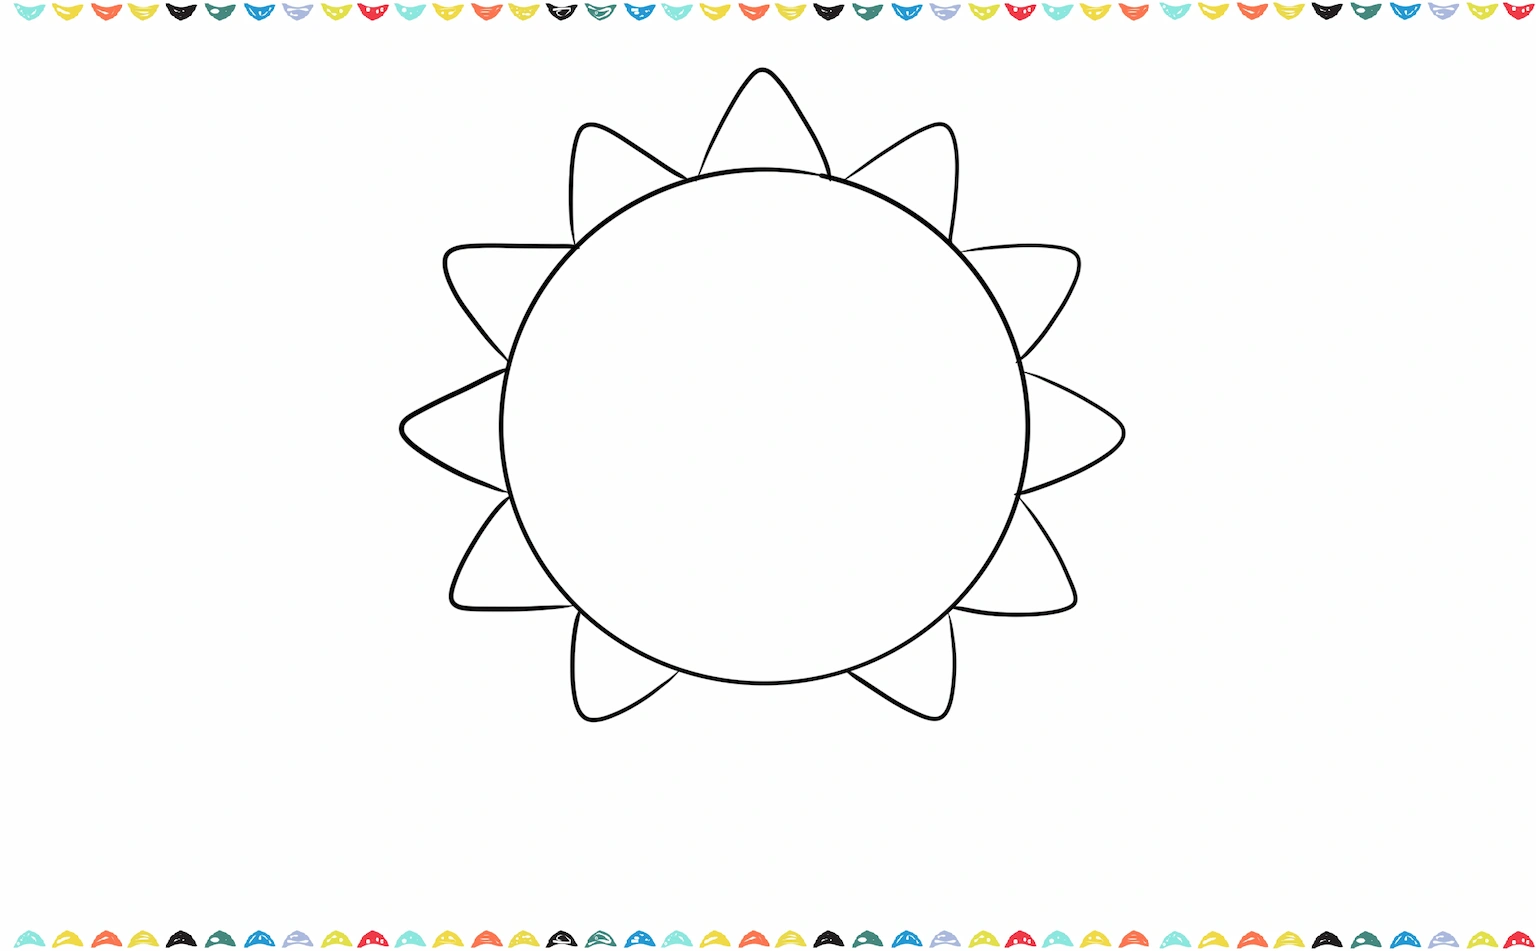
Step 1 – Perfect Circle
Draw a large circle.
Step 2 – Rounded Rays
Add rounded triangular rays around it.
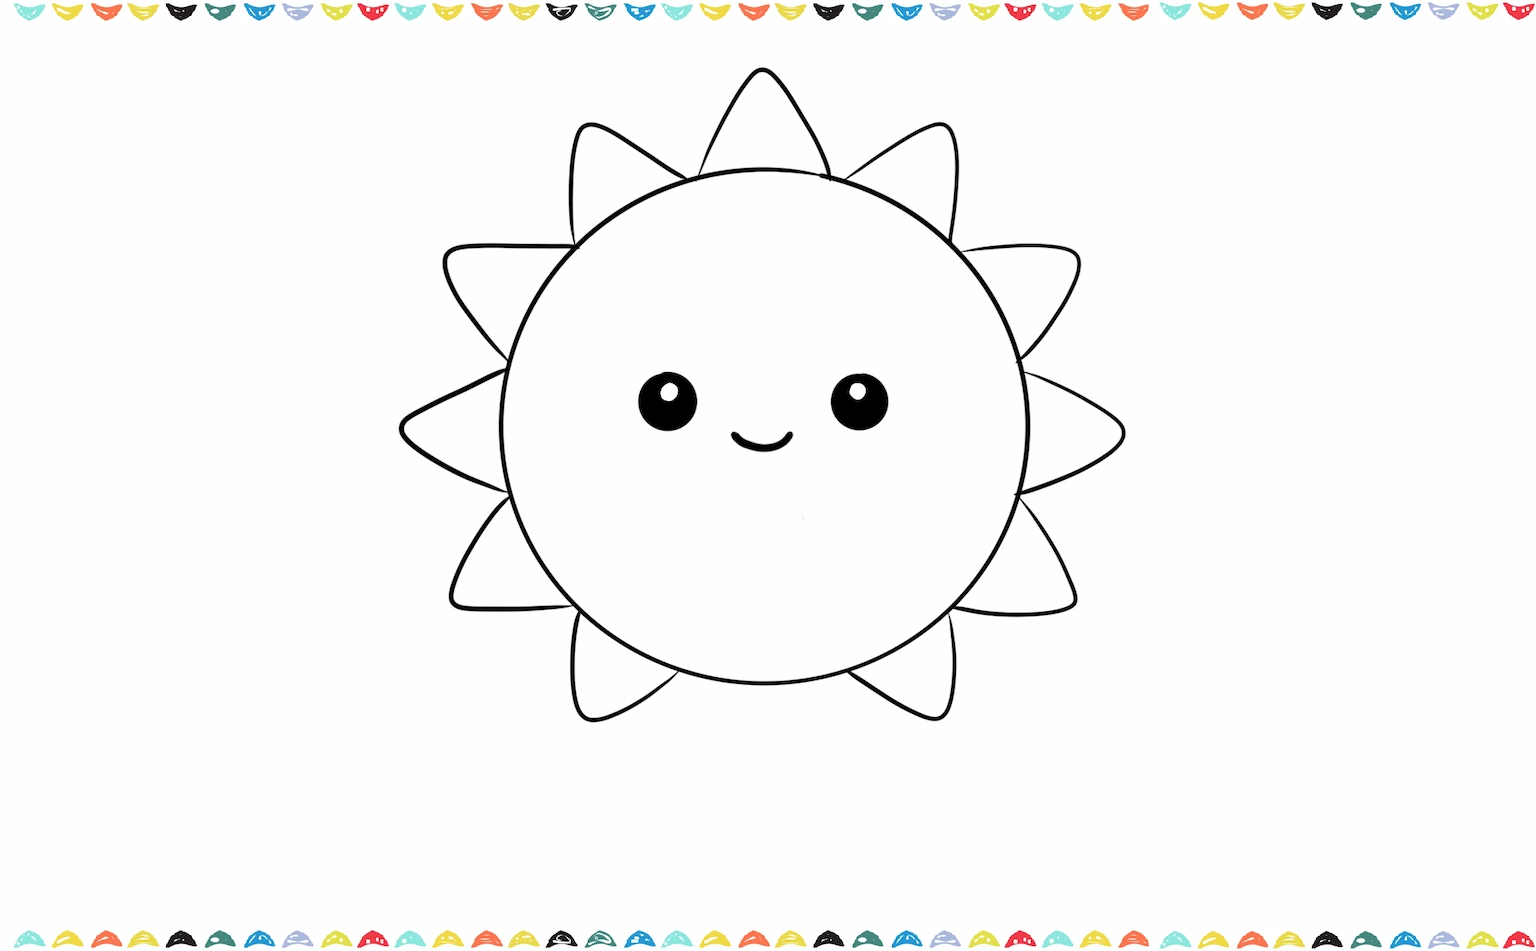
Step 3 – Happy Face
Place the tiny face in the center.
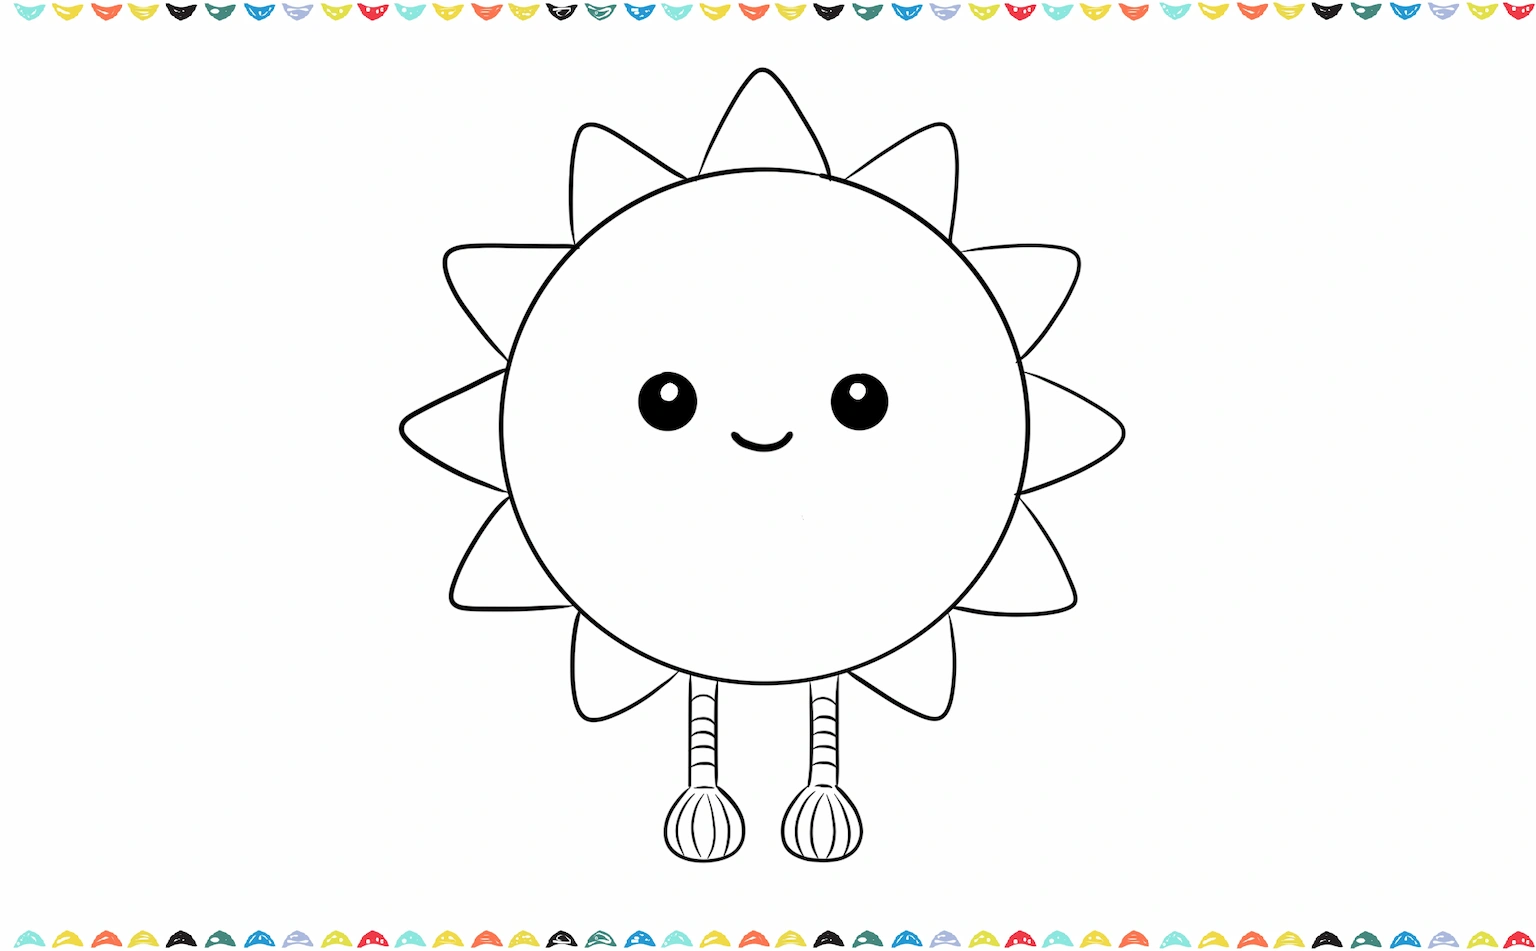
Step 4 – Dangling Legs
Add the cute legs underneath.
Step 5 – Color Our Jellycat Sun Drawing ✨☀️
Now let’s bring your Jellycat drawing to life with warm, cozy colors!
- Start with the main circle use a soft pastel yellow as the base.
- Leave the eyes black with tiny white highlights fo the face and add a soft pink blush on the cheeks for extra kawaii charm.
- Use light brown or beige for the dangling legs to match the signature Jellycat plush style
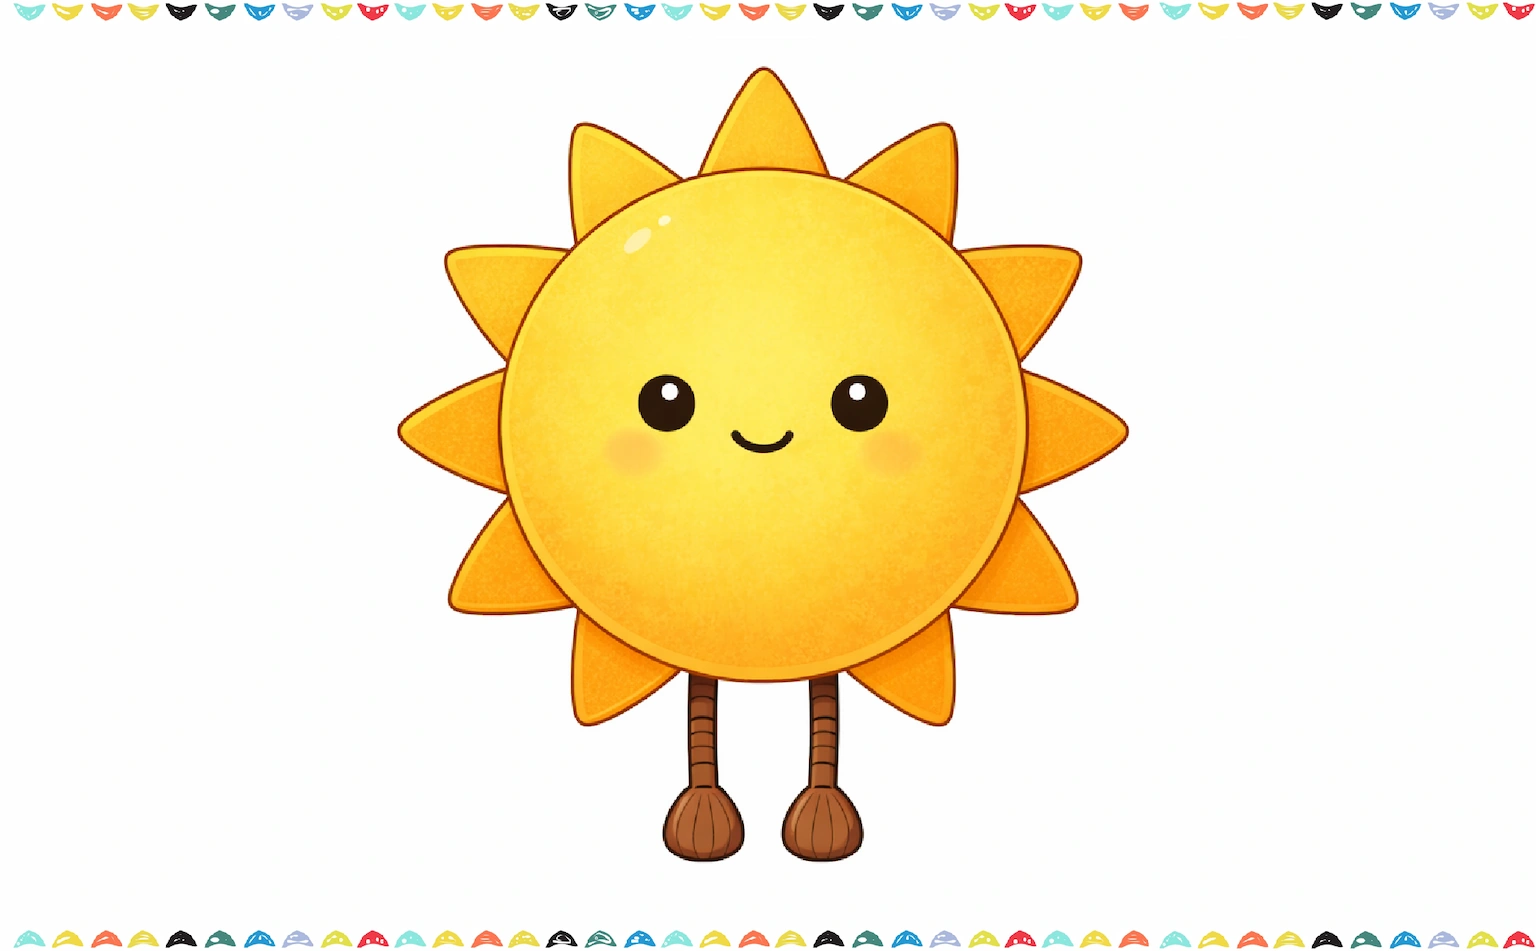
Your Jellycat sun drawing is glowing! This one is great for step by step drawing for kids.

Capybara Drawing: Easy and Fun Guide to Drawing Capybara
Capybara drawing made easy! Learn how to draw a capybara step by step in the cutest chill style.
How to Draw a Jellycat Croissant 🥐
The Jellycat croissant drawing is cozy and adorable.
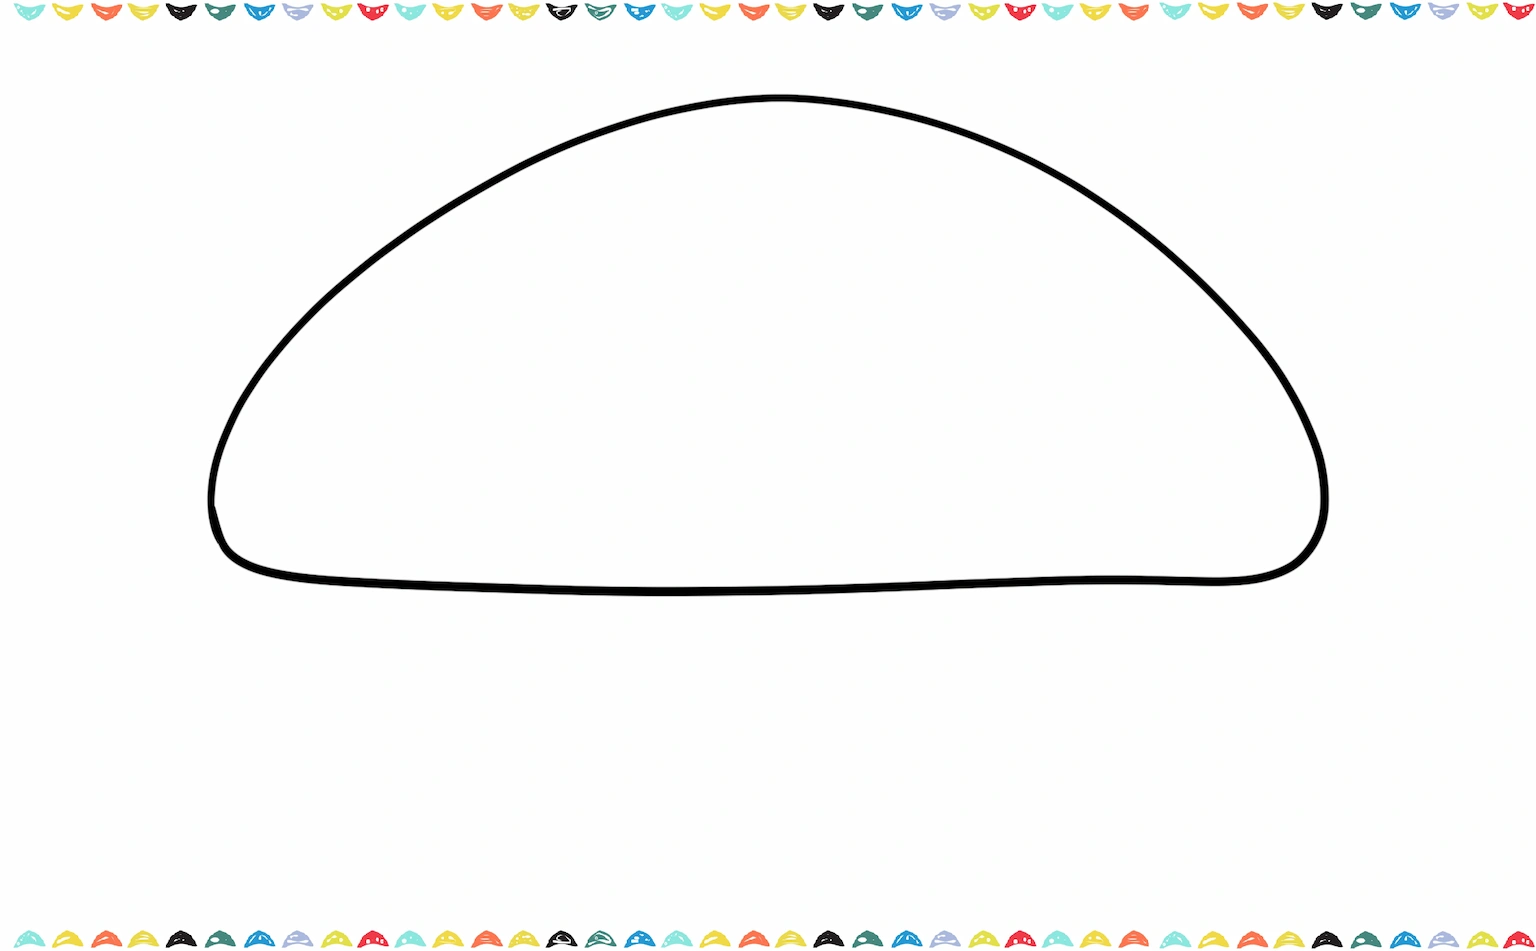
Step 1 – Crescent Shape
Draw a crescent moon shape.
Step 2 – Flaky Layers
Add curved lines for texture.
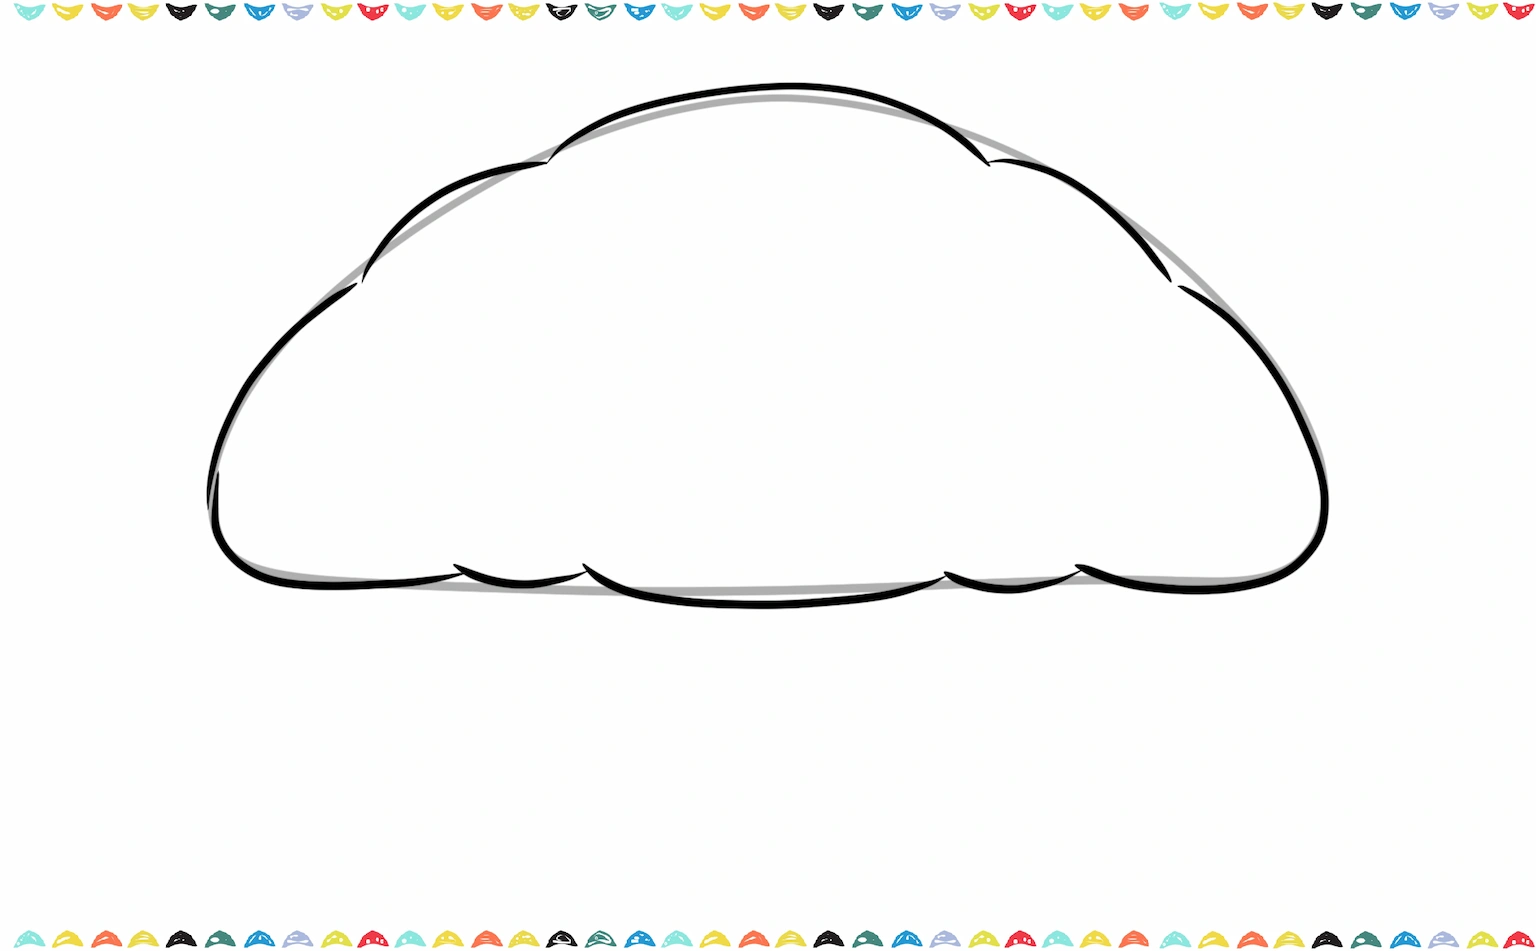
Add soft curved lines across the body to show the croissant’s layered, flaky texture. Keep the lines slightly arched and follow the natural curve of the crescent shape.

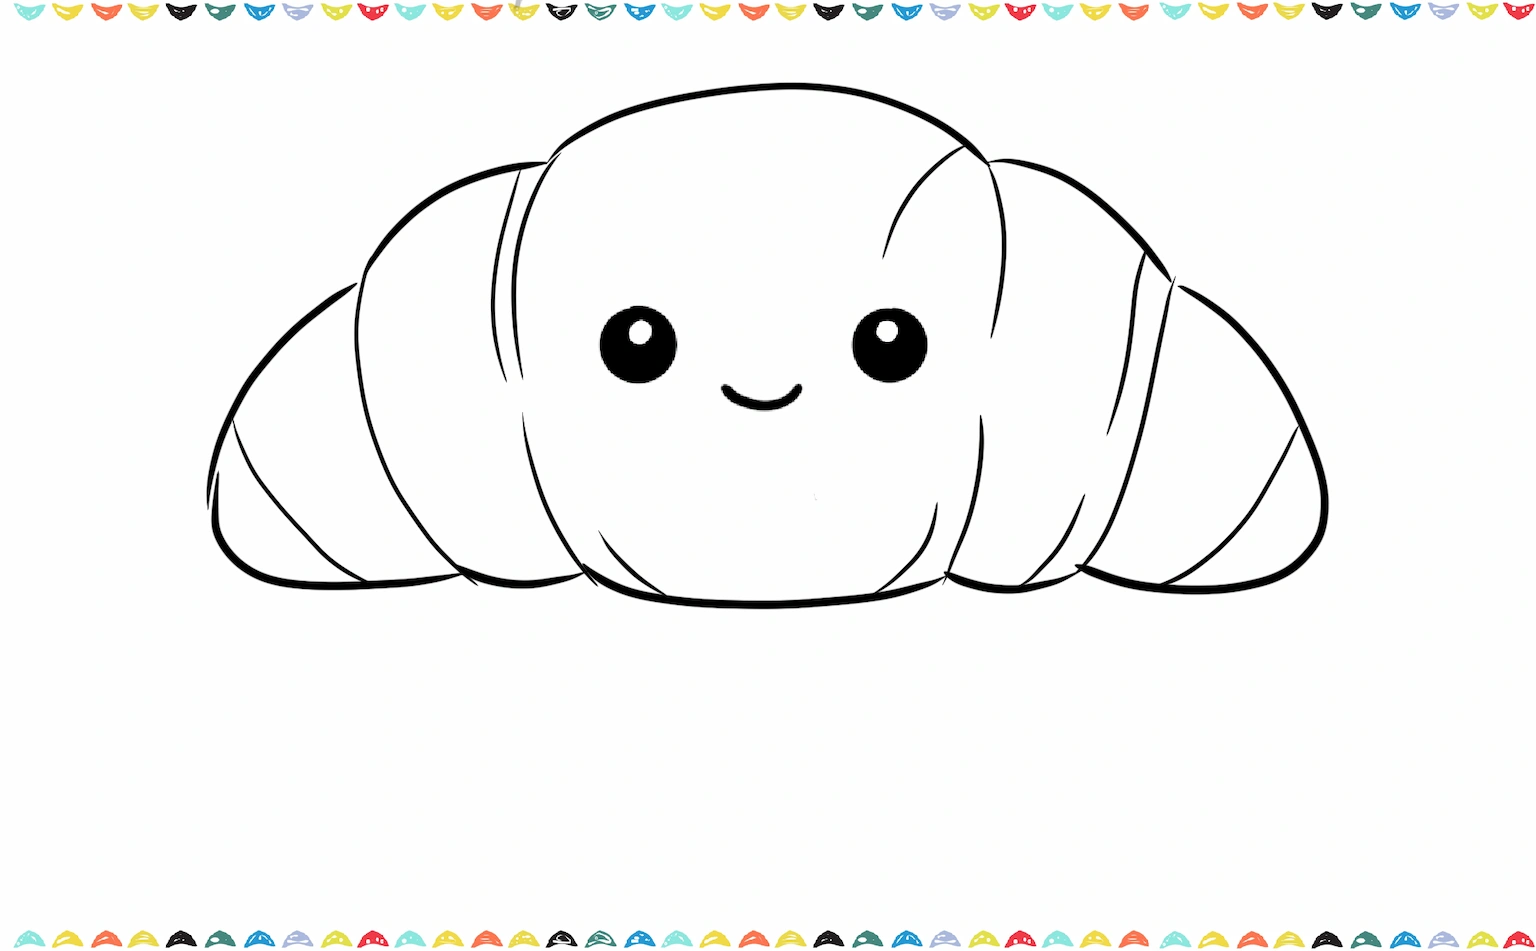
Step 3 – Tiny Face
Draw the minimalist face in the center.
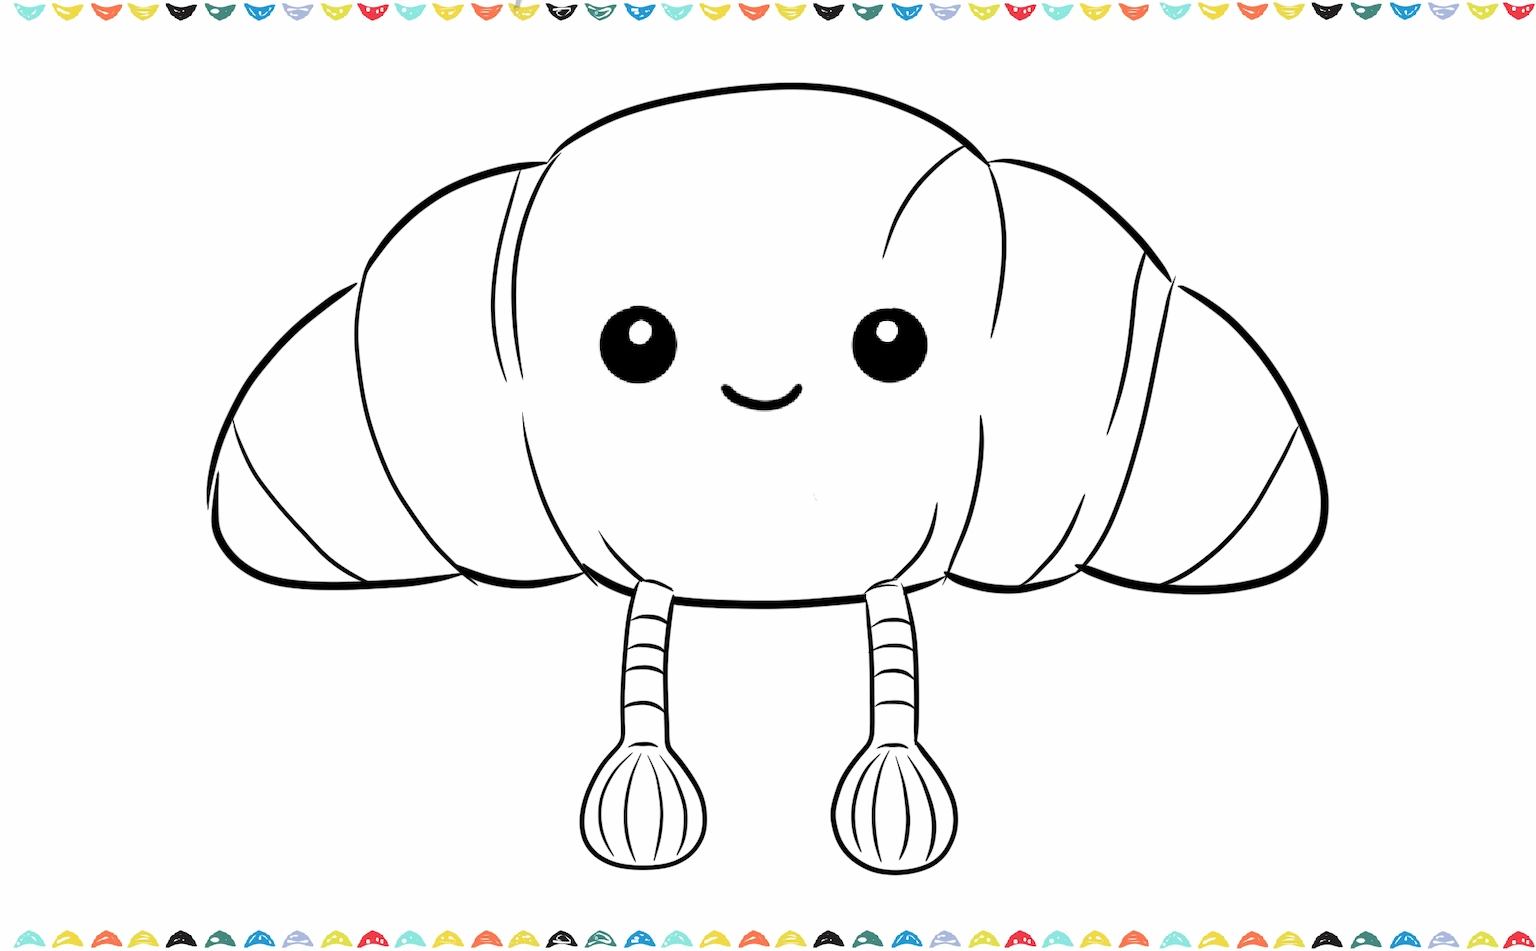
Step 4 – Dangling Legs
Add the dangling corduroy legs for Jellycat croissant drawing.
Step 5 – Color Our Jellycat Croissant Drawing
- Use light brown for the base.
- Add darker brown on the edges for shading.
- Color legs beige.
- Add tiny white eye highlights.
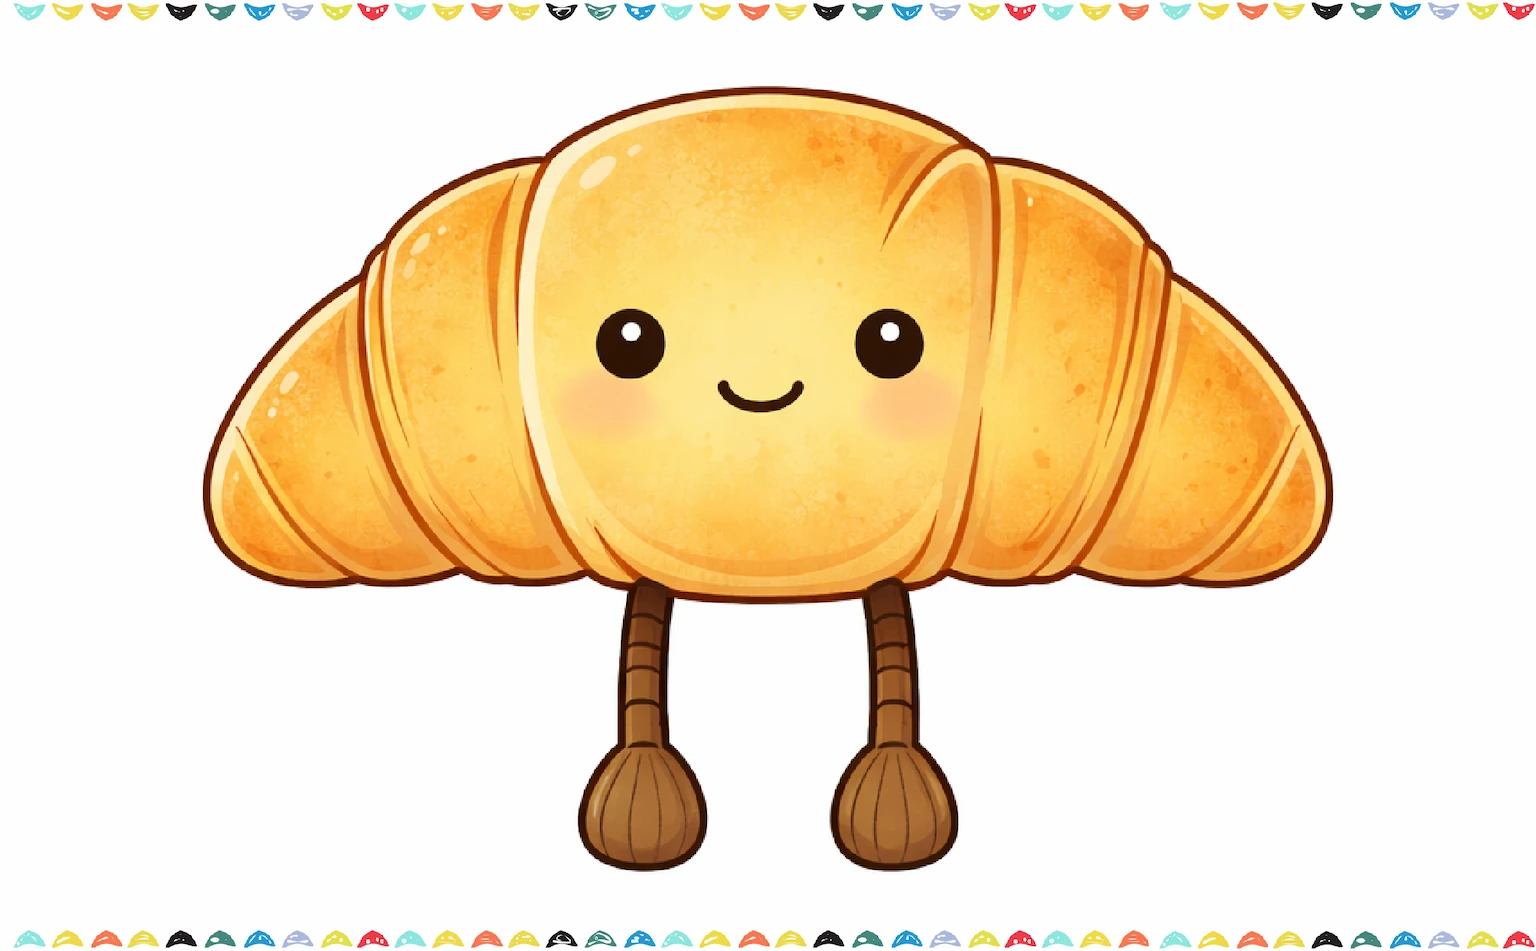
The Jellycat croissant drawing is now complete! Keep practicing to master How to draw Jellycat bakery styles.
Smiski Drawing: How to Draw Smiski Easy Step-by-Step
Learn Smiski drawing step-by-step! Easy, fun guide for kids and collectors who want to draw adorable glowing Smiski. 🎨✨
How to Draw a Jellycat Coffee Cup ☕
The Jellycat coffee cup drawing is trendy and cute.
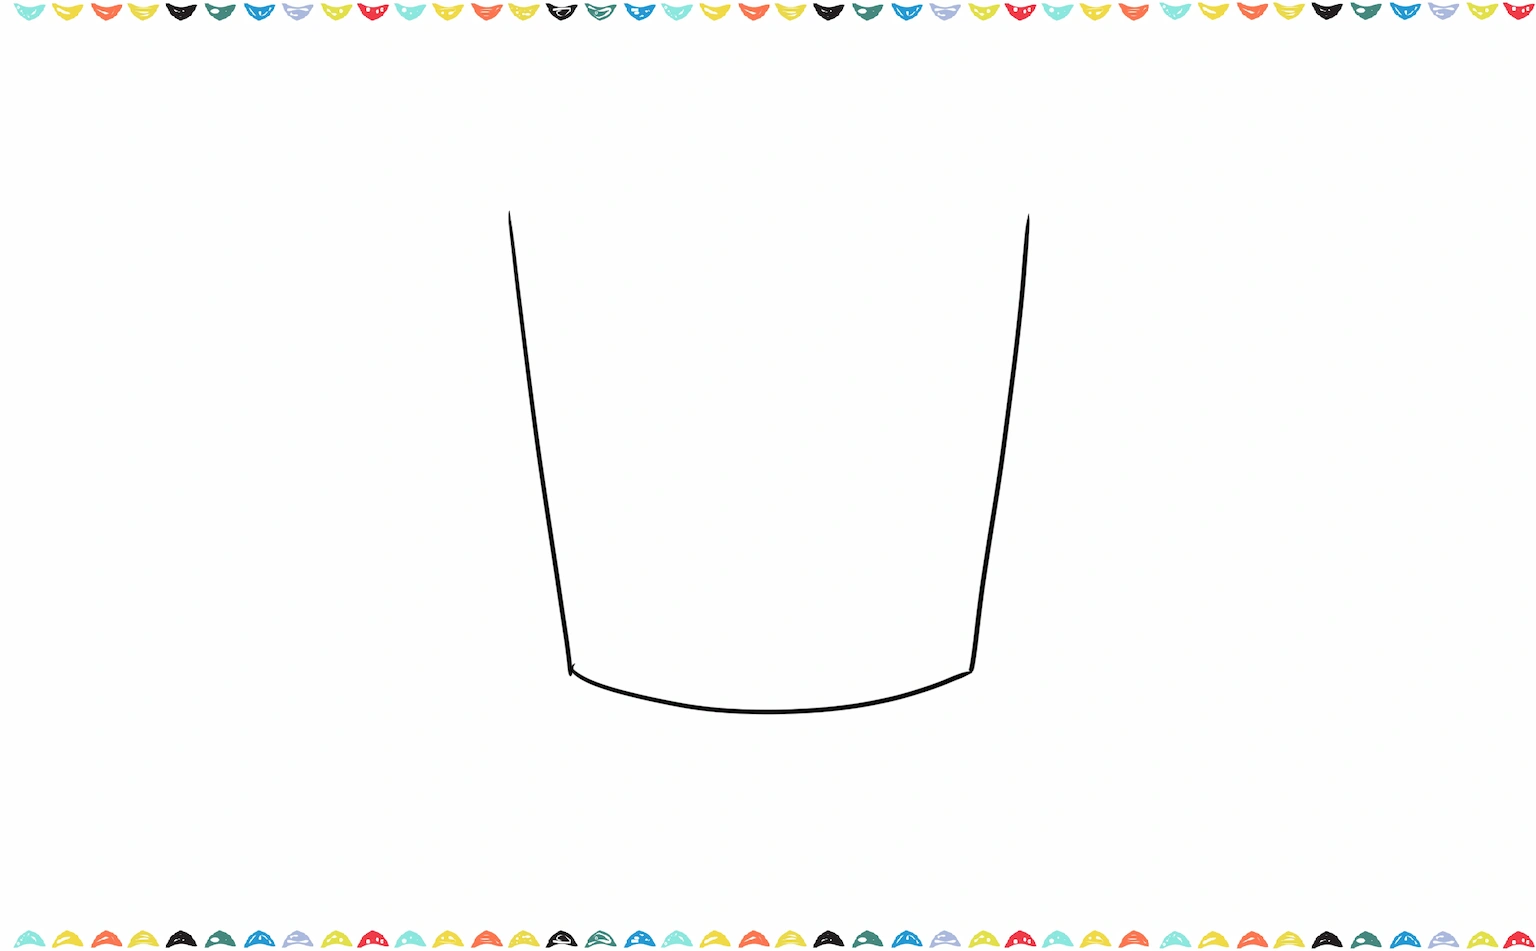
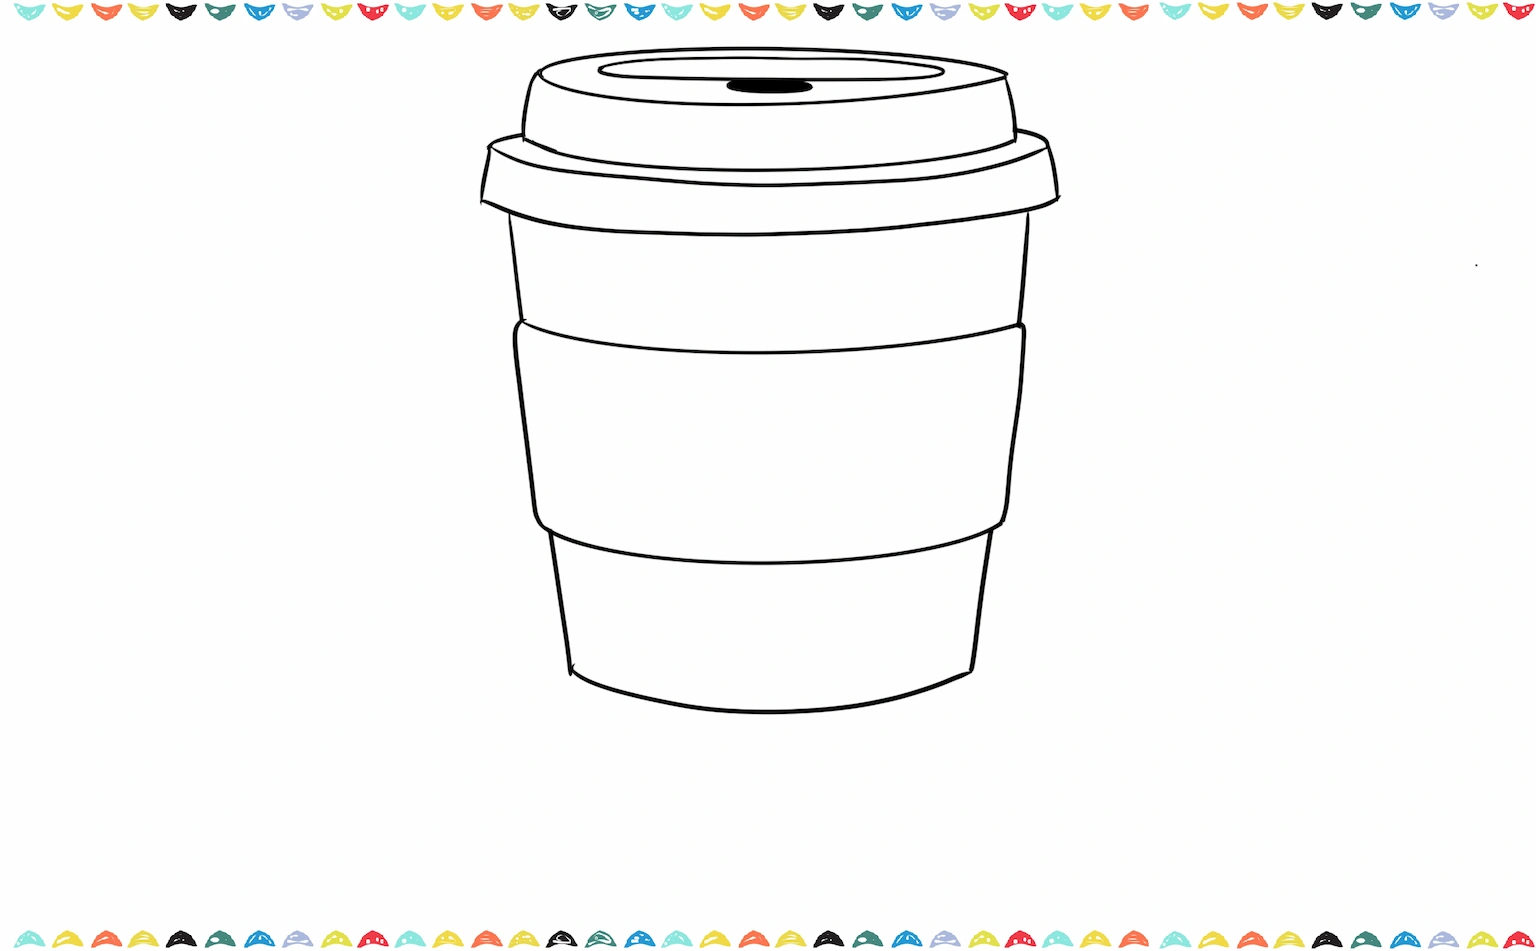
Step 1 – Tapered Cup Shape
1️⃣ Start with a U-shaped base.
Draw a wide “U” shape to form the bottom of the cup. Keep the base slightly curved and make the sides gently slant inward as they go up. This creates the tapered look.
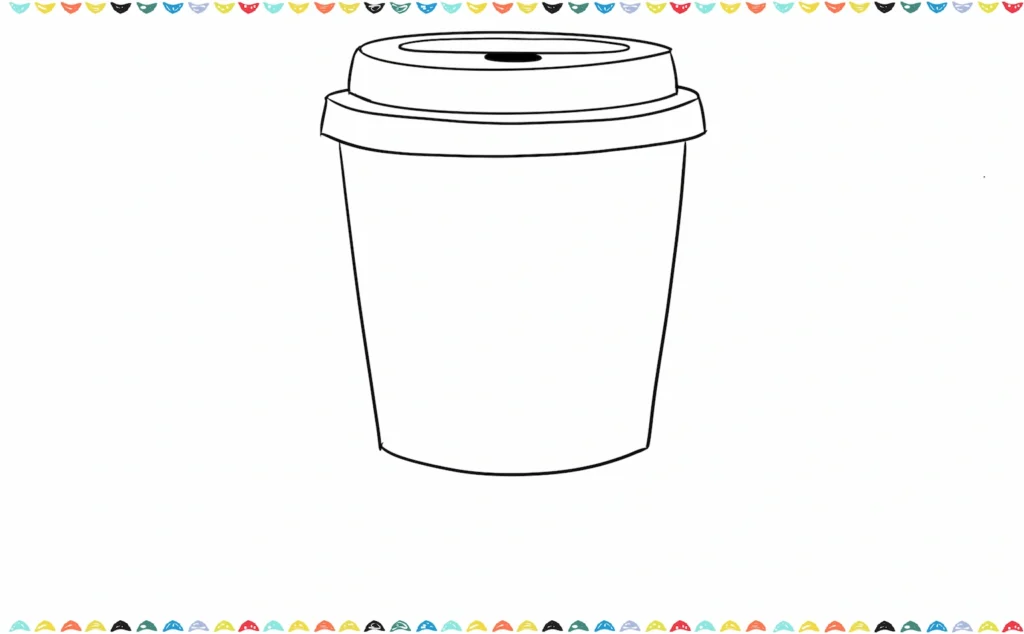
2️⃣ Close the top of the cup.
Now connect the two top ends of the “U” shape with a slightly curved horizontal line. This completes the main cup body and gives it structure.

3️⃣ Add the lid layer.
On top of the cup, draw a thin, slightly wider oval shape. Then add another narrow curved layer underneath it to create the coffee cup lid effect. This extra thin layer makes it look like a real takeaway coffee cup.
Step 2 – Cardboard Sleeve
Add a rectangle band in the middle.
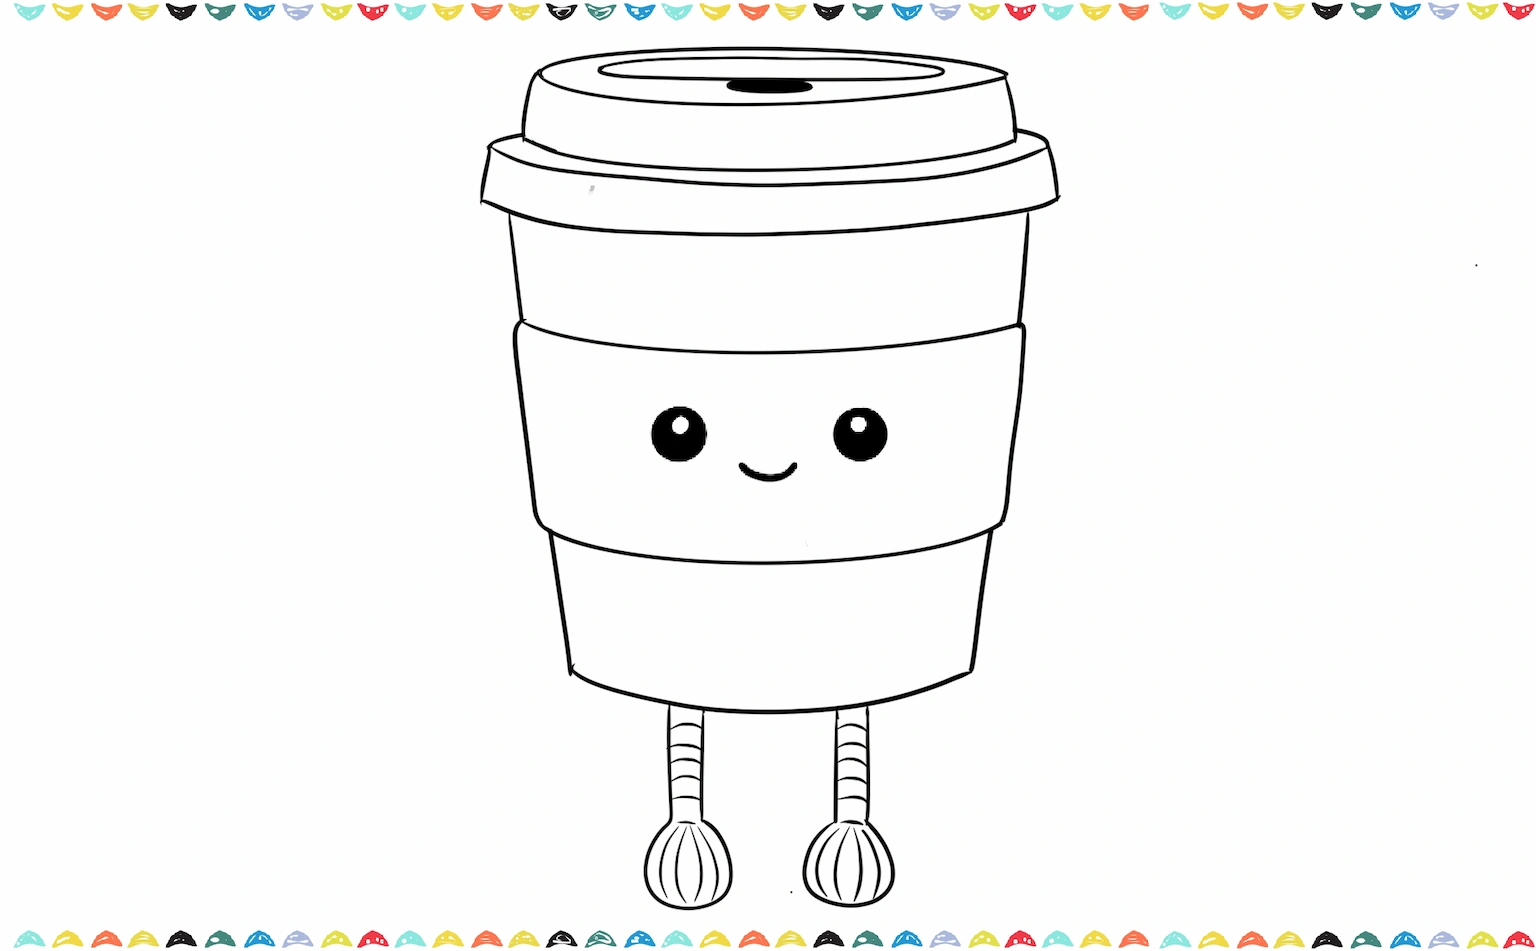
Step 3 – Kawaii Face
Place the face on the sleeve.

Step 4 – Dangling Legs
Draw the corduroy legs at the bottom.
Step 5 – Color Our Jellycat Coffee Cup Drawing
Now let’s bring your Jellycat drawing to life with warm, cozy colors!
- Use soft beige or cream for the cup.
- Color the sleeve light brown.
- Shade the lid slightly darker.
- Add white highlights to the eyes.

Simple, cozy, and plush-style complete. ☕ Your Jellycat coffee cup drawing is café-ready! This is perfect for easy food drawing practice.
Great work! You’ve successfully learned easy Jellycat drawings step by step! If you like jellycat drawing tutorials you may also like our step by step lessons such as Animal Drawings or Flower Drawings.
Pro Tips for Kawaii Art 🌸✨
To improve your Jellycat drawing:
- Use pastel colors
- Add soft shading under objects
- Place tiny white highlights in eyes
- Keep lines rounded
These tips also help with kawaii drawing for beginners and cute plush toy art projects. For more character ideas, explore our Labubu drawing tutorial for playful plush inspiration.
Fun Facts About Jellycat 🧸
- Jellycat was founded in London in 1999 and quickly became famous for its super soft plush toys.
- The “Amuseables” collection turns everyday objects like eggs, avocados, and cake into smiling characters.
- Every Amuseable has signature dangling corduroy legs, that’s what makes them instantly recognizable in any Jellycat drawing.
- Jellycat plushies are loved by both kids and adult collectors.
- Some rare designs become highly collectible and sell out fast.
Cute, cozy, and collectible, that’s why Jellycat drawing is so popular right now! 🎨 Want to learn more about Jellycat, click for 25 Years of Jellycat: A Modern Classic Defining Childhood for a Generation
Frequently Asked Questions About Jellycat Drawing ❓
Which Jellycat drawing is easiest for beginners?
The easiest Jellycat drawing for beginners is the Jellycat egg or Jellycat sun drawing because it uses simple oval shapes and minimal details. They are also very beginner-friendly.
How to draw Jellycat step by step if I am a complete beginner?
To learn how to draw Jellycat step by step, begin by breaking each character into basic shapes like circles, ovals, and soft rectangles. Draw the main body shape first, then add the minimalist face, and finally include the signature dangling legs.
Why do Jellycats have dangling legs?
The dangling corduroy legs are a signature design feature of every Amuseable character. They add personality, movement, and a playful plush toy feel.
What makes a Jellycat drawing look cute and aesthetic?
A cute Jellycat drawing usually includes soft pastel colors, smooth line art, and small white highlights in the eyes. Keeping the face minimal and centered is important.
How do I color my Jellycat sketch?
Use soft, warm colors that match the plush toy aesthetic. Pastel yellows, light browns, soft greens, and gentle pinks work best. Blend lightly to avoid harsh shadows, and keep the overall look soft to maintain that cozy plush vibe.
Conclusion: You Did It, Artist! 🎨
Now you know how to draw Jellycat egg, avocado, cake, sun, croissant, and coffee cup! Each Jellycat drawing is simple, cute, and perfect for beginners. Practice daily, experiment with pastel colors, and share your creations online. The Jellycat community loves seeing new kawaii art!
If you enjoyed this guide, explore our Smiski drawing and Sonny Angel guide next for even more plush-inspired fun.
👉 If you loved this tutorial, don’t stop here! Explore more of our tutorials like How to Draw a Ghost, How to Draw a Book or How to Draw a House to complete your art collection. You can even combine them all into one big drawing idea for an awesome scene!
👉 For artists who love magical characters, our step-by-step tutorial on How to Draw Charmander or How to Draw Charizard are another fun projects to try next. 🌟
Looking for creative inspiration? Check out our Pinterest page for some magical ideas!
Keep drawing and having fun with it, just like playing your favorite game every day! The more you draw, the better you’ll get, and you might even discover new ways to draw that you never knew before. Check out our blog post about Drawing Ideas for Beginners – 100 Easy and Fun Things to Draw for more inspiration about drawing.
Share Your Drawing With Us! 💯🎁
We’d love to see your amazing artwork! When you finish your drawing, send us a picture of it. Whether it’s your first try or your masterpiece, we’re excited to cheer you on. Your creativity could even be featured on our site – so grab your crayons and show us what you’ve made! 🎉🖍️
Looking for more step-by-step drawing tutorials? Visit the A-Z Drawing Tutorials Index to browse all lessons, organized alphabetically.