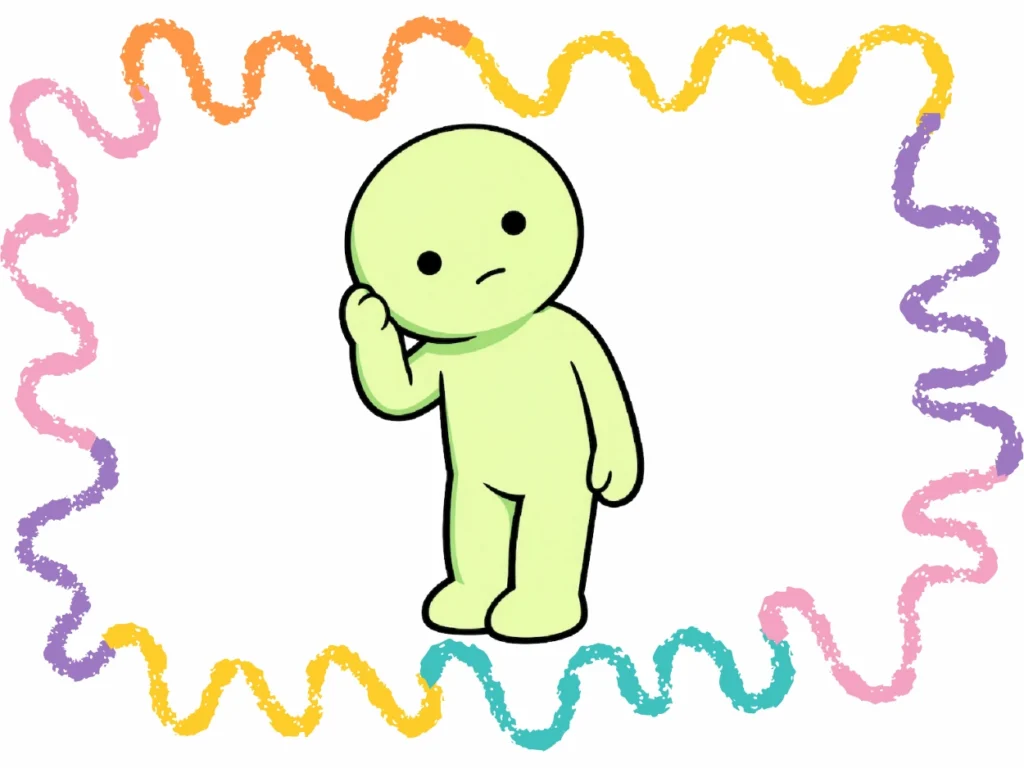
Introduction
Smiski drawing is one of the biggest trends in the art toy world right now! If you’ve been scrolling through social media, watching art videos, or browsing cute toy collections, you’ve probably seen these tiny glowing green characters hiding in corners. Learning how to draw Smiski is not only fun but also super relaxing and creative. Kids, beginners, and even serious collectors are trying Smiski drawing because it’s simple, adorable, and totally unique.
The best part about Smiski drawing is that you don’t need advanced skills. Whether you’re doing a simple Smiski drawing in your sketchbook or creating digital fan art, anyone can learn how to draw Smiski with the right steps. In this guide, I’ll teach you how to draw a Smiski step by step, using easy shapes and friendly instructions. You’ll create a glowing little friend in no time! 🎨✨
By the end of this tutorial, your Smiski drawing will look cute, clean, and collector-worthy!
Table of Contents
Materials Needed 🎨
Before we start our step-by-step drawing, let’s make sure you have everything you need! You don’t need anything fancy, just a few basic tools to bring your drawing to life:
✅ Paper or Sketchbook – A blank page for your drawing. 📄
✅ Pencils (HB or 2B) – Light pencils help with outlining the drawing. ✏️
✅ Eraser – To fix mistakes while sketching. 🔄
✅ Black Marker or Fine Liner – For outlining and defining clearly. ✍️
✅ Colored Pencils – To color your drawing.
What is a Smiski? – Brief History for Kids and Collectors 💚
Before we jump into how to draw Smiski, let’s talk about what Smiski actually is! Smiski is a small glow-in-the-dark art toy character from Japan. They have simple round heads, tiny black dot eyes, and cute little poses that make them look shy or thoughtful. Collectors love Smiski because:
- They glow in the dark and they come in surprise blind boxes 🎁
- Each series has different Smiski poses drawing inspiration
- They are minimal and adorable
When you create a Smiski art toy drawing, you are basically making your own collectible version! Many artists enjoy creating Smiski fan art easy styles with different poses, emotions, or accessories.
Learn Smiski Drawing: How to Draw Smiski Step by Step
Now let’s learn how to draw Smiski with this easy step by step tutorial.
Before we begin this Smiski drawing tutorial, choose your favorite pose! ✨
Click to jump directly to the pose you want to draw and start your Smiski drawing step by step:
👉 Learn easy Smiski drawing – Standing Pose
👉 Learn easy Smiski drawing – Lying Pose

Smiski Drawing Step-by-Step – Standing Pose ✨💚
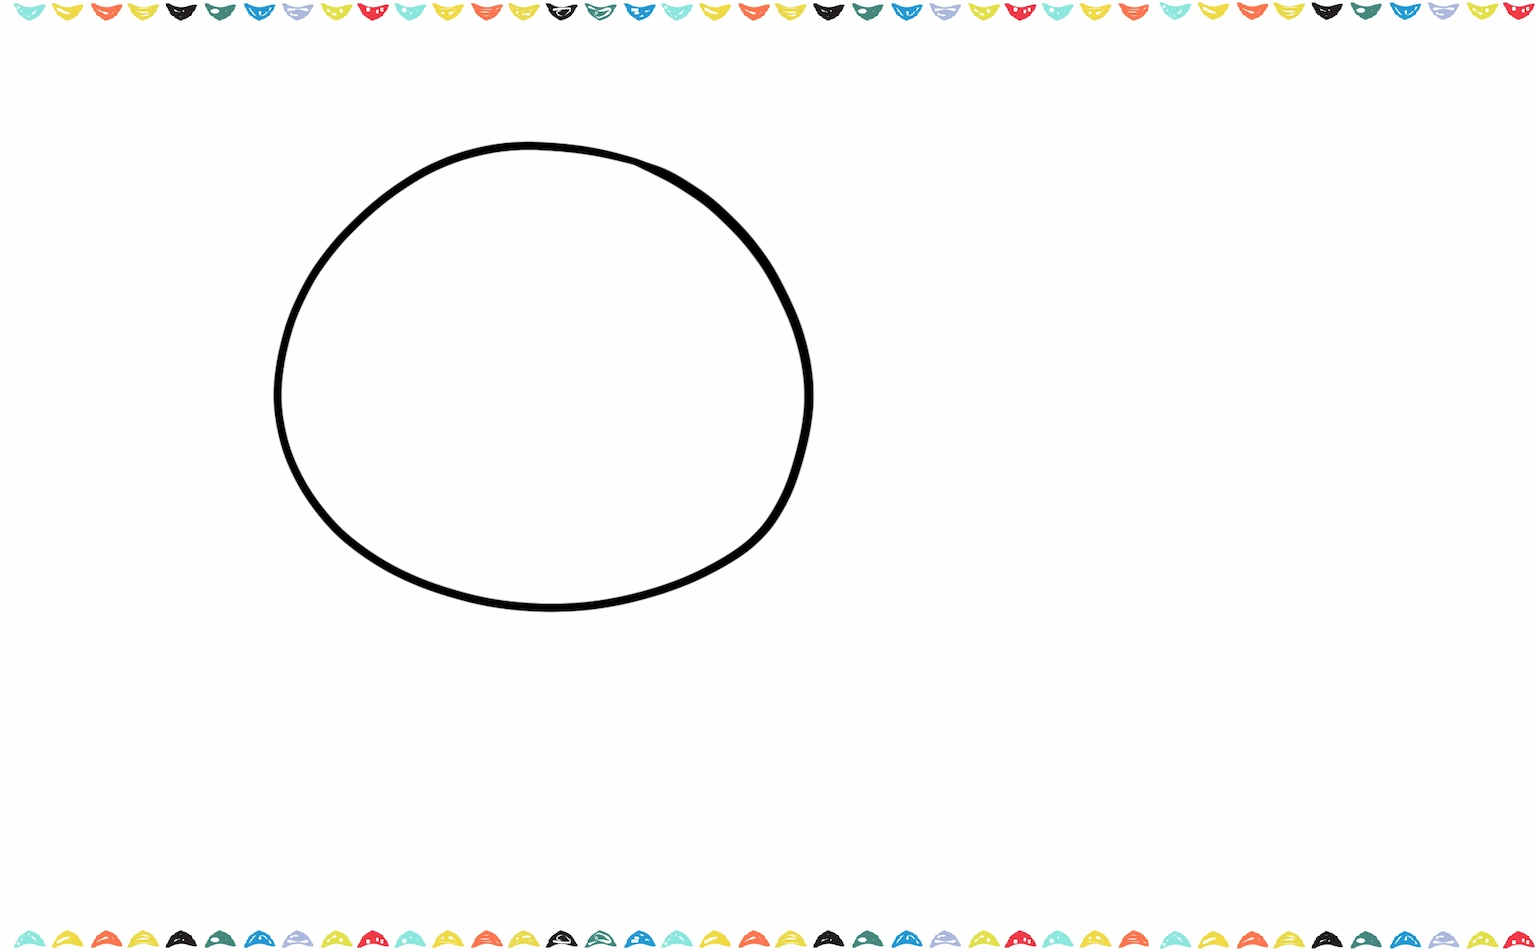
Step 1 – Draw the Big Round Head 🙂
Start your Smiski drawing by sketching a large circle. Smiski’s head is slightly bigger than the body. Keep the circle smooth and round.
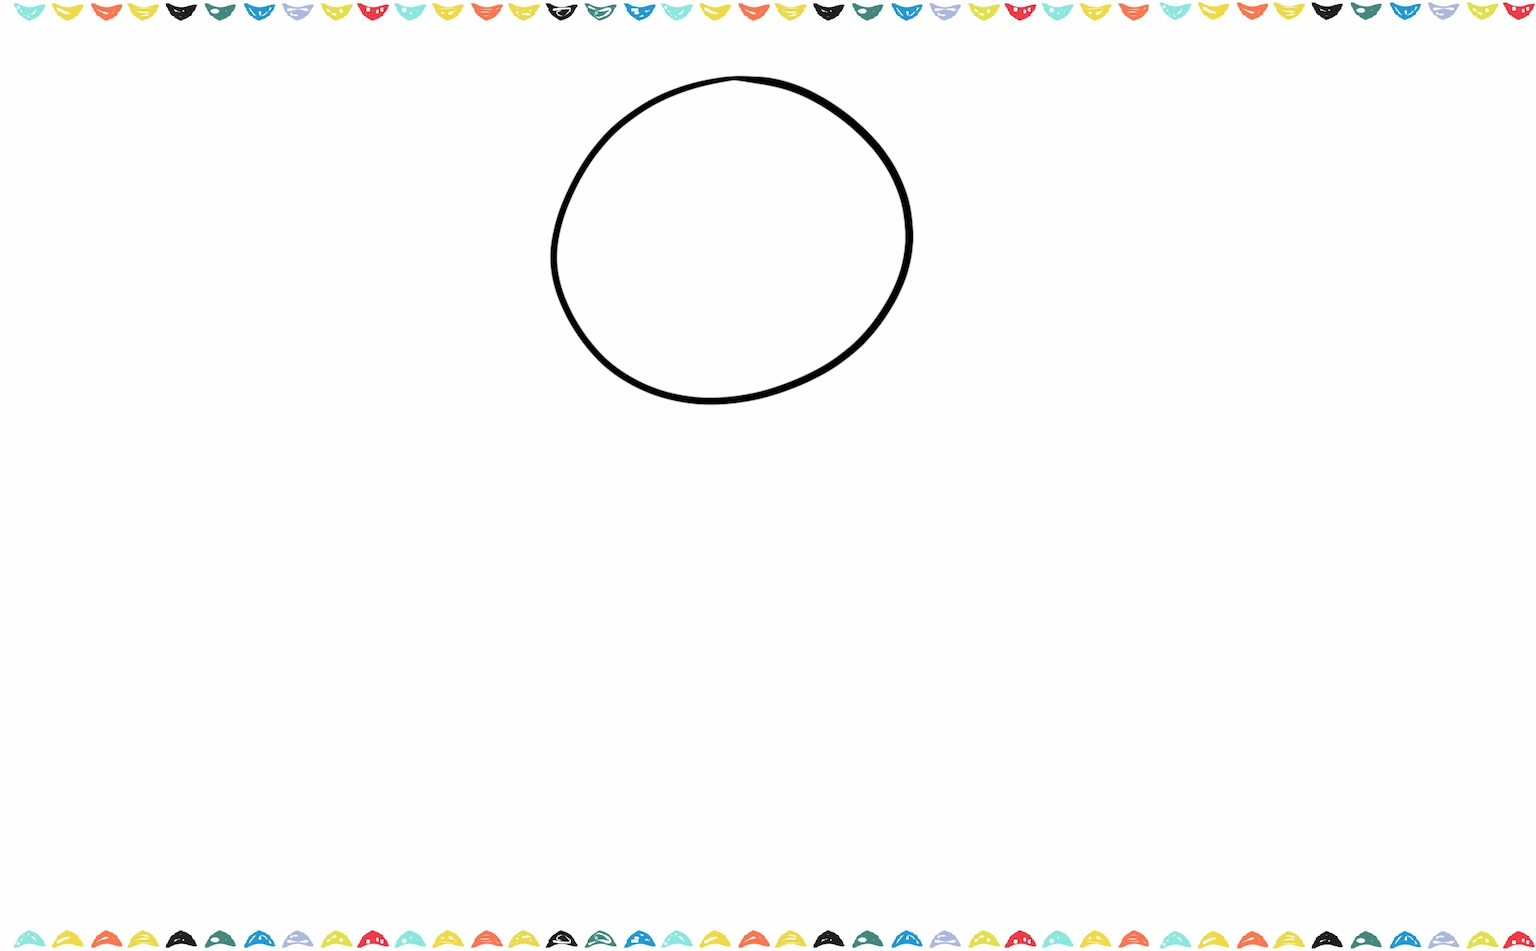
This is the base of your Smiski outline.
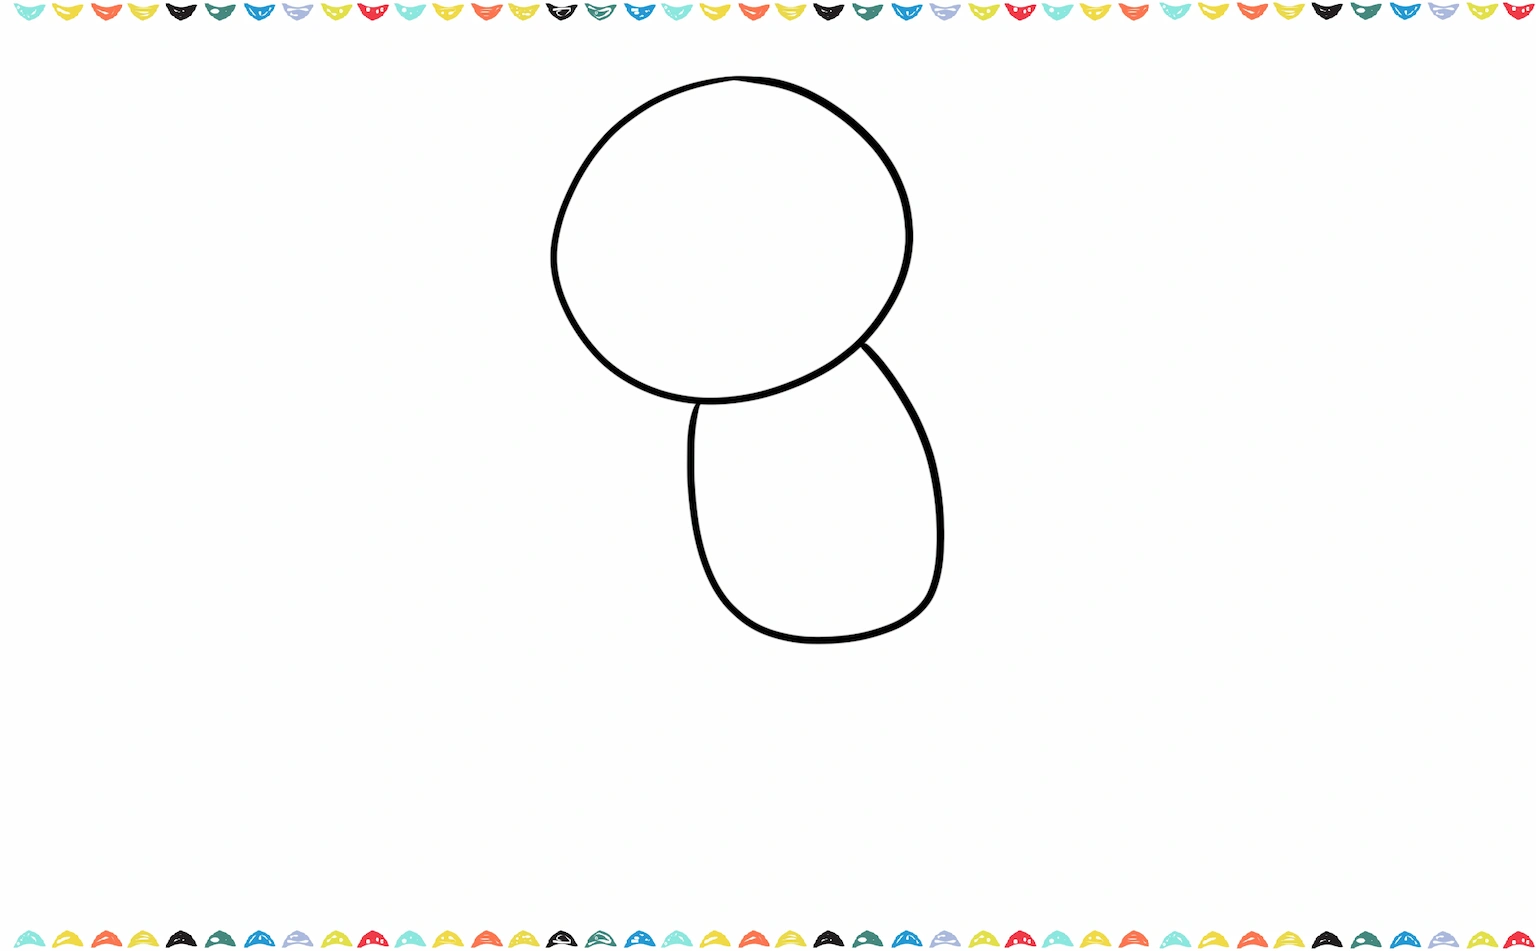
Step 2 – Add the Body Shape 🟢
Under the head, draw a soft rounded rectangle shape. The body is simple and smooth. When learning how to draw a Smiski step by step, always use simple shapes first!
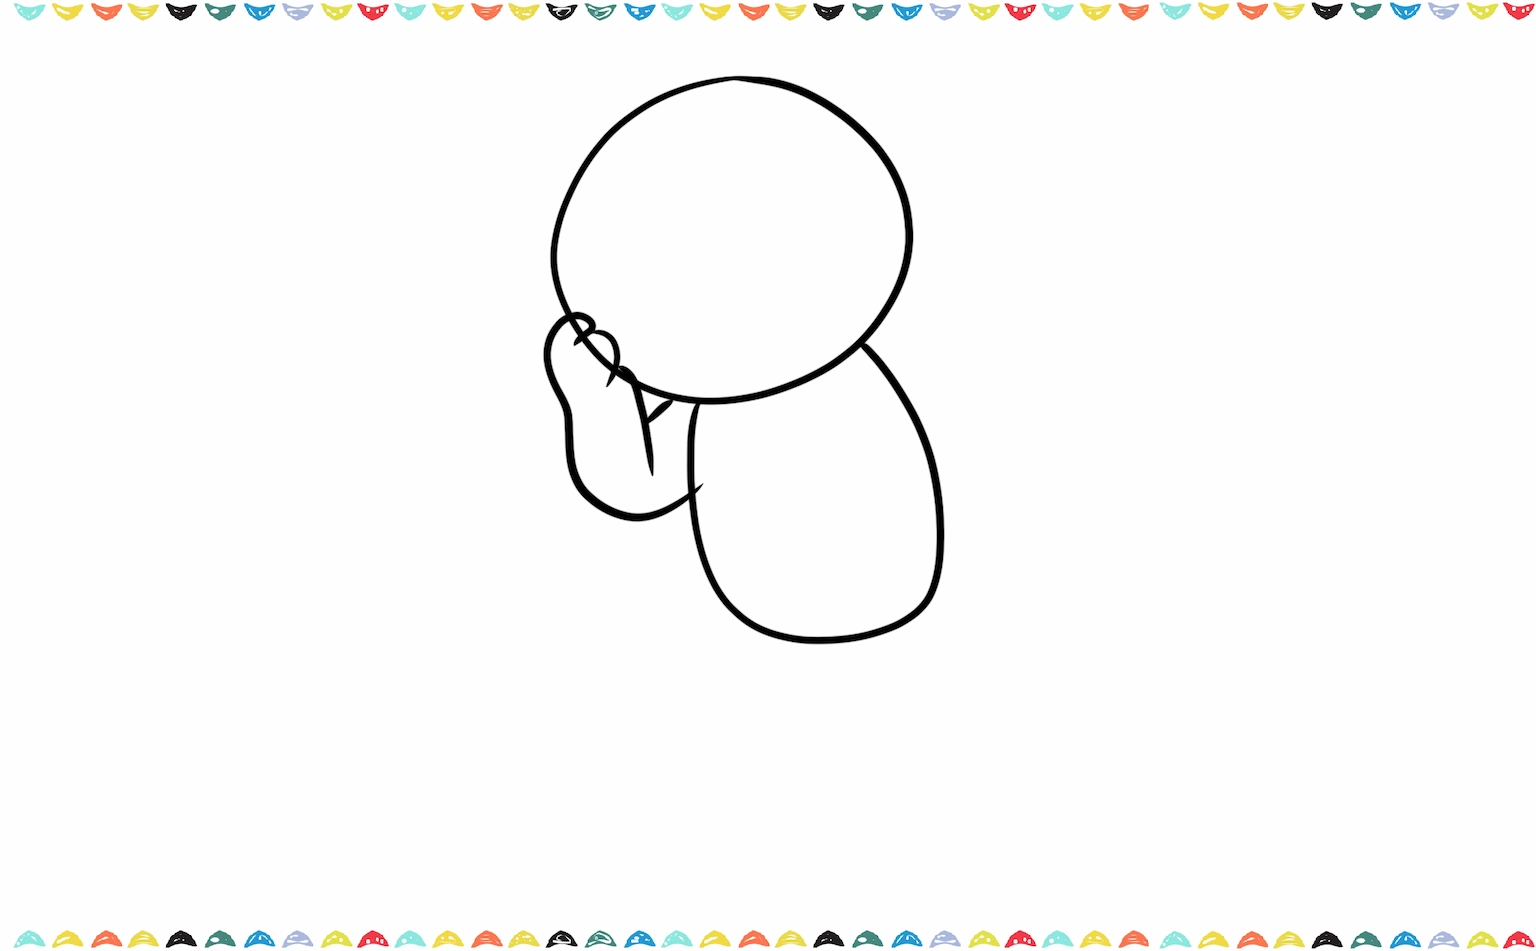
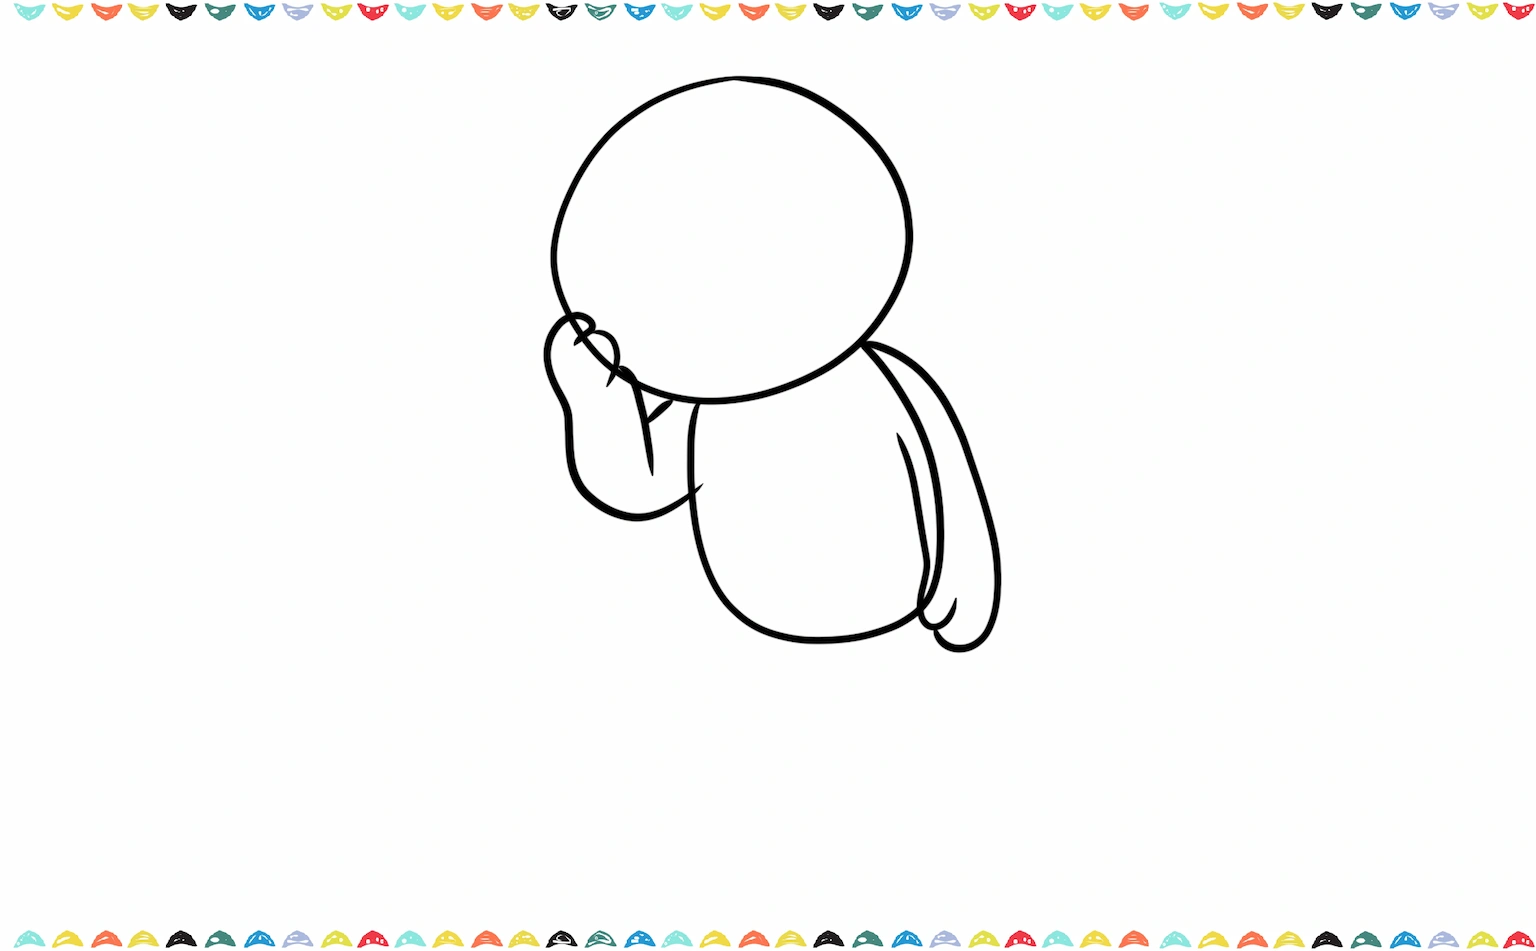
Step 3 – Draw the Arms 💪
On one side, draw a bent arm touching the cheek. This pose makes Smiski look shy or thoughtful. This pose is popular in Smiski poses drawing collections.

If you love art toy characters like Smiski, you’ll definitely enjoy our detailed Labubu drawing tutorial where we break down another trendy collectible character step by step.
Step 4 – Add the Other Arm 🖐️
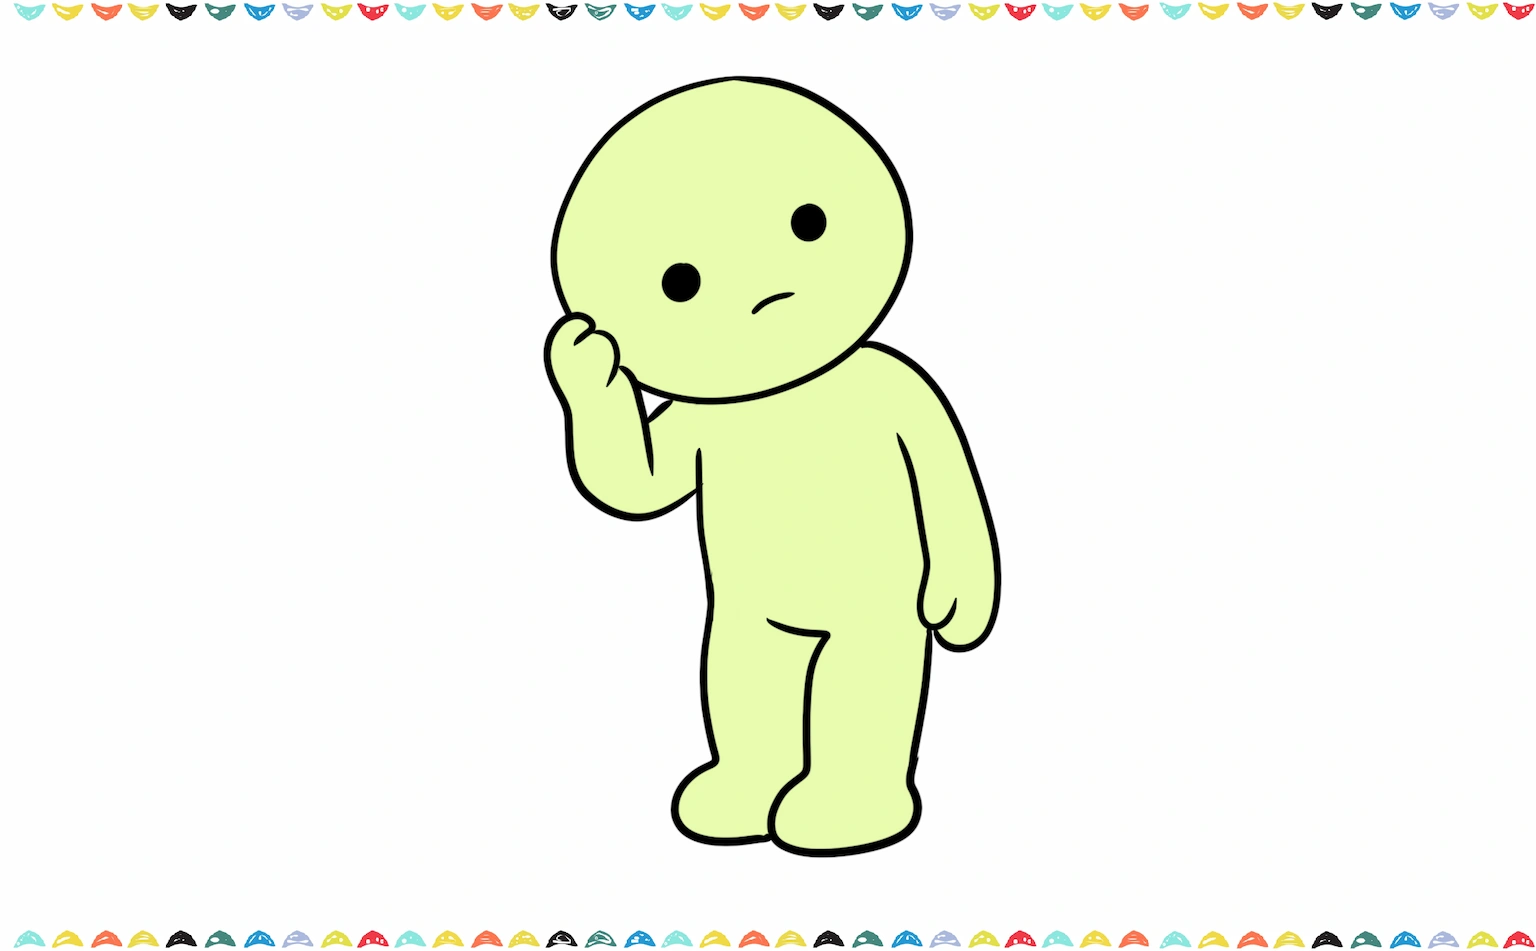
Draw the second arm hanging down naturally. Keep the shapes rounded. Your simple Smiski drawing should look soft and smooth.
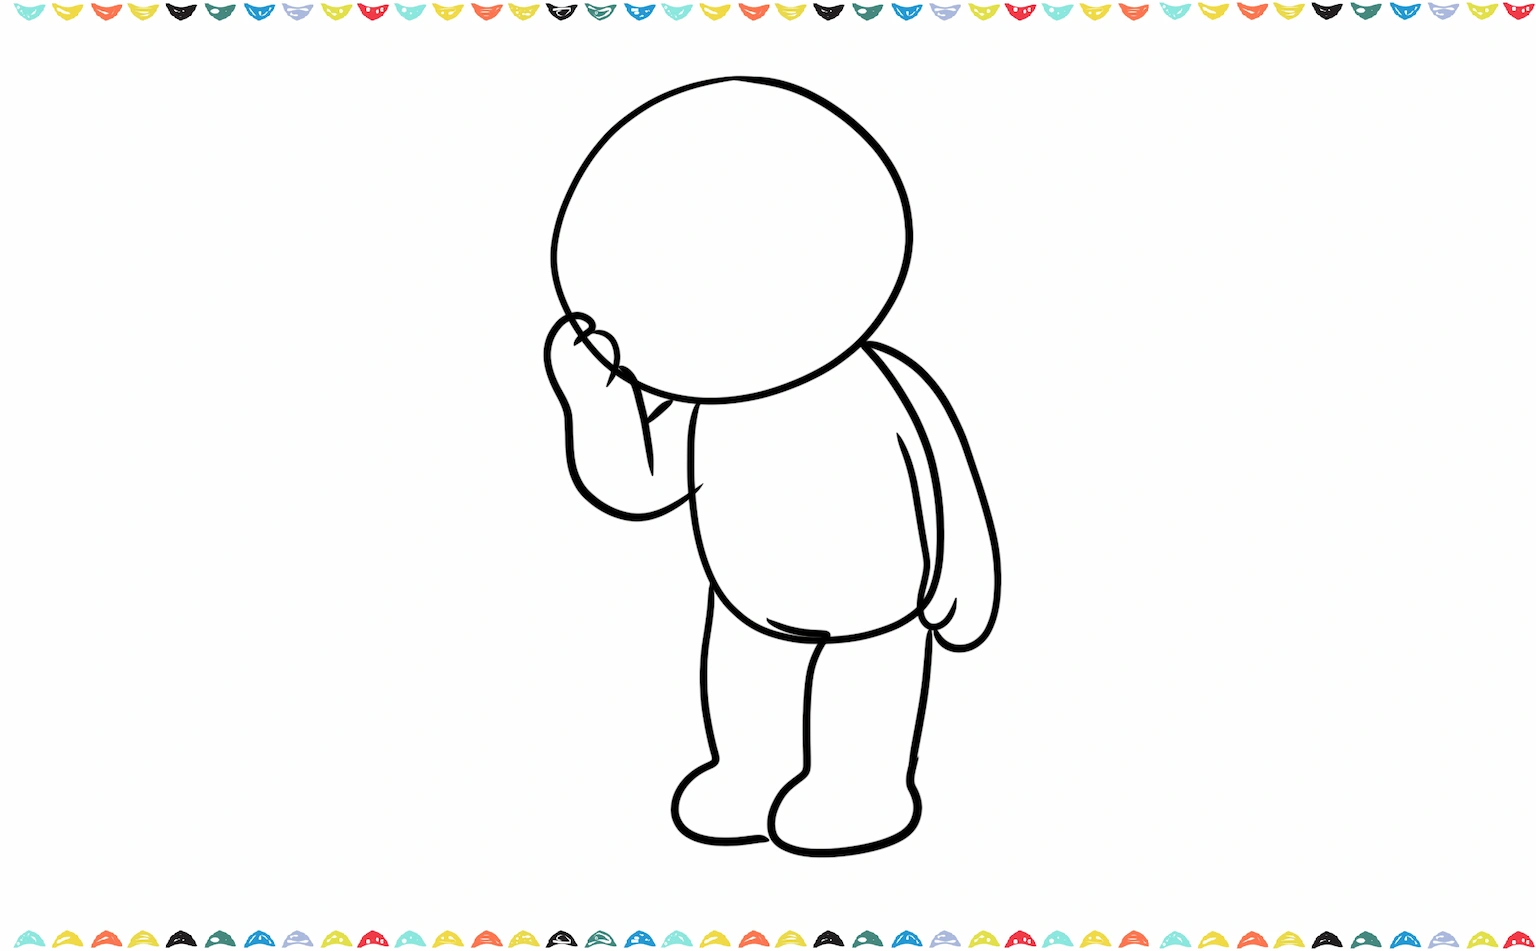
Step 5 – Sketch the Legs 👣
Draw two short, rounded legs. Smiski doesn’t have sharp edges – everything is curved! At this stage, your Smiski drawing is coming together nicely.

If you love simple outlines and cute expressions, try our 11 Ghost Drawing Ideas guide to practice smooth curves and minimalist face
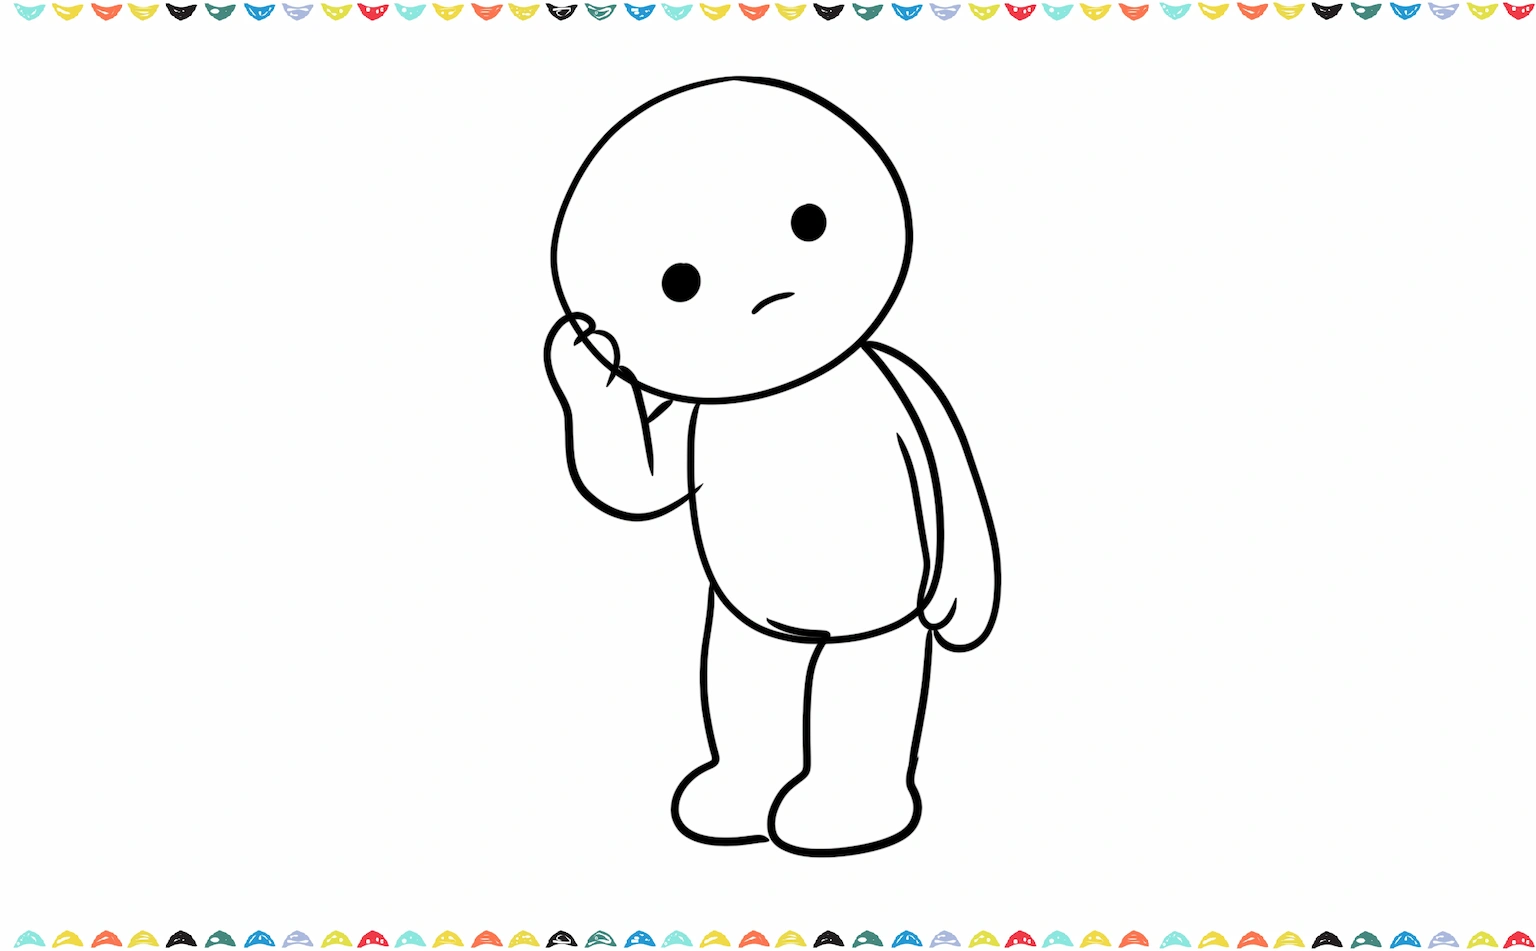
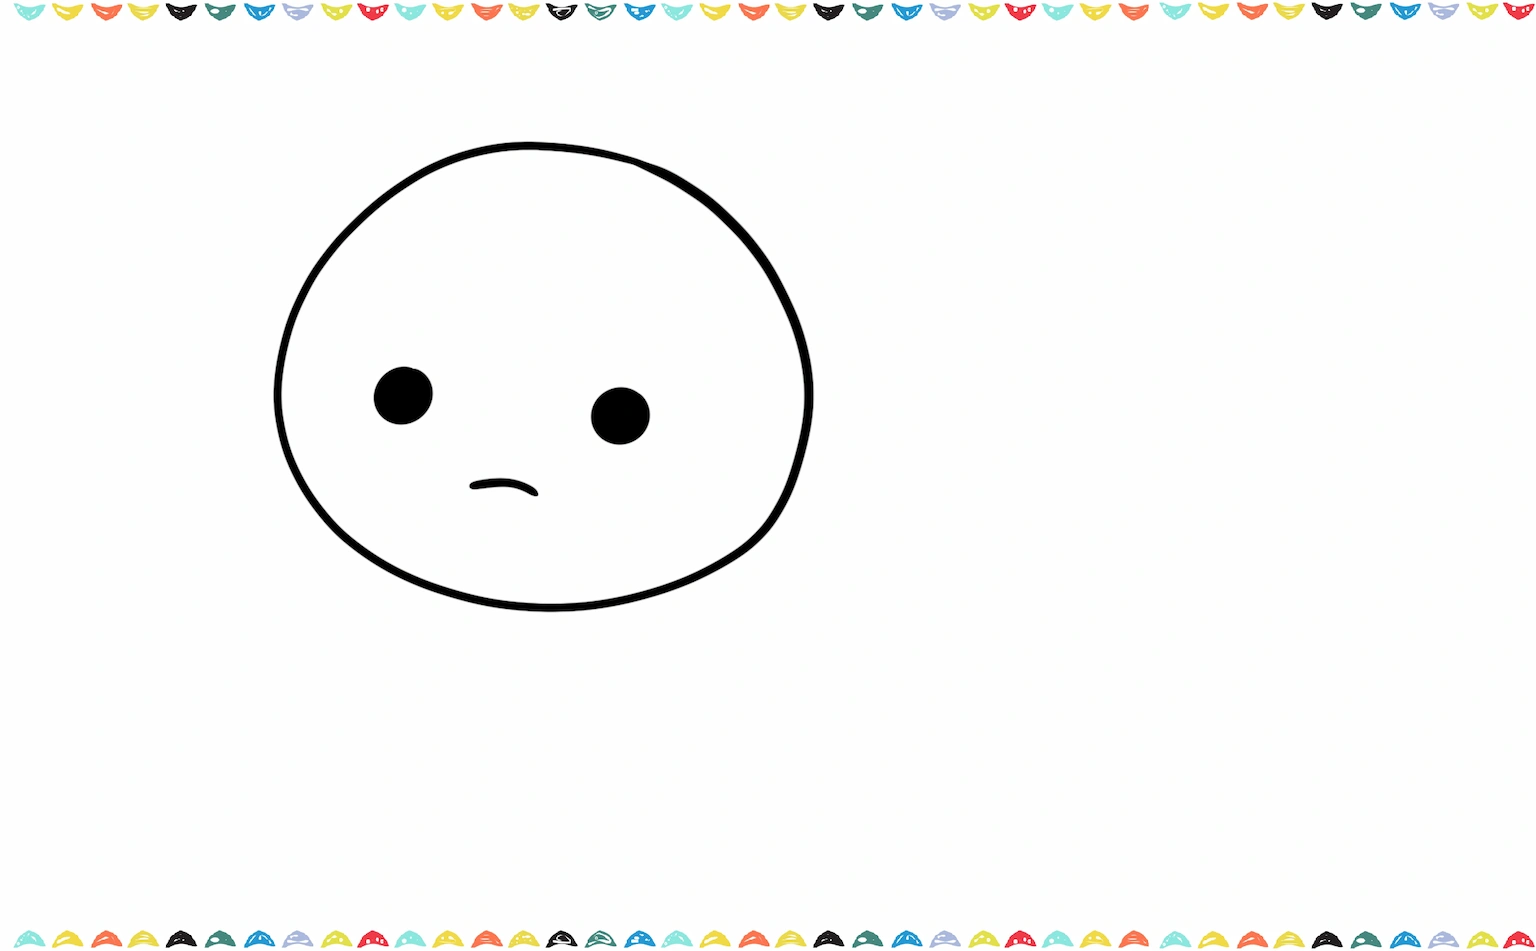
Step 6 – Draw the Face 👀
Add two small black dot eyes. Then draw a tiny curved mouth. This minimal face style is key in Smiski line art.
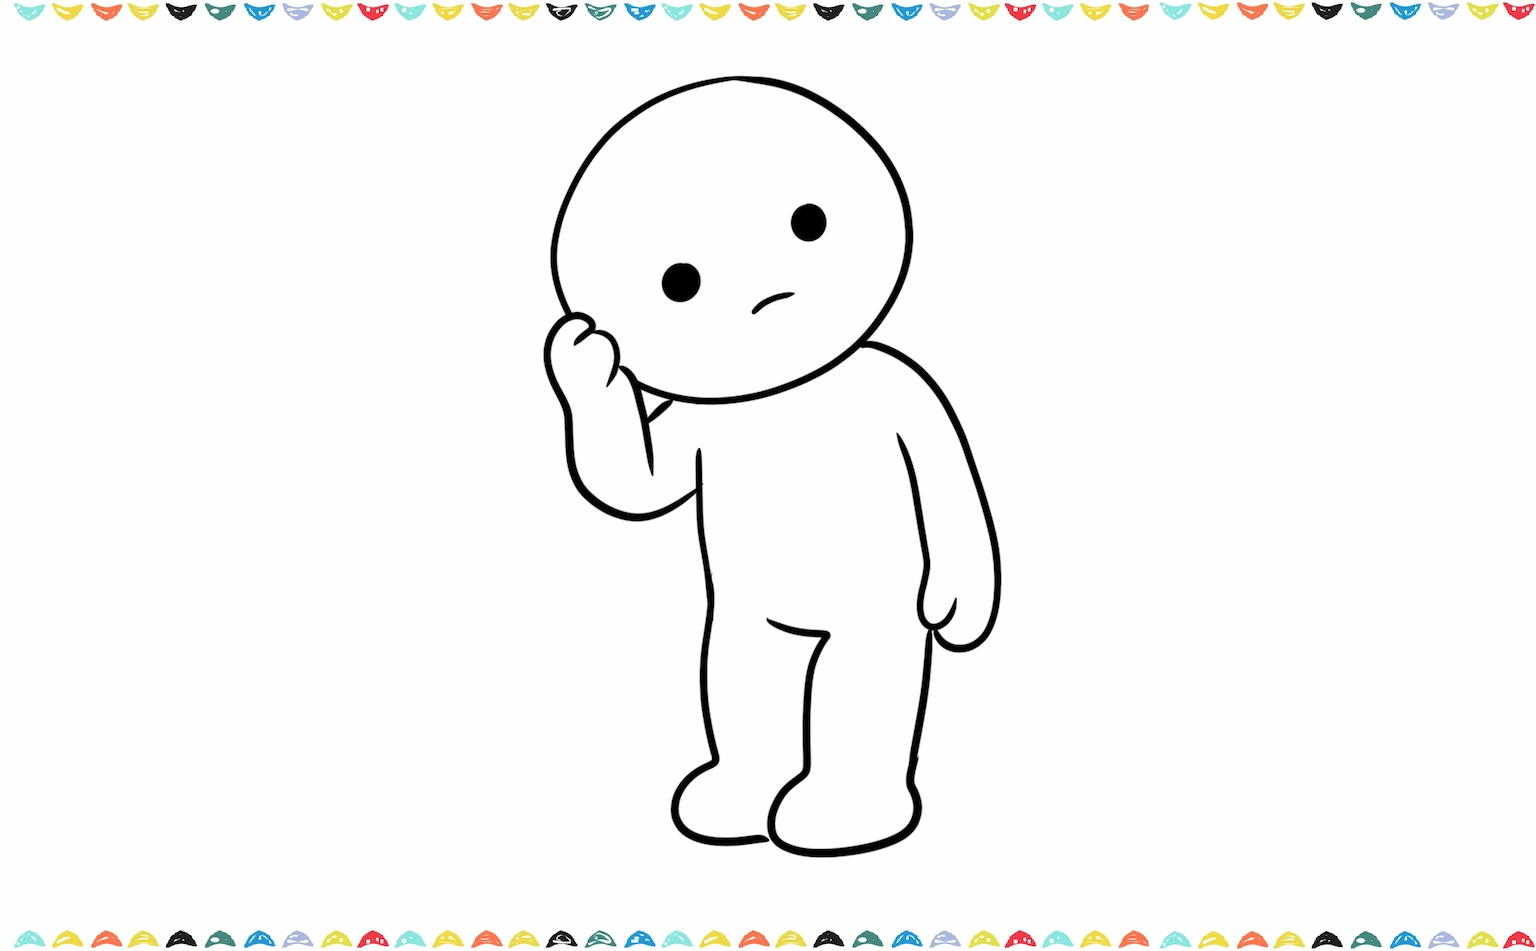
Step 7 – Clean the Outline ✍️
Go over your sketch with a fineliner to create a clean Smiski outline. Erase extra and unnecessary pencil lines carefully.
Step 8 – Add Color 🌈
Color your Smiski with light green. Add darker green shading under the chin and arms.
This makes your Smiski art toy drawing look more 3D!
Step 9 – Add Glow Effect 💡
If you want realistic glow, lightly blend yellow-green around the edges.
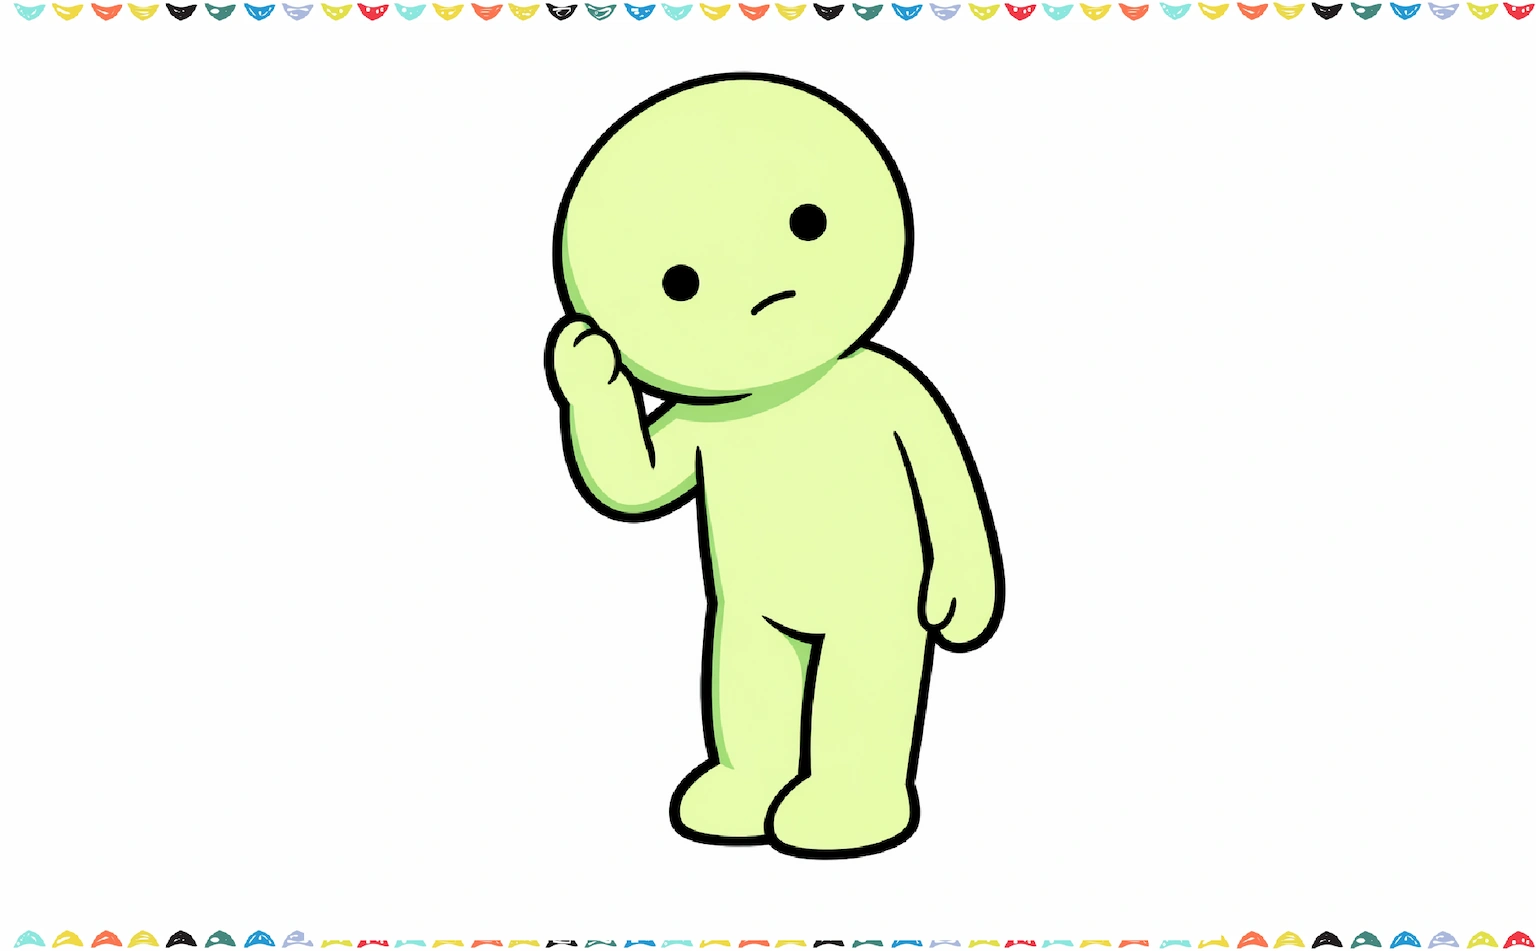
Now your Smiski drawing is complete!

Want to practice more cute character proportions? Our How to Draw a Cute Dog guide will help you refine your rounded shapes and expressive eyes.
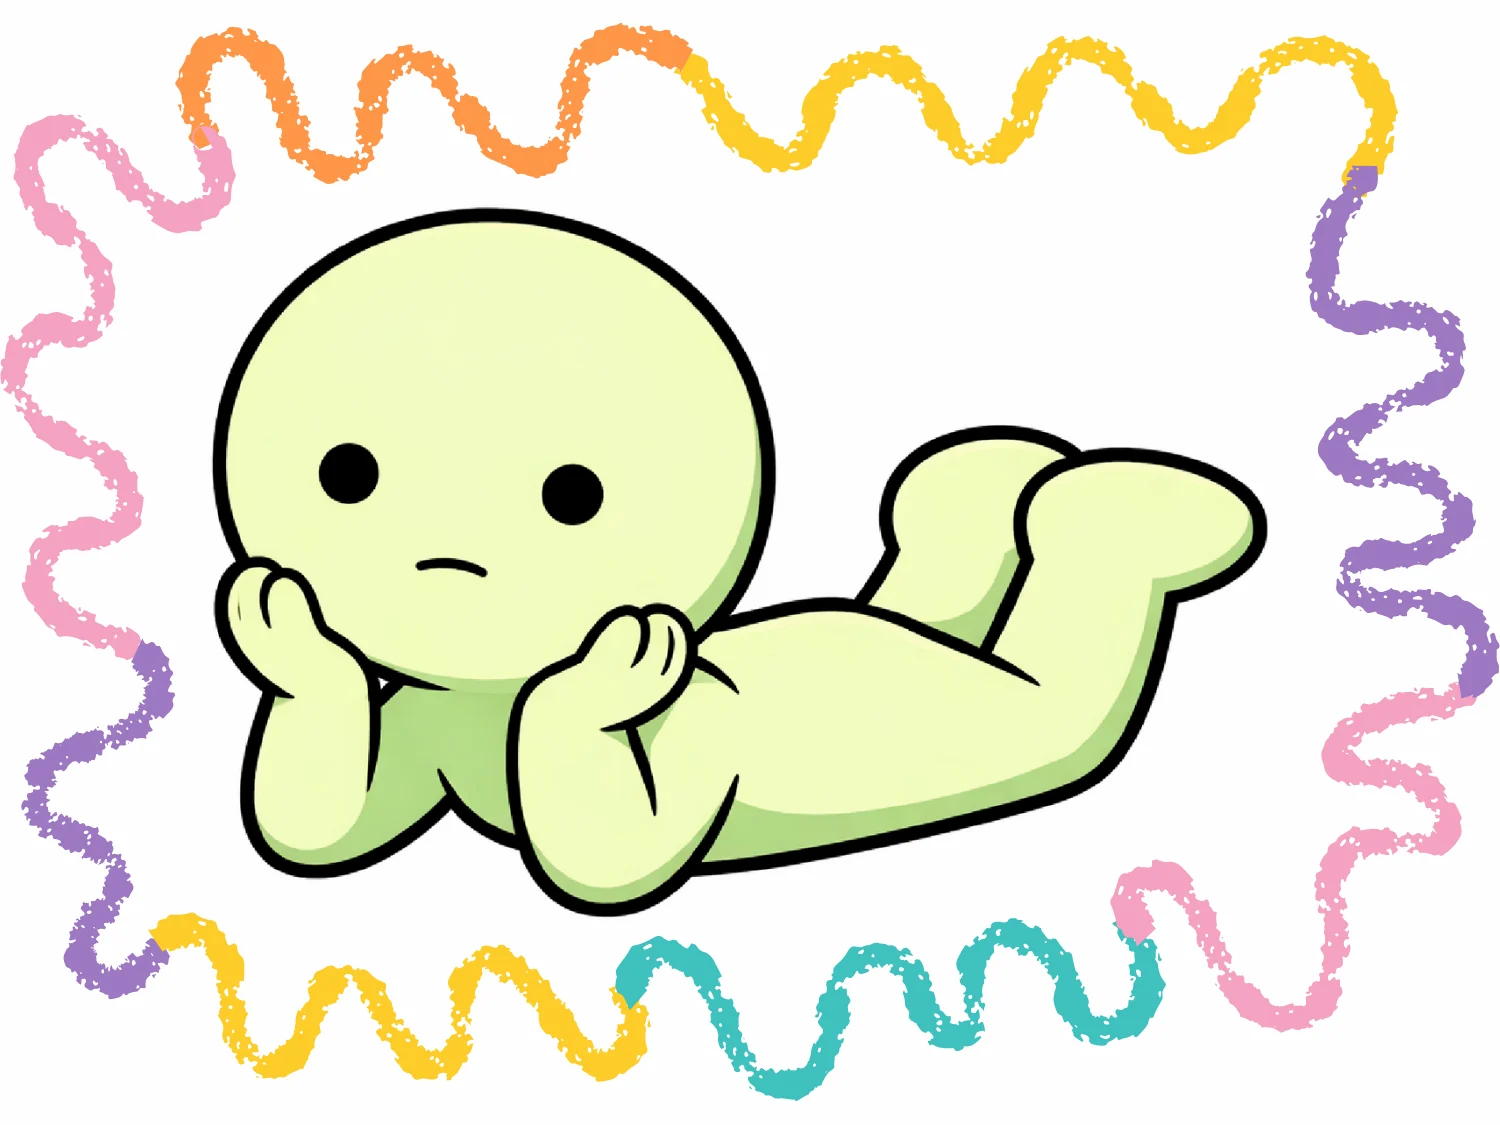
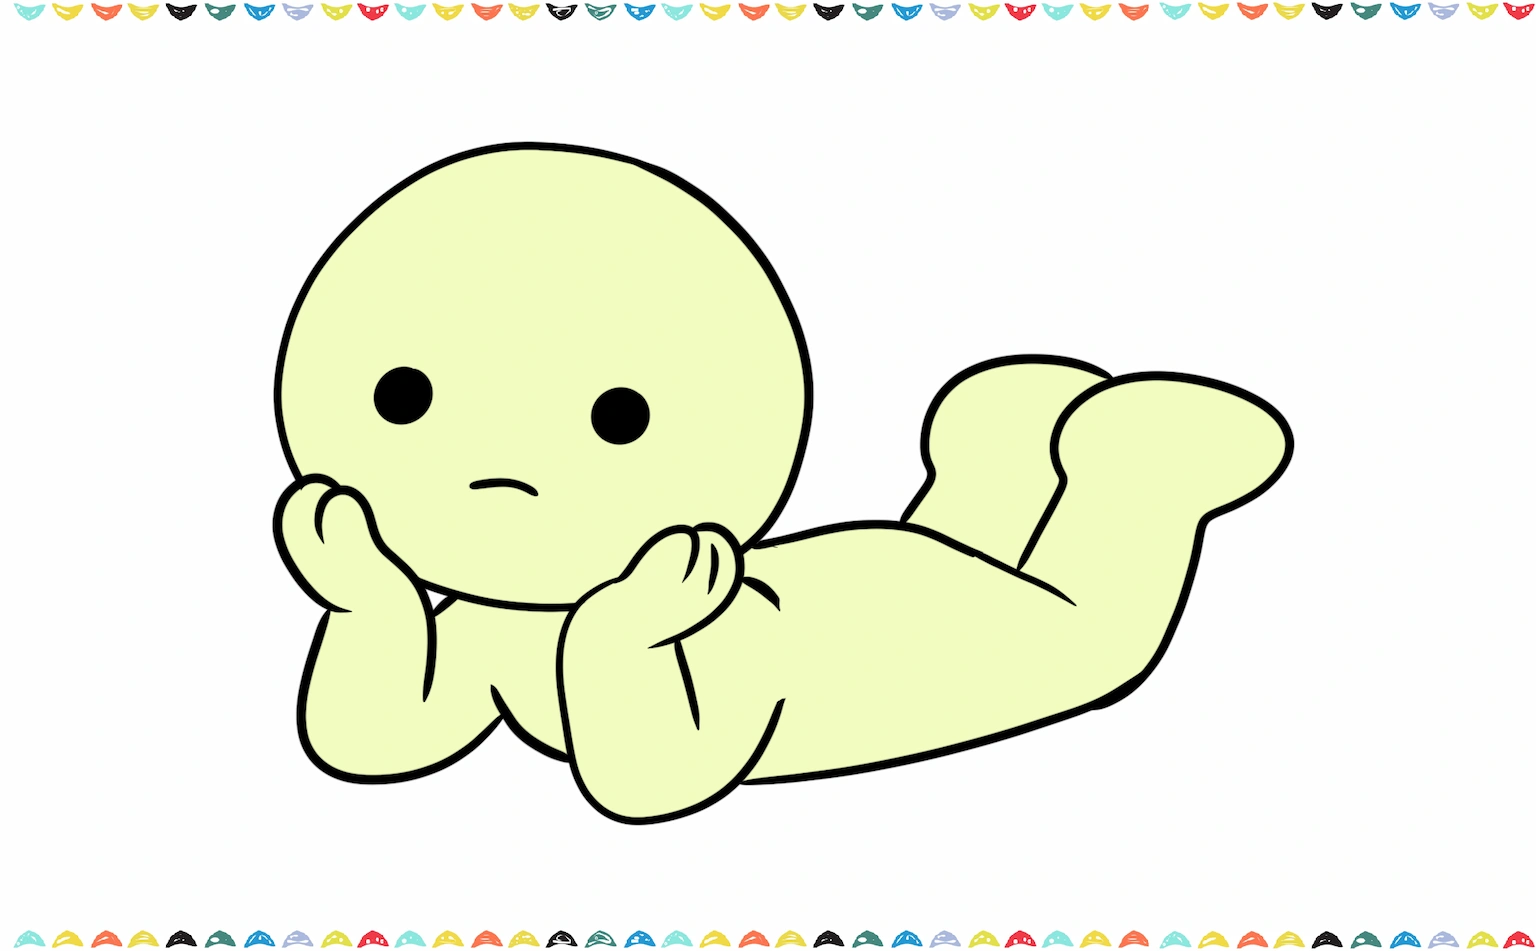
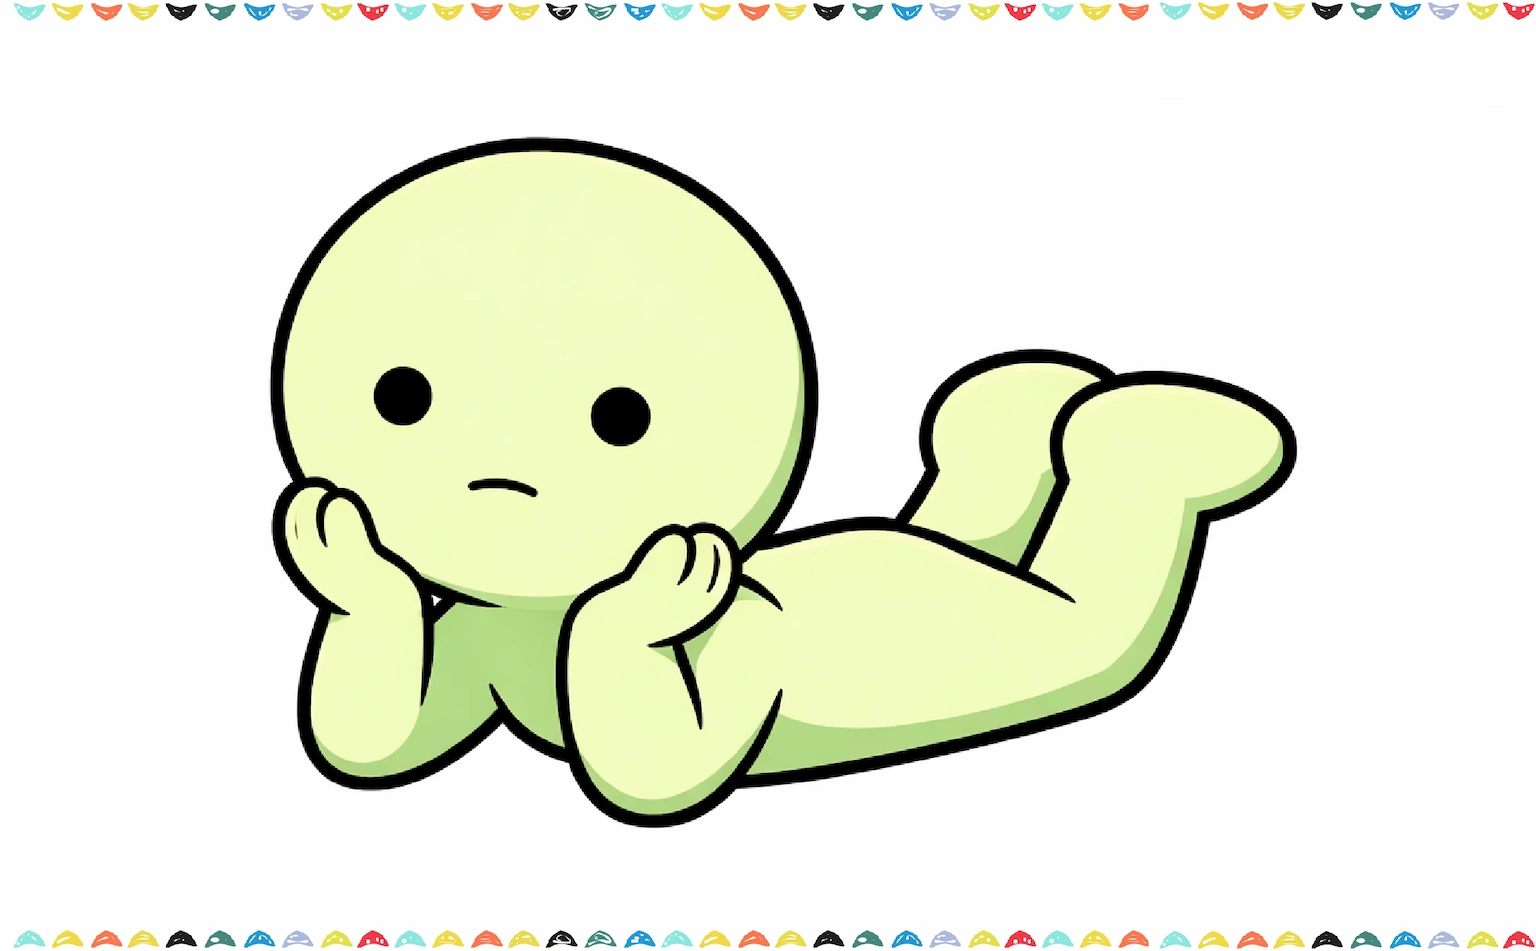
Smiski Drawing Step-by-Step – Lying Down Pose ✨💚
Now let’s create a brand new Smiski drawing based on this adorable lying-down pose! In this version, Smiski is relaxing on their tummy with both hands holding their cheeks and feet lifted in the air. It’s cute, calm, and perfect for collectors who love unique Smiski poses drawing styles.
Follow this guide carefully and you’ll master how to draw Smiski in this relaxed pose step by step. 🎨
Step 1 – Draw the Big Round Head 🟢🙂
Start your Smiski drawing by sketching a large, smooth circle on the left side of your page. This is the head, and just like every Smiski outline, it should be:
- Not perfectly round
- Soft and smooth
- Slightly bigger than the body
When learning how to draw a Smiski step by step, always begin with simple shapes. Keep your pencil lines light so you can adjust them easily!
Step 2 – Add the Small Facial Features 👀
Now let’s draw the face. Inside the head:
- Draw two small solid black circles for the eyes
- Keep them evenly spaced
- Add a tiny curved line for the mouth
Smiski’s expression is simple and calm. This minimal face design is essential for clean Smiski line art. At this stage, your Smiski drawing already looks adorable!
Step 3 – Draw the Cheek-Hands Pose 🖐️😊
This pose is what makes this Smiski drawing extra cute! Under the head draw two small rounded hands pressed against the cheeks
- The fingers should look soft and curved
- Keep the shapes rounded, not sharp
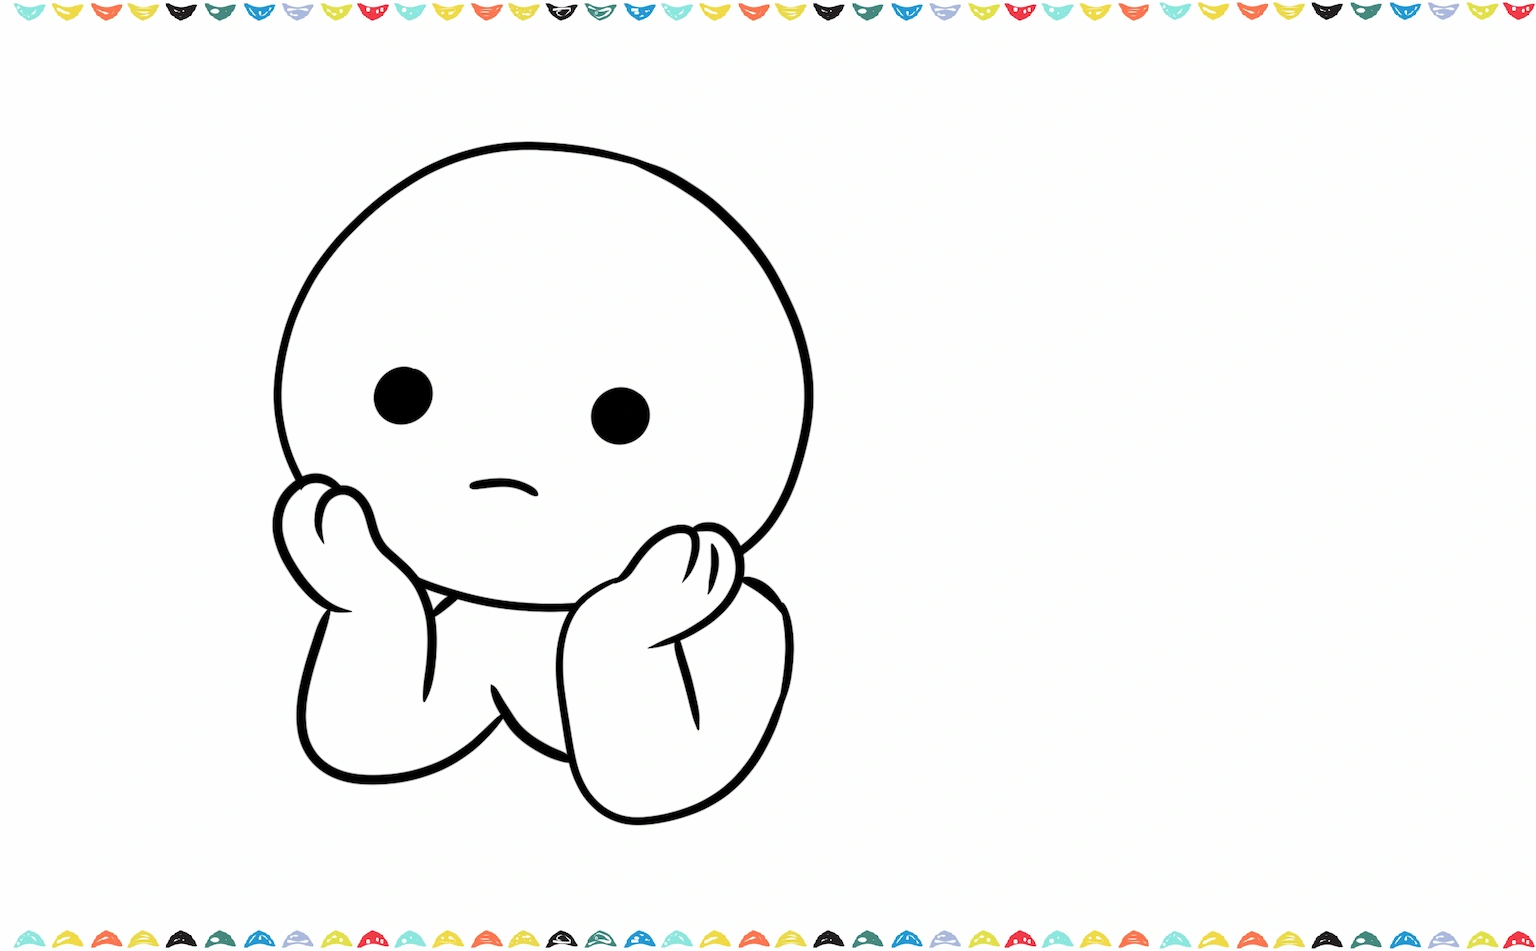
Both elbows will rest on the ground, so keep them wide and relaxed. This is a popular variation in Smiski fan art easy collections because it feels cozy and playful.

Jellycat Drawing: The Ultimate Guide to Draw Amuseables Step-by-Step
Jellycat drawing step by step – learn how to draw Jellycat egg, avocado, cake, sun, croissant, and coffee cup easily.
Step 4 – Sketch the Upper Body 🧸
Now connect the arms to a rounded torso. Draw a soft curved line from under the chin and a wide, horizontal body shape extending to the right. The body should look like a soft, stretched oval lying on the ground.
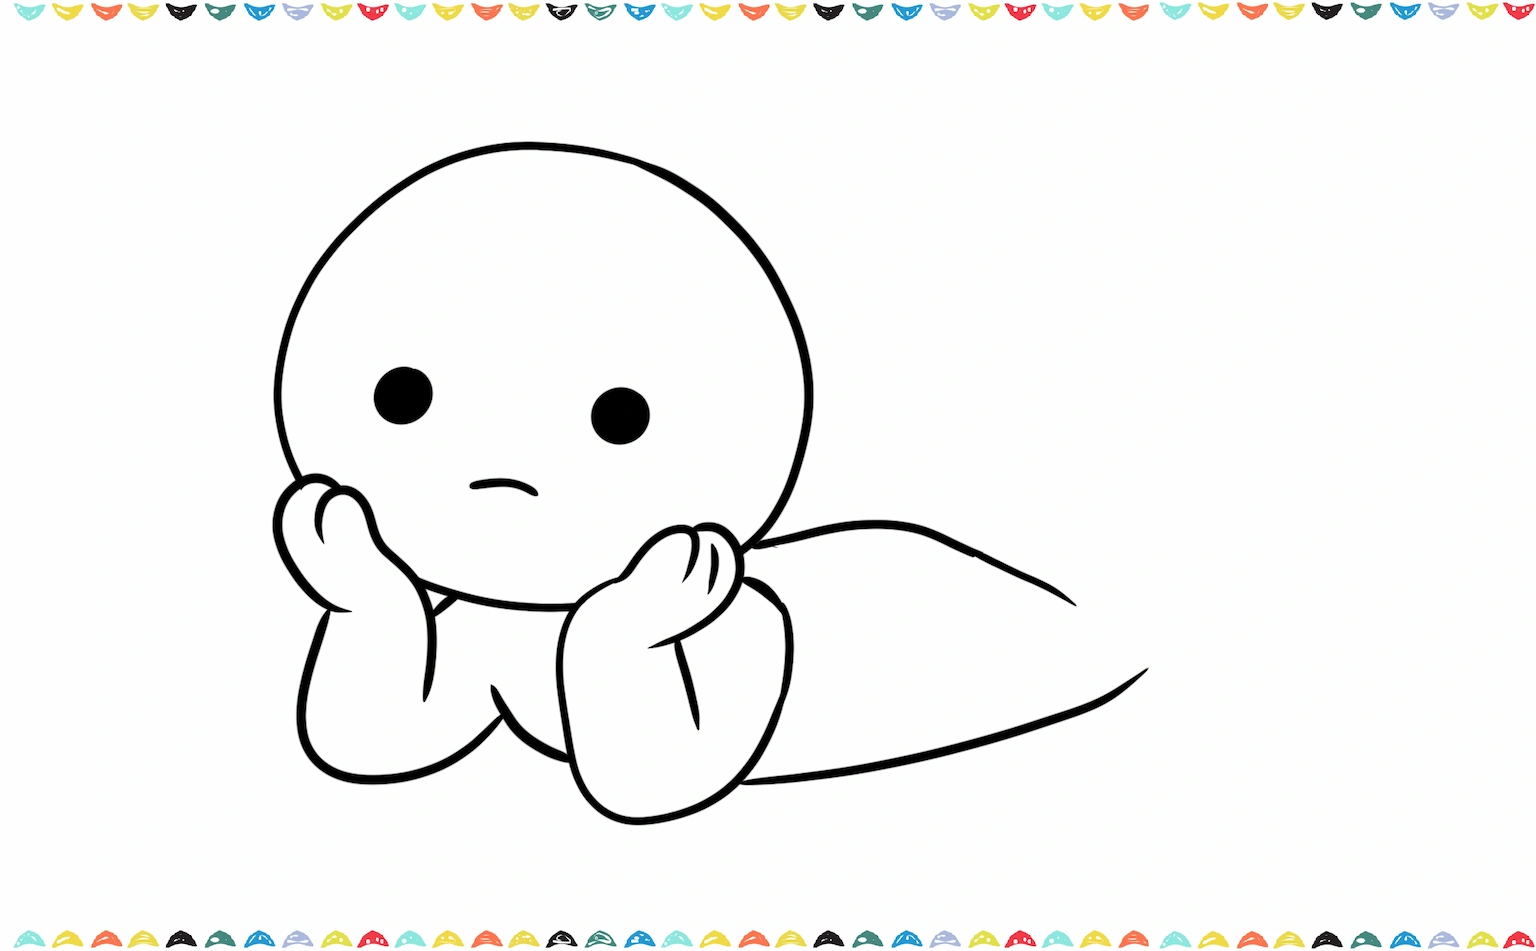
When practicing how to draw Smiski, remember that Smiski’s body never has hard angles. Everything is smooth and slightly puffy.
Step 5 – Draw the Lower Body and Legs 👣
Time to add the legs! At the end of the body:
- Draw two bent legs lifted upward
- The feet should be rounded and slightly overlapping
- Keep them small and soft
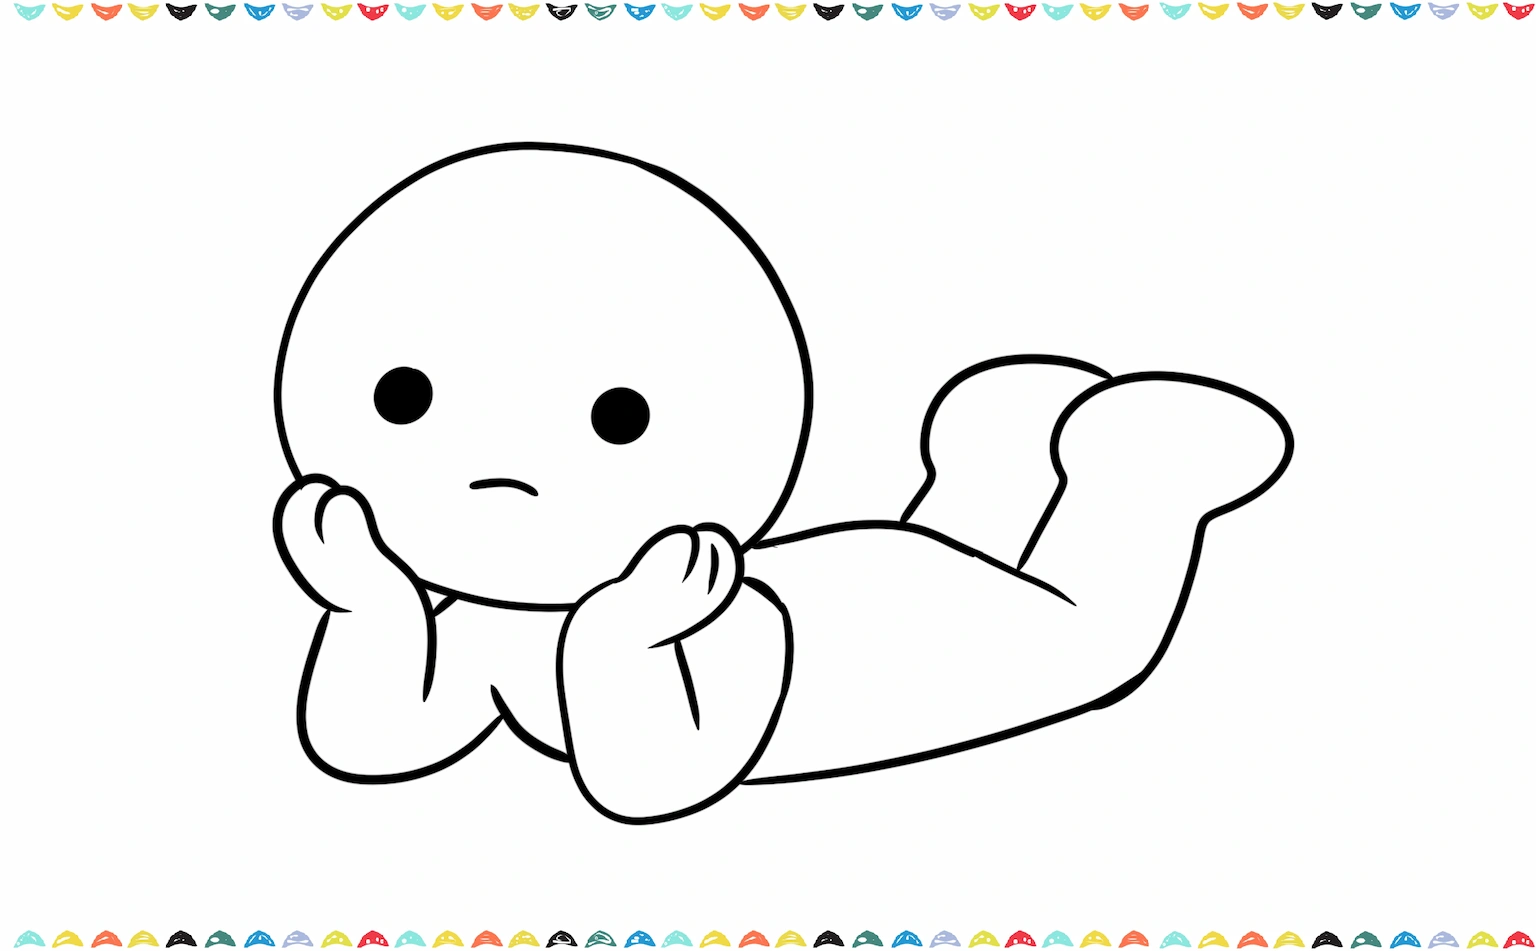
The legs should look relaxed, like Smiski is kicking their feet in the air. This lying-down version is a great addition to your Smiski poses drawing collection.
Step 6 – Refine the Smiski Outline ✍️
Now it’s time to clean up your Smiski outline.
- Erase extra sketch lines
- Smooth any uneven curves
- Make sure the head is perfectly round
- Check that both hands are symmetrical

Strong, clean outlines are essential in any Smiski art toy drawing.
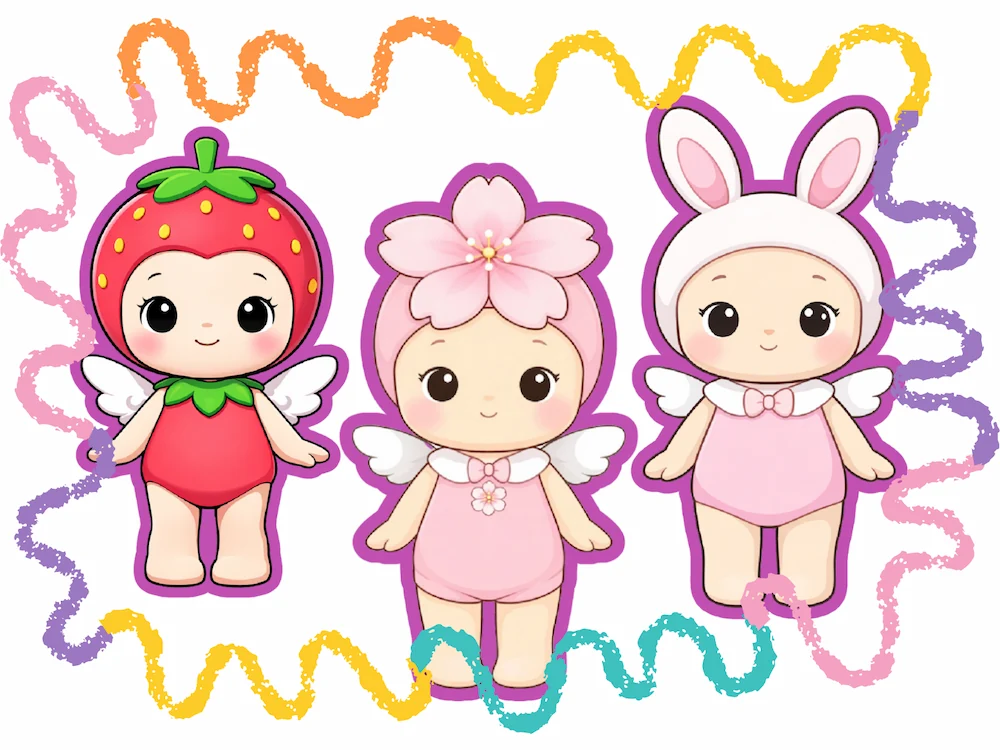
Sonny Angel Drawing Guide: How to Draw Step-by-Step 🍓✨
Sonny Angel drawing easy tutorial! Learn how to draw Sonny Angel Strawberry step-by-step in kawaii style. 🍓✨
Step 7 – Add the Signature Green Color 🌿
Now bring your Smiski drawing to life with color!
- Use light green for the base
- Add slightly darker green under the chin
- Shade beneath the arms
- Add soft shadows under the body
If you’re drawing digitally, use a soft airbrush for smooth blending.
Step 9 – Add Glow Effects 💡
Smiski figures glow in the dark, so let’s recreate that magic! To make your Smiski drawing glow:
- Add a faint yellow-green glow around the edges
- Lightly blend outward
- Keep it subtle
This step transforms a simple Smiski drawing into a magical glowing character!
Pro Tips for Smiski Line Art ✨
Clean Smiski line art makes your drawing look professional.
- Use steady strokes
- Don’t press too hard
- Keep outlines slightly thick
- Avoid sketchy lines
Practicing Smiski drawing daily improves confidence. If you love cute styles, check our Kawaii art guide for more inspiration!

Kawaii Drawing Guide: Trending Art Toy & Cute Character Tutorials for Beginners
Learn kawaii drawing step by step! Discover cute characters, art toys, and easy tutorials for beginners. 🎨✨
Fun Facts About Smiski 🌟
- They glow in the dark
- They come in surprise boxes
- There are multiple themed series
- Collectors trade rare Smiski figures
That’s why Smiski drawing is trending everywhere!
Frequently Asked Questions ❓
Is Smiski drawing easy for beginners?
Yes! Smiski drawing is perfect for beginners because of simple shapes.
How long does it take to learn how to draw Smiski?
With practice, you can learn how to draw Smiski in under 20 minutes.
What makes Smiski different from other art toys?
Its glow and minimal design make Smiski art toy drawing unique.
Can kids try Smiski drawing?
Absolutely! It’s an easy character drawing for kids.
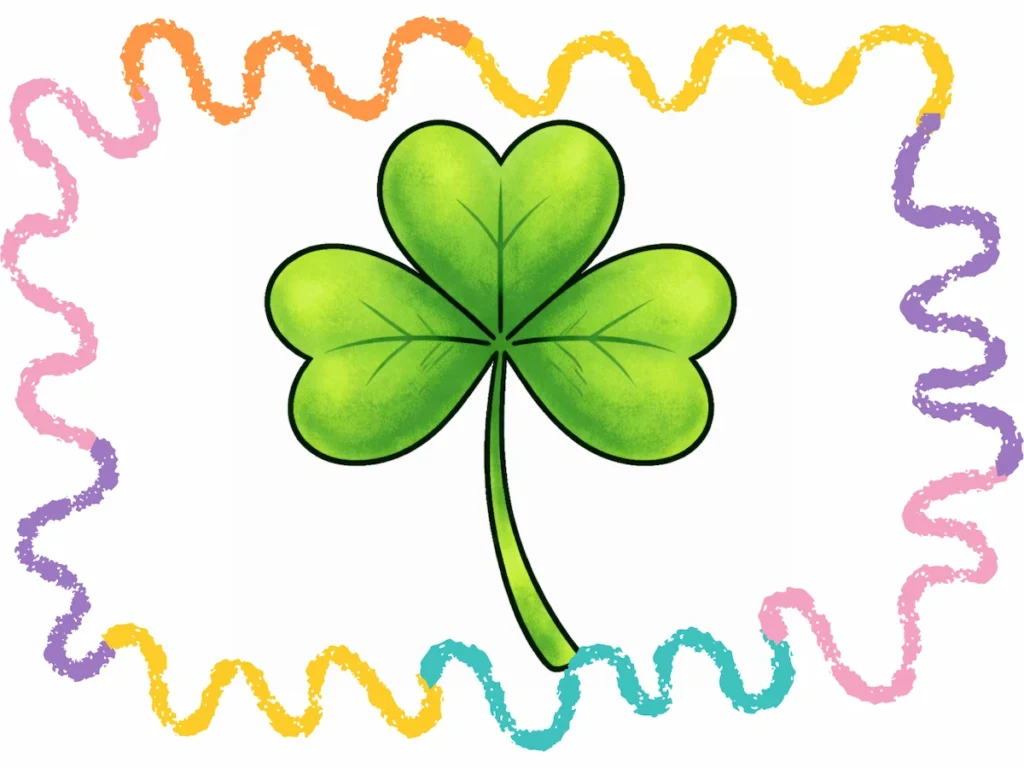
How to Draw a Shamrock – Fun Step-by-Step Tutorial
Learn how to draw a shamrock step by step. A fun, easy St Patrick’s Day drawing guide for kids and beginners.
Conclusion: You Did It, Artist! 🎨
Now you know how to draw Smiski step-by-step! Your Smiski drawing journey has just started. Practice different poses, try glow effects, and create your own series.
Don’t forget to share your Smiski drawing on social media and tag your art friends! Keep drawing every day, and soon your collection of cute Smiski drawing ideas will grow. Happy drawing! 🎨✨
👉 If you loved this smiski drawing lesson, don’t stop here! Explore more of our tutorials like How to Draw a Cute Bunny, How to Draw a Line Drawing Cat or How to Draw a Puppy to complete your art collection. You can even combine them all into one big drawing idea for an awesome scene!
👉 For artists who love anime and cartoon characters, our step-by-step tutorial on How to Draw Hello Kitty, How to Draw a Ghost or How to Draw a Teddy Bear are another fun projects to try next. 🌟
Looking for creative inspiration? Check out our Pinterest page for some magical ideas!
Keep drawing and having fun with it, just like playing your favorite game every day! The more you draw, the better you’ll get, and you might even discover new ways to draw that you never knew before. Check out our blog post about Drawing Ideas for Beginners – 100 Easy and Fun Things to Draw for more inspiration about drawing.
Share Your Drawing With Us! 💯🎁
We’d love to see your amazing artwork! When you finish your drawing, send us a picture of it. Whether it’s your first try or your masterpiece, we’re excited to cheer you on. Your creativity could even be featured on our site – so grab your crayons and show us what you’ve made! 🎉🖍️
Looking for more step-by-step drawing tutorials? Visit the A-Z Drawing Tutorials Index to browse all lessons, organized alphabetically.