Introduction
How to Draw a Bow is a simple and fun activity that’s perfect for kids, beginners, and anyone who loves cute decorations! Whether you’re designing a birthday card, a gift tag, or just practicing your drawing skills, this easy step-by-step bow drawing tutorial will guide you through the process with clarity and creativity. Bows are used everywhere, from fashion and crafts to gift wrapping and design—making them a versatile and adorable subject to draw.

In this guide, you’ll learn how to draw a bow that looks charming and elegant using just a pencil, paper, and your imagination! 🎨🎀
[ez-toc]
Materials Needed 🎨
Before we start our step-by-step drawing, let’s make sure you have everything you need! You don’t need anything fancy, just a few basic tools to bring your drawing to life:
✅ Paper or Sketchbook – A blank page for your drawing. 📄
✅ Pencils (HB or 2B) – Light pencils help with outlining the drawing. ✏️
✅ Eraser – To fix mistakes while sketching. 🔄
✅ Black Marker or Fine Liner – For outlining and defining clearly. ✍️
✅ Colored Pencils – To color your drawing.
Now, let’s learn how to draw a bow step by step…
How to Draw a Step by Step
Get ready with your pencils, markers, and paper, because we’re about to learn how to draw a bow step by step following the instructions below. This bow drawing tutorial is perfect for beginners who want to improve their drawing skills.
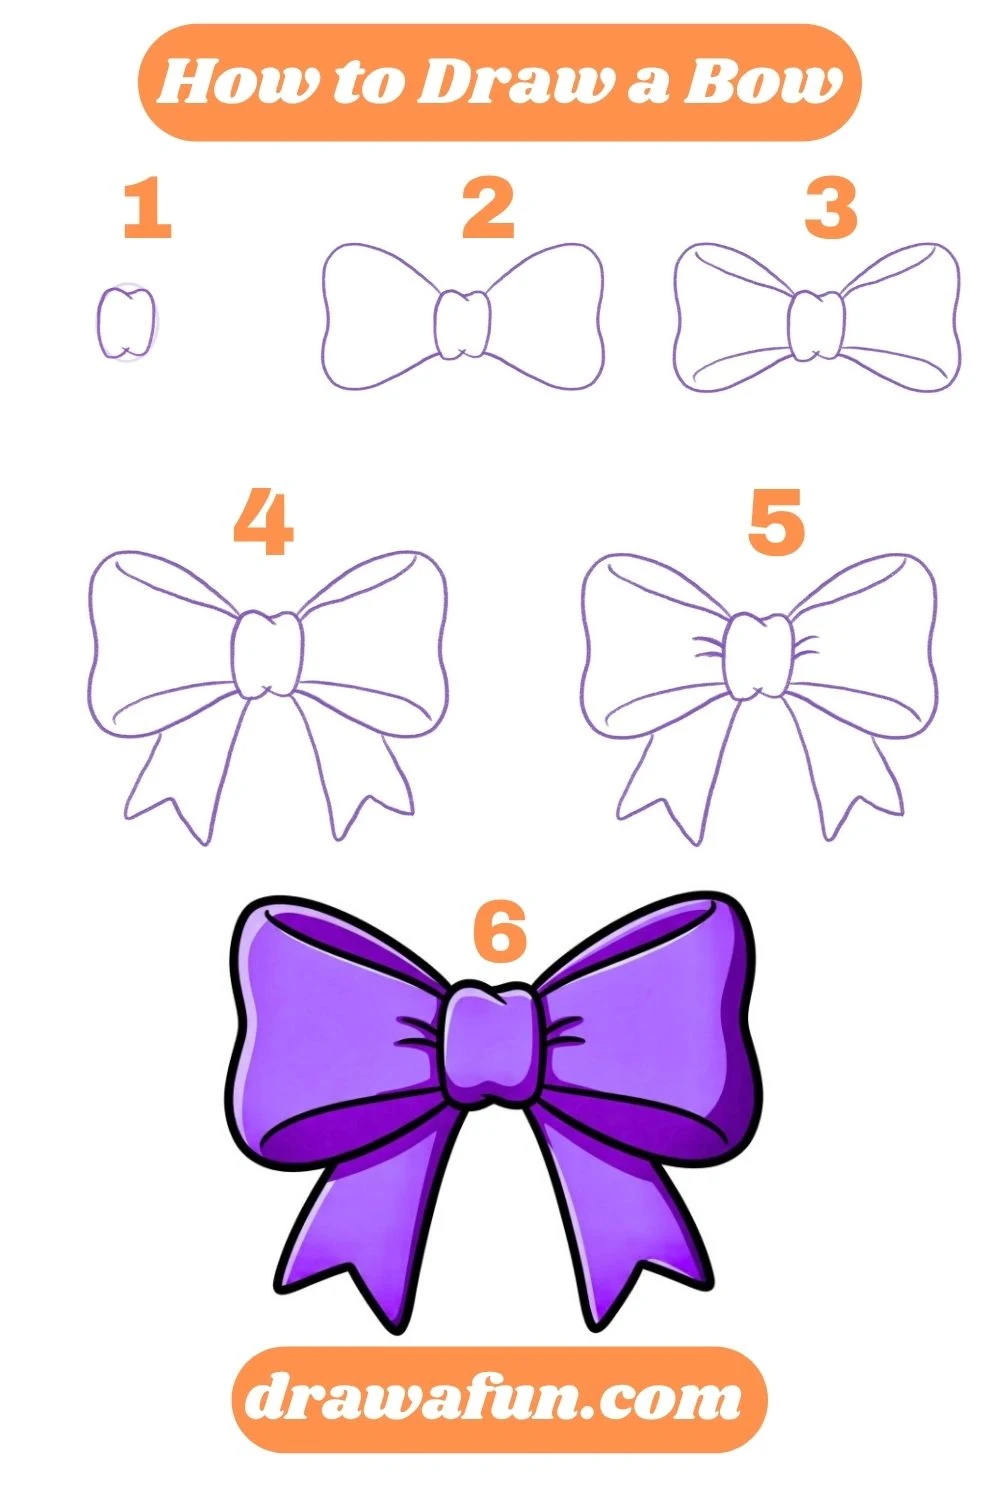
Step 1: Draw the Center Knot
1️⃣ Start by drawing a small oval in the center of your page.
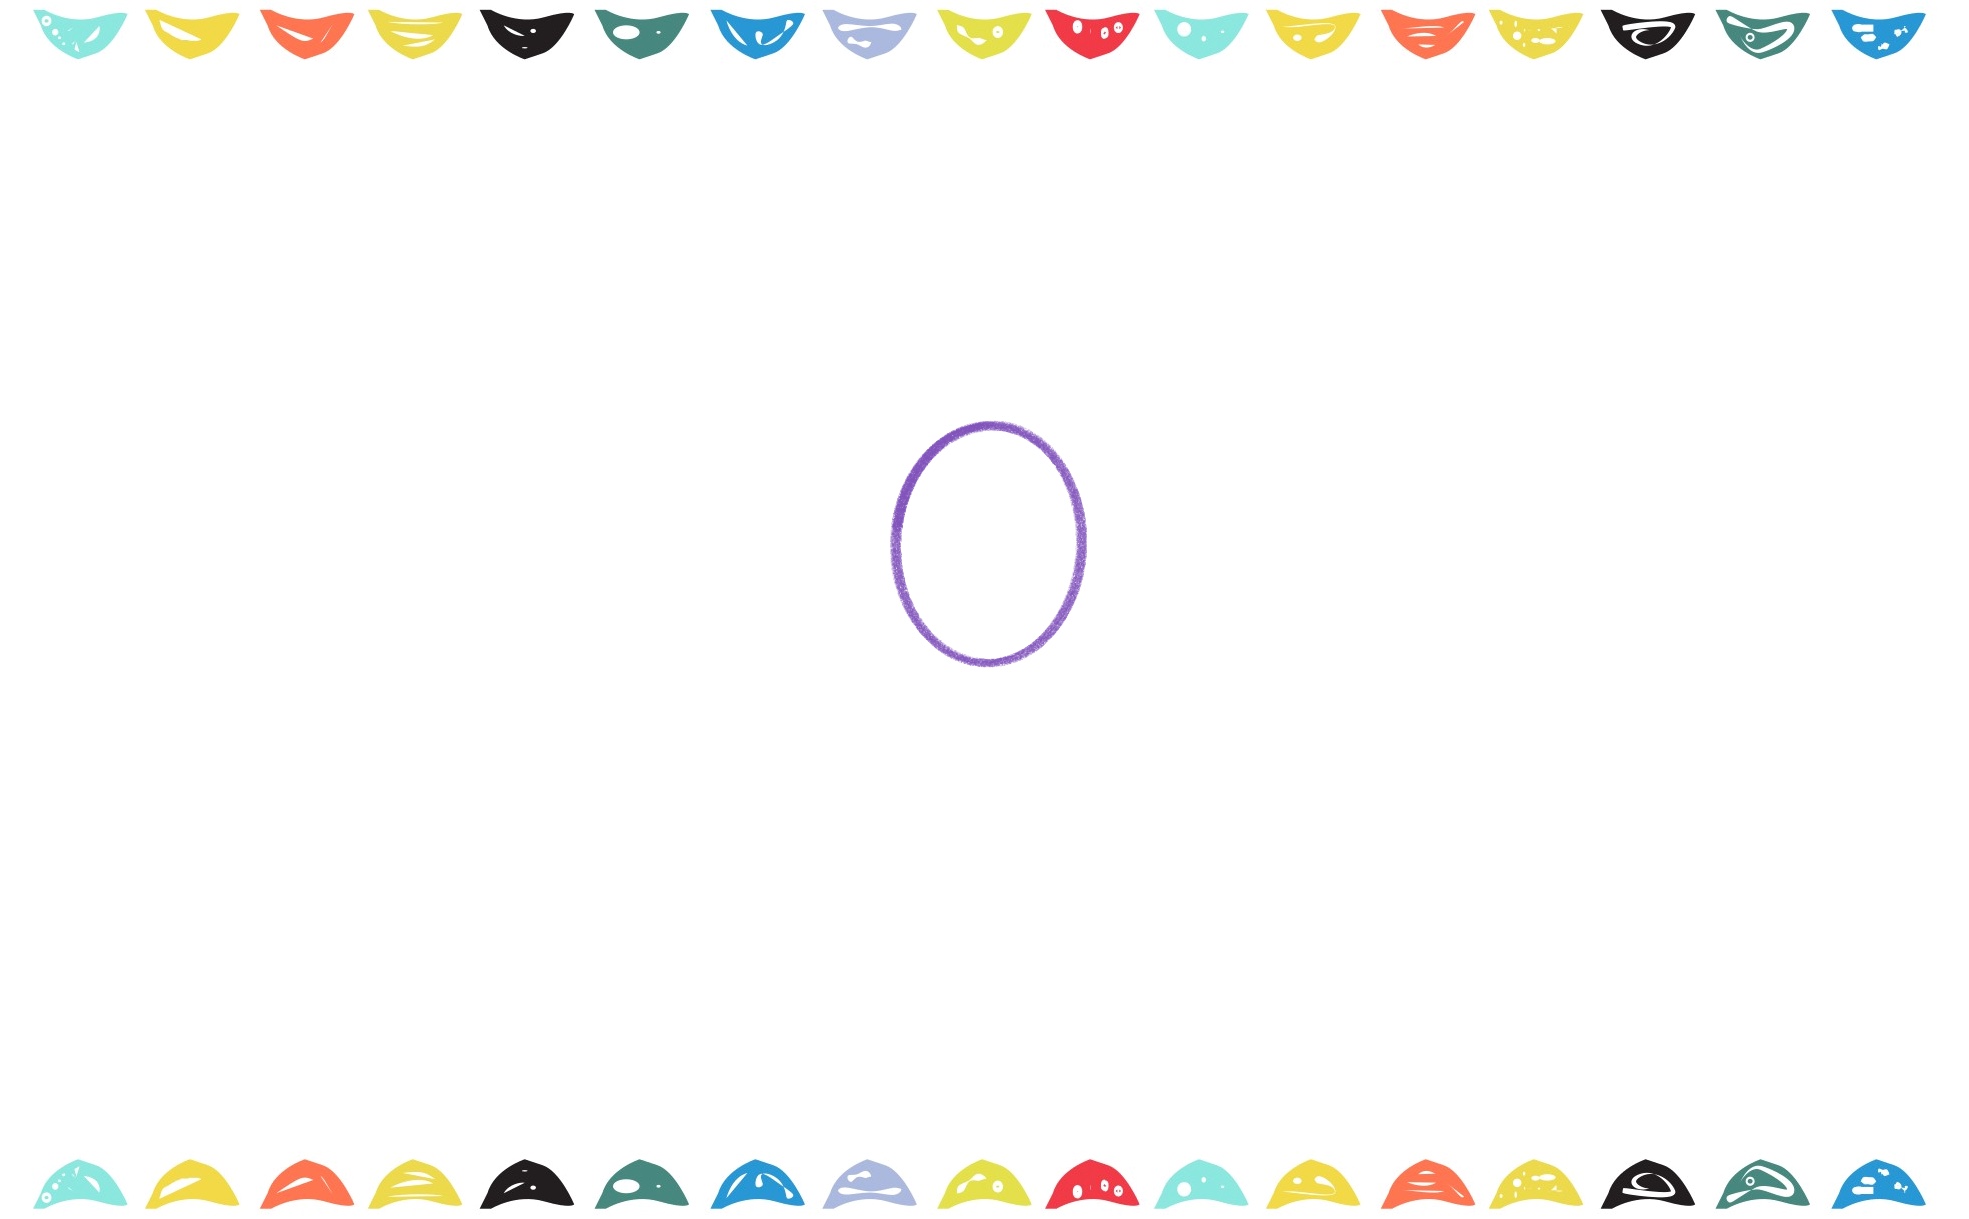
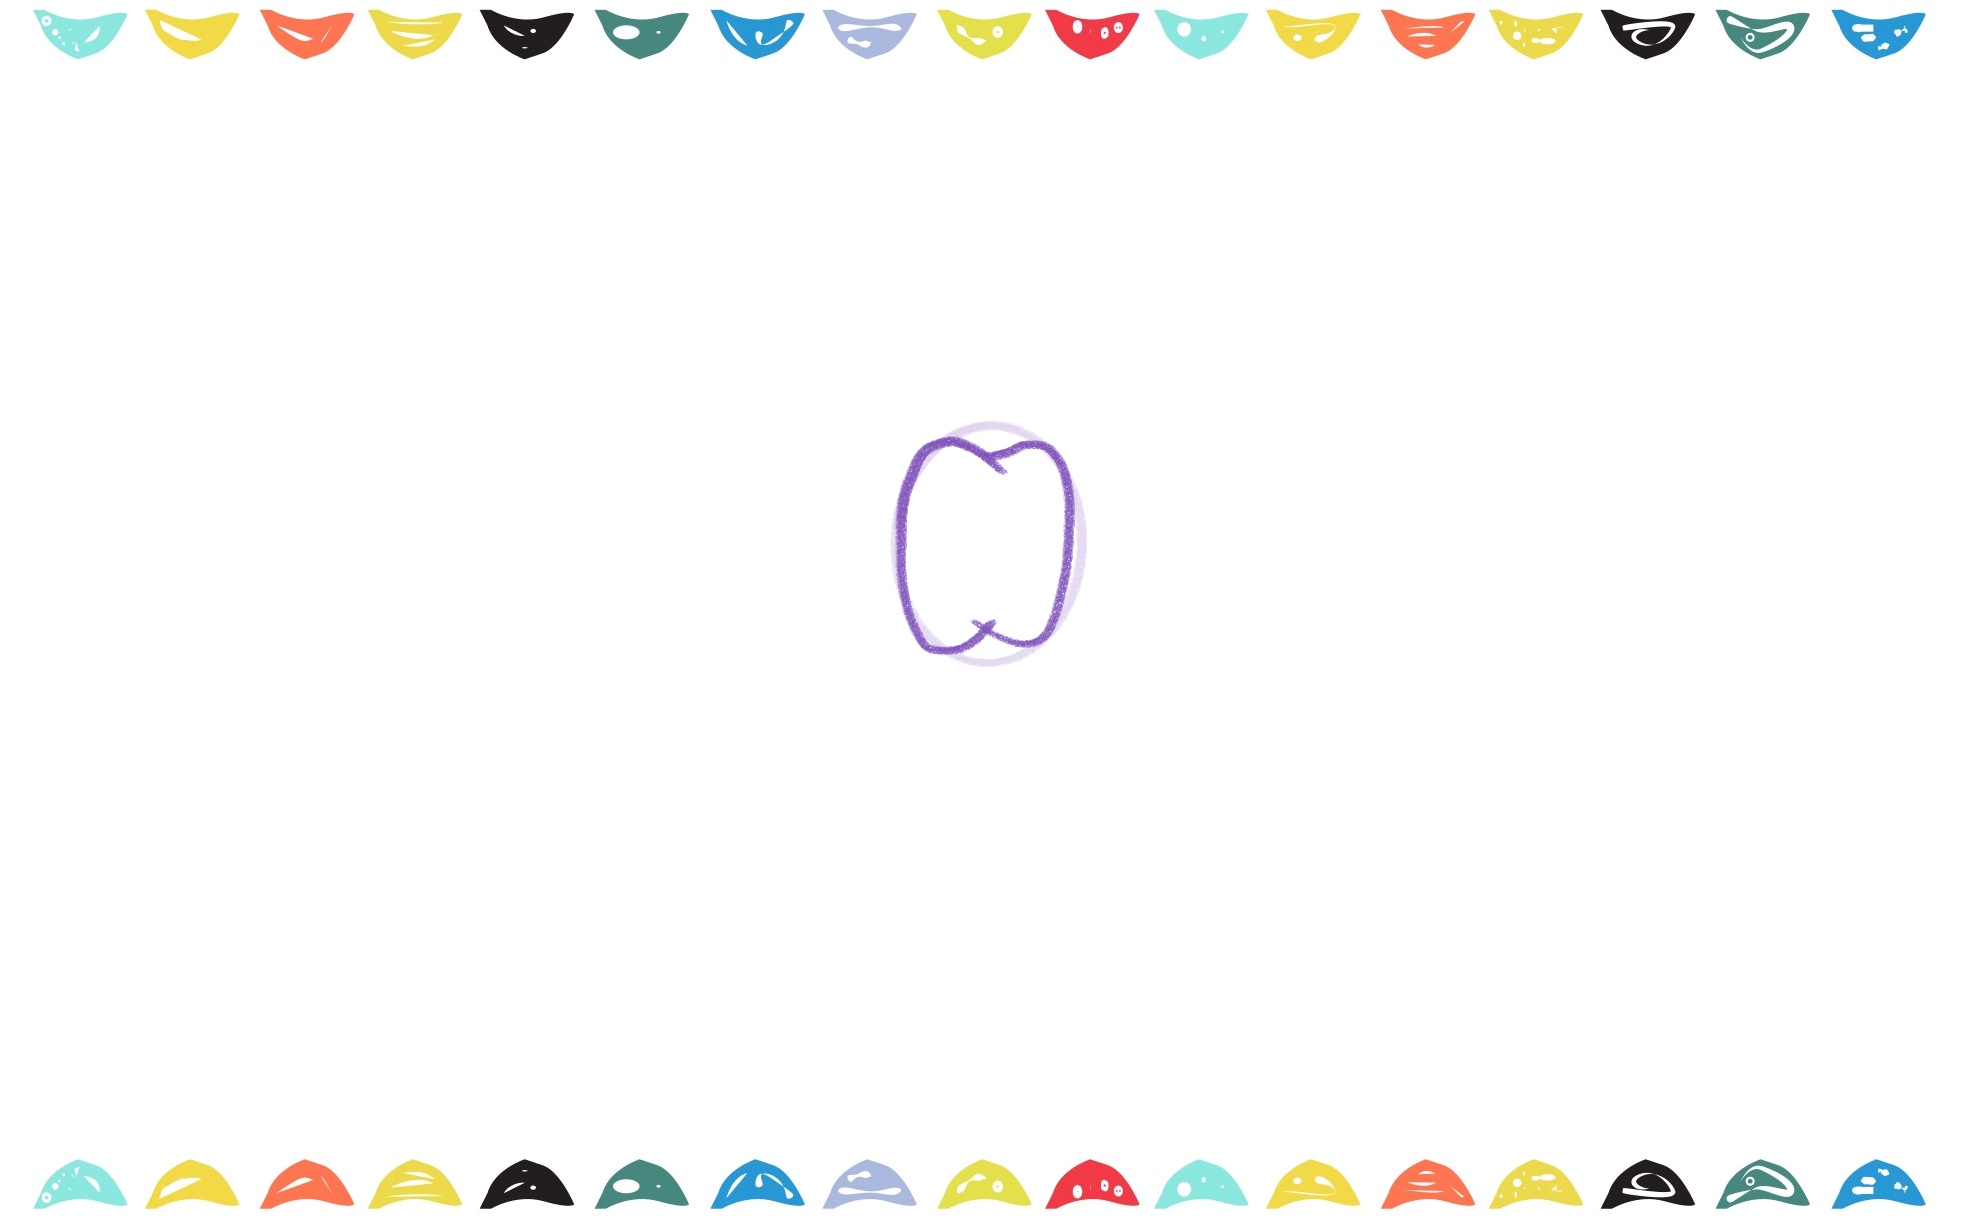
2️⃣ This will be the knot of the bow, where the loops and ribbons connect.
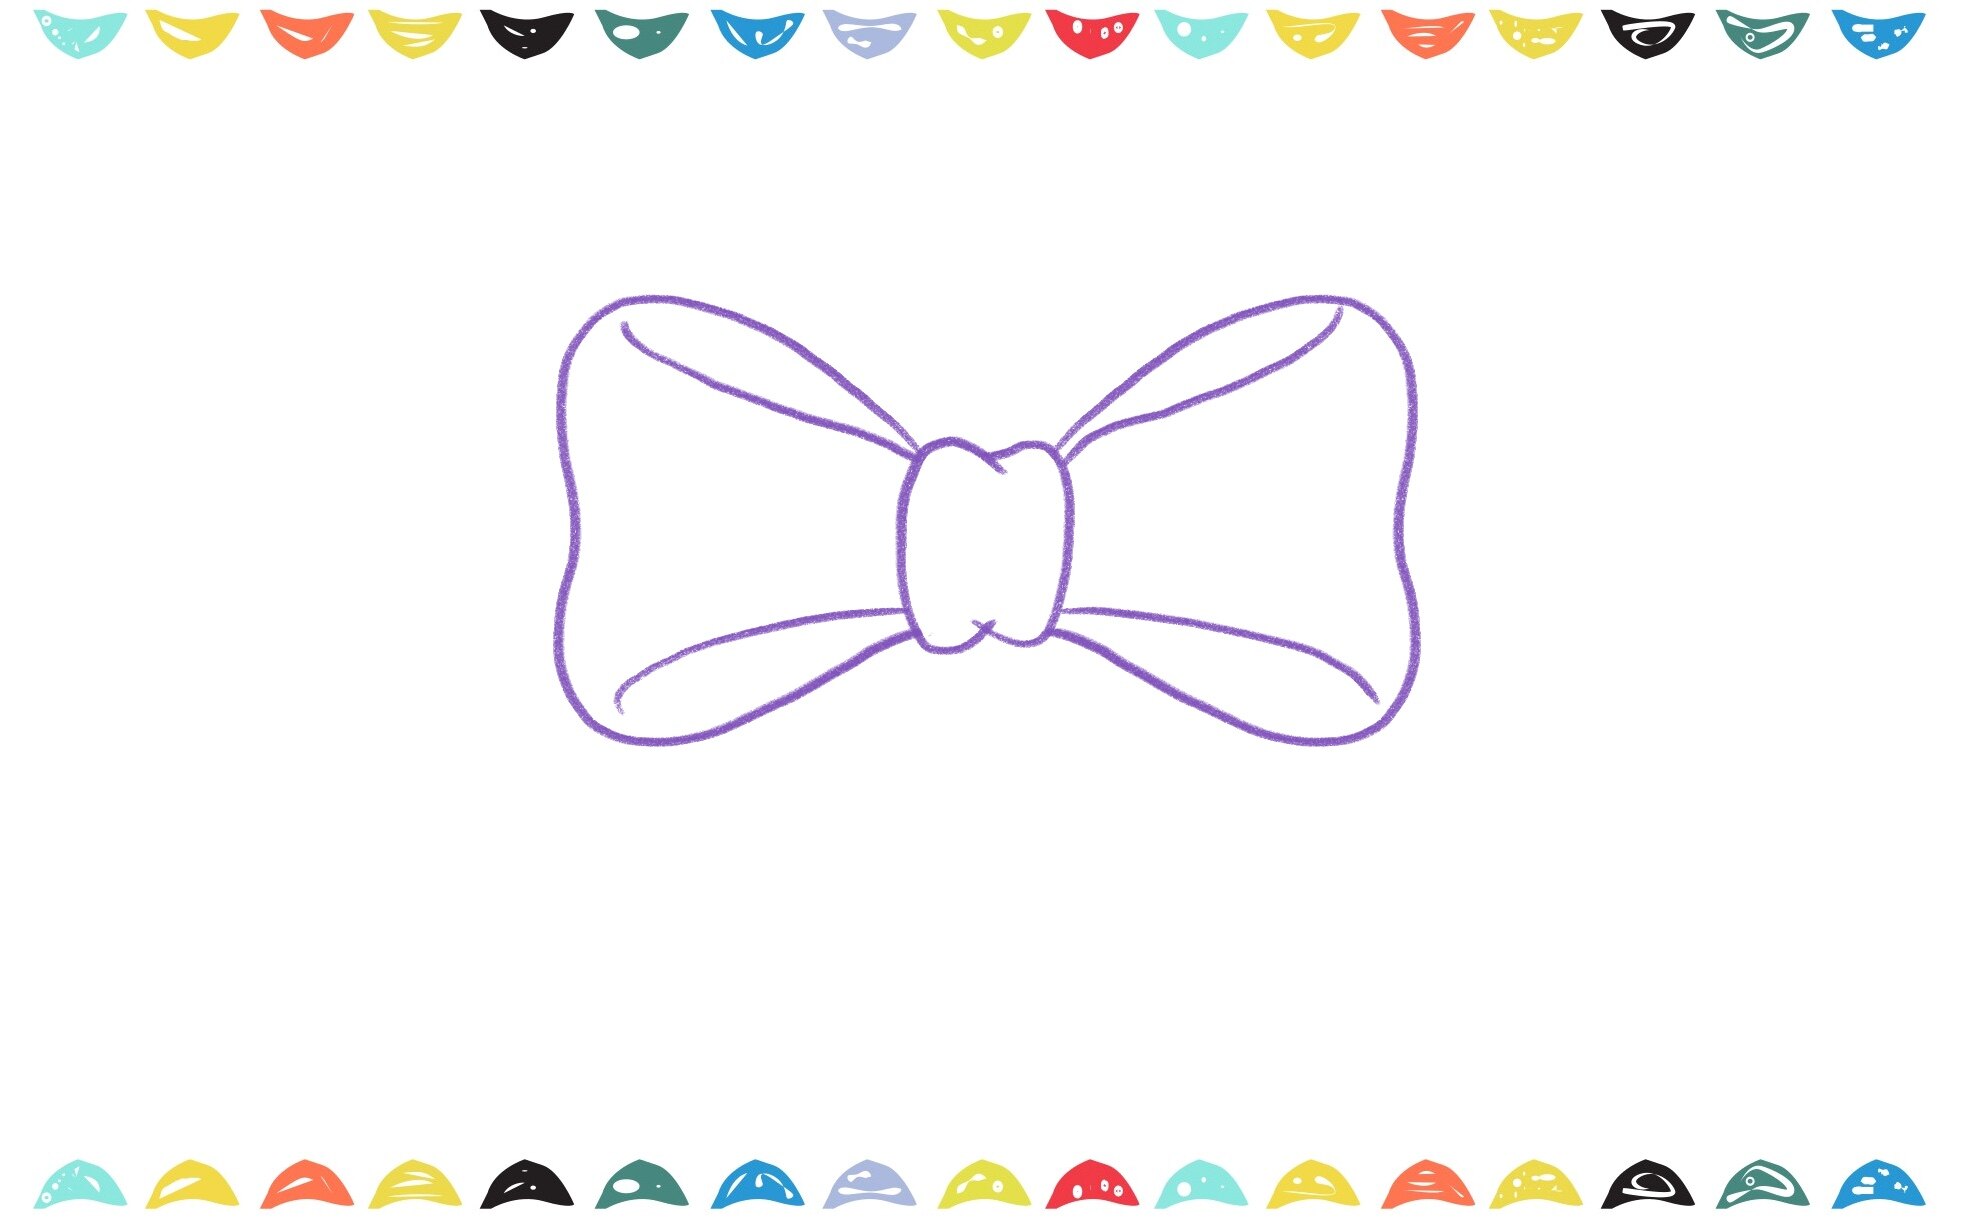
Step 2: Sketch the Bow Loops
1️⃣ Our simple instructions show you how to draw a bow in just a few easy steps, lets continue… On each side of the knot, draw two large curved shapes to create the bow loops.
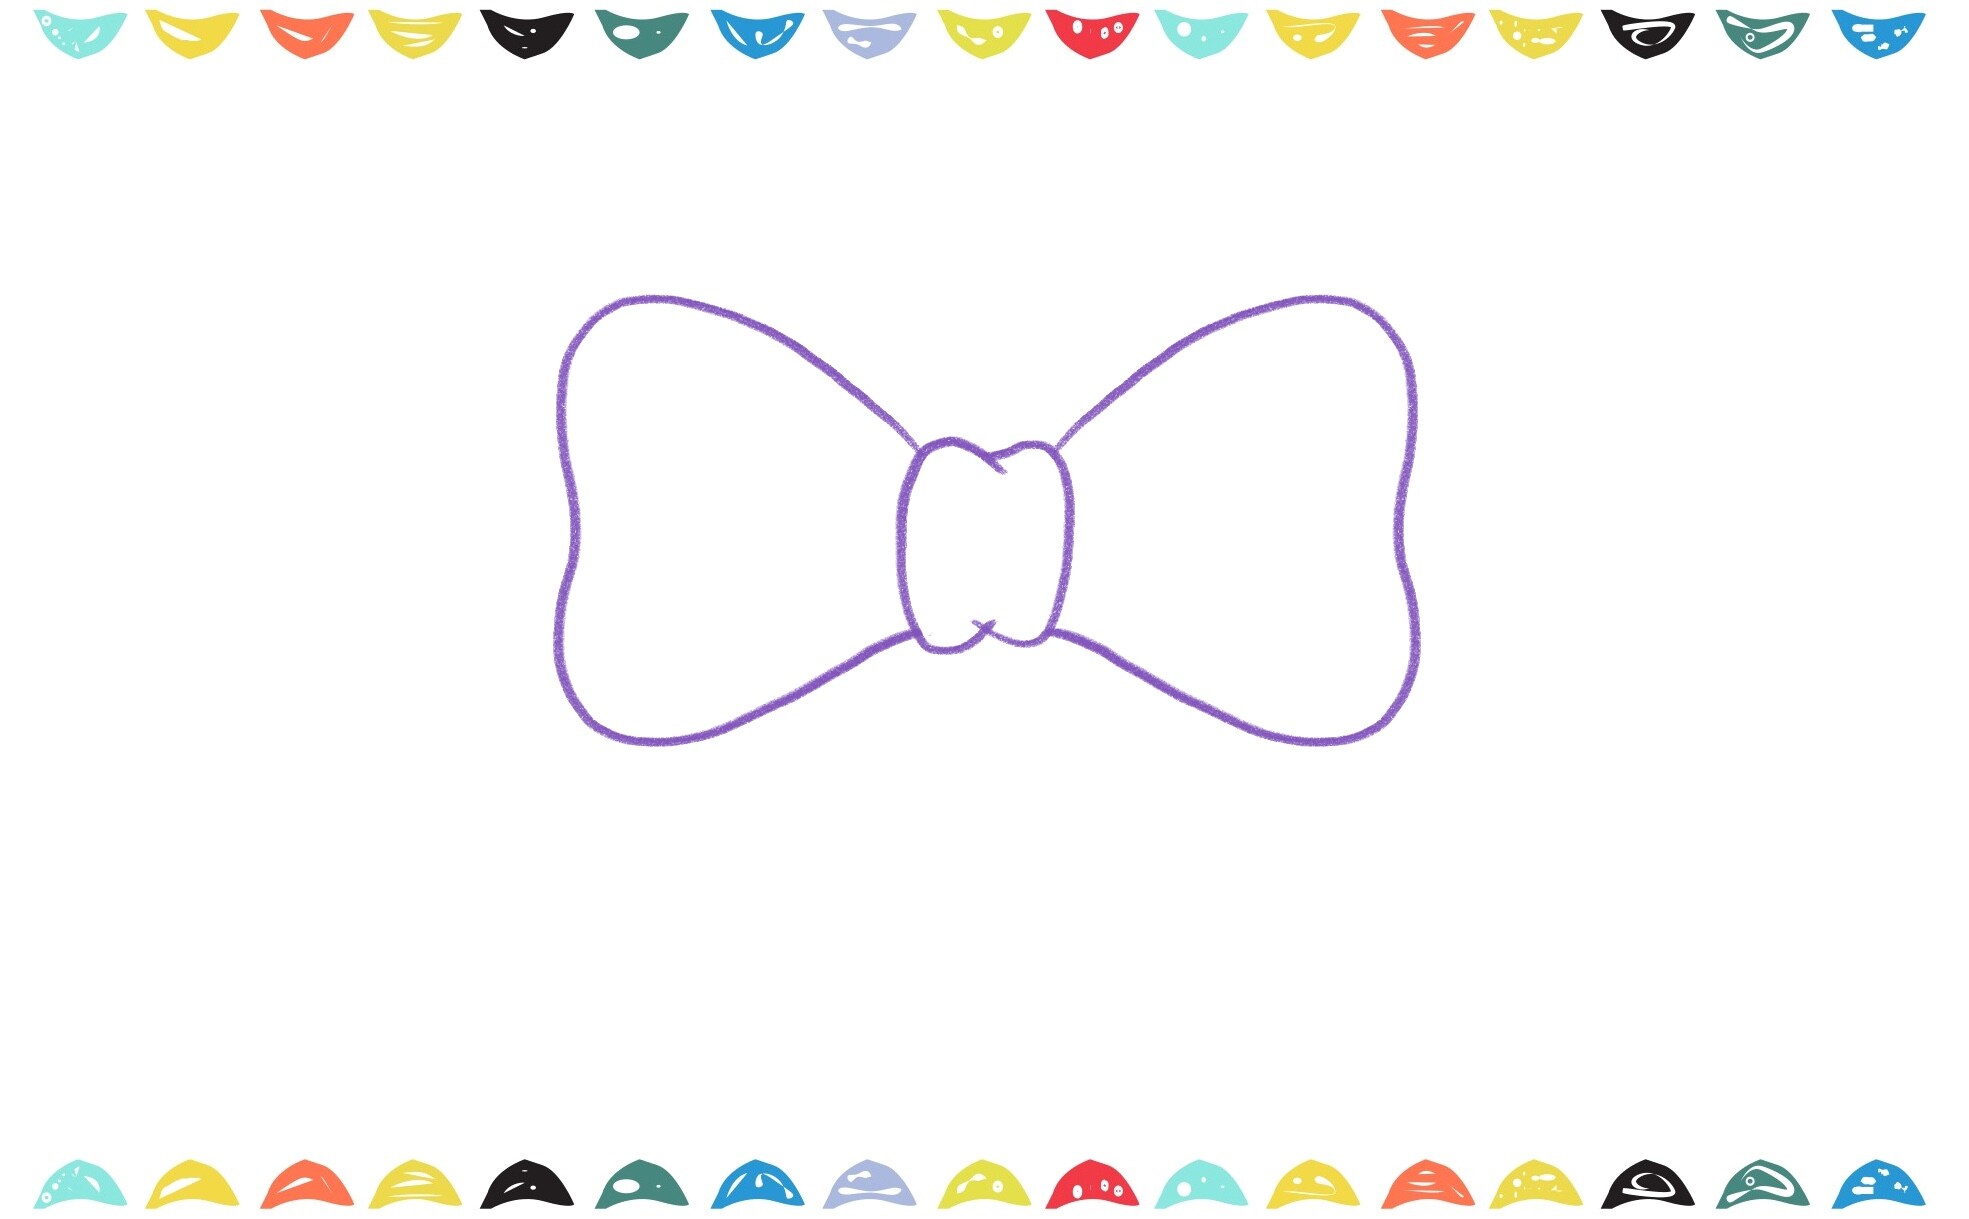
2️⃣ Make sure the loops are even in size and curve outward.
3️⃣ Add curved lines inside the loops to give them a folded effect.
Step 3: Add the Ribbon Ends
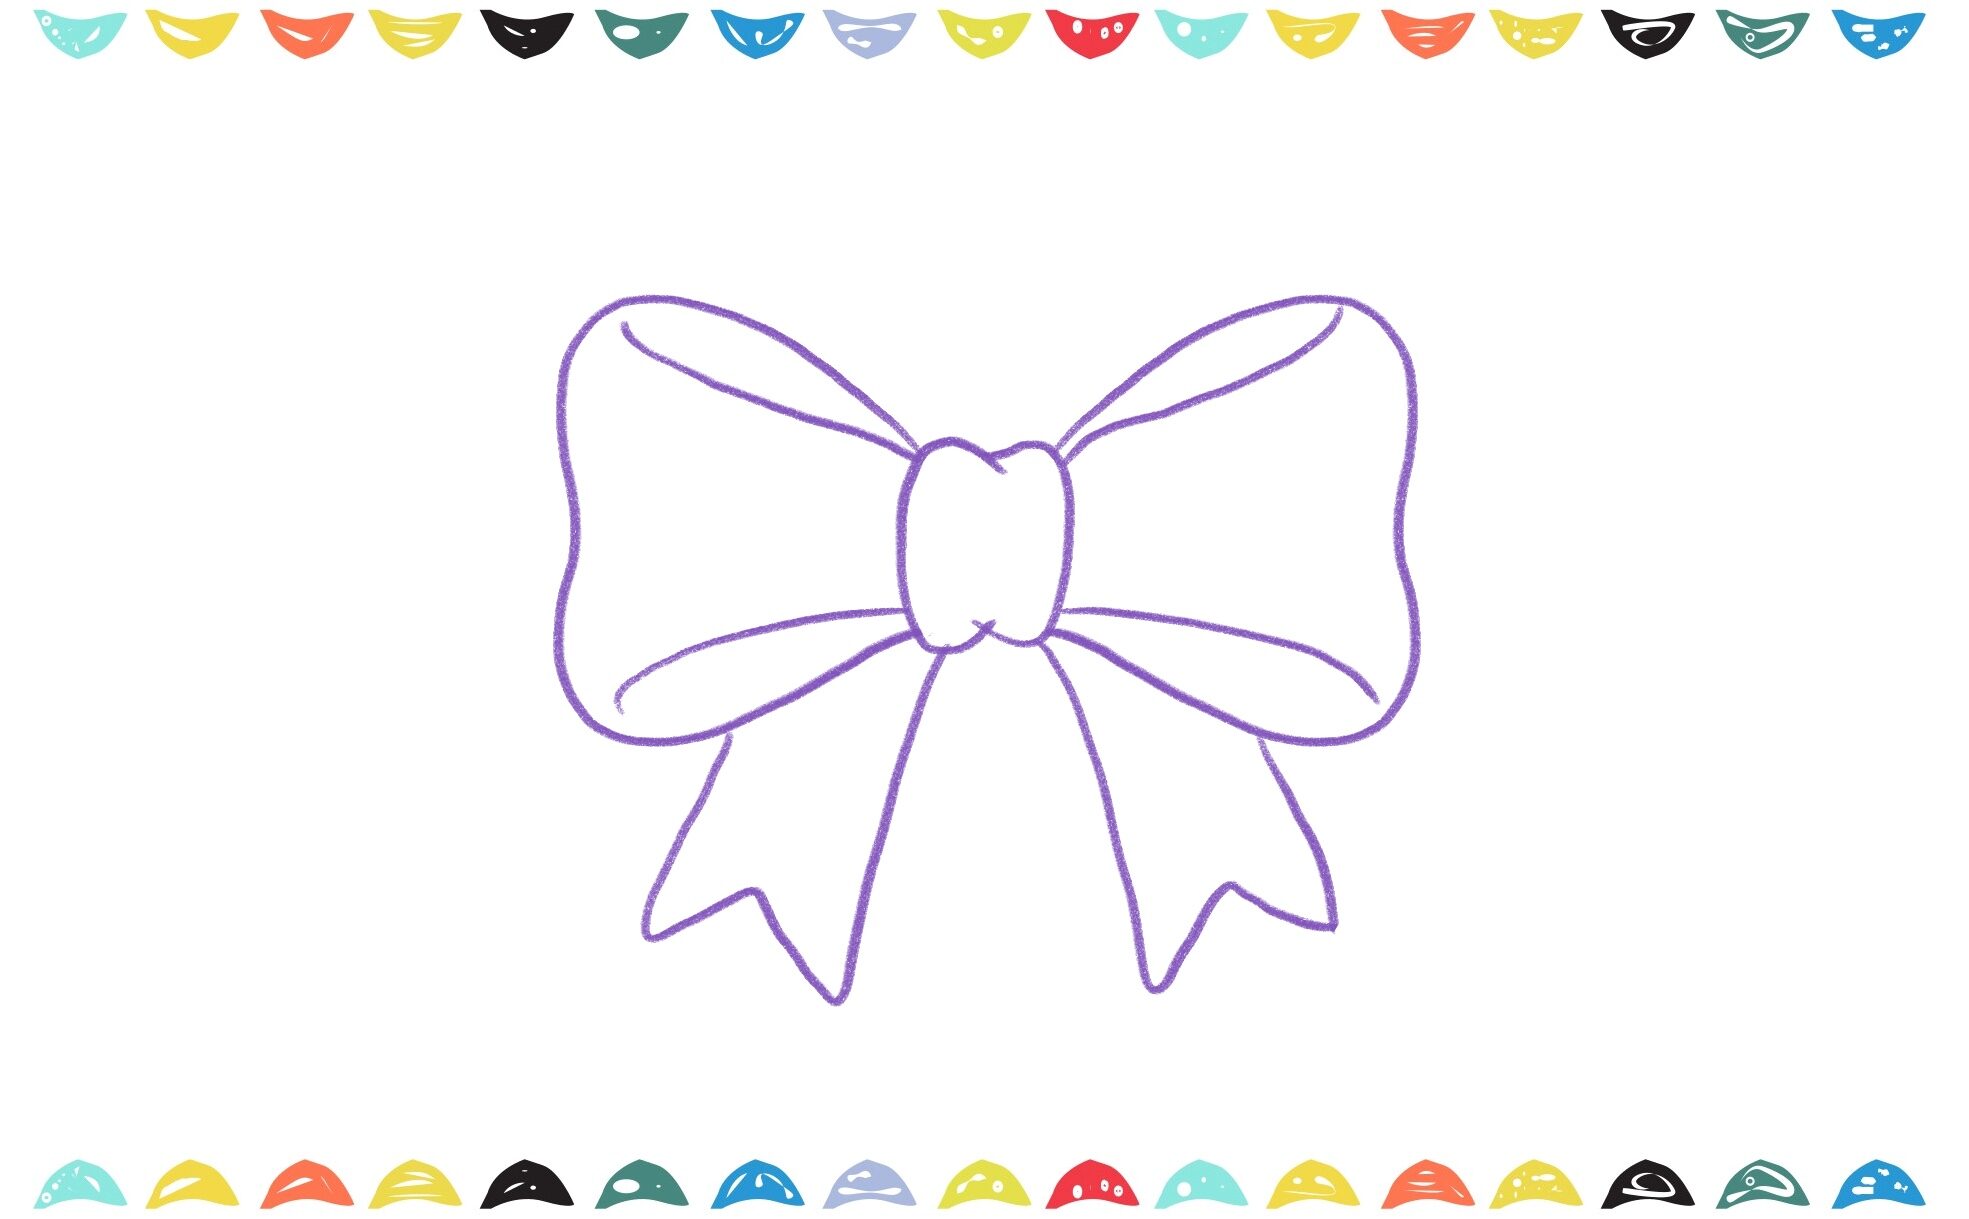
1️⃣ Below the knot, draw two long, wavy ribbons flowing downward.
2️⃣ The ends of the ribbons can be straight or cut into a V-shape for extra style.
3️⃣ Add curved lines inside the ribbons to make them look folded.
Step 4: Draw Details and Shading
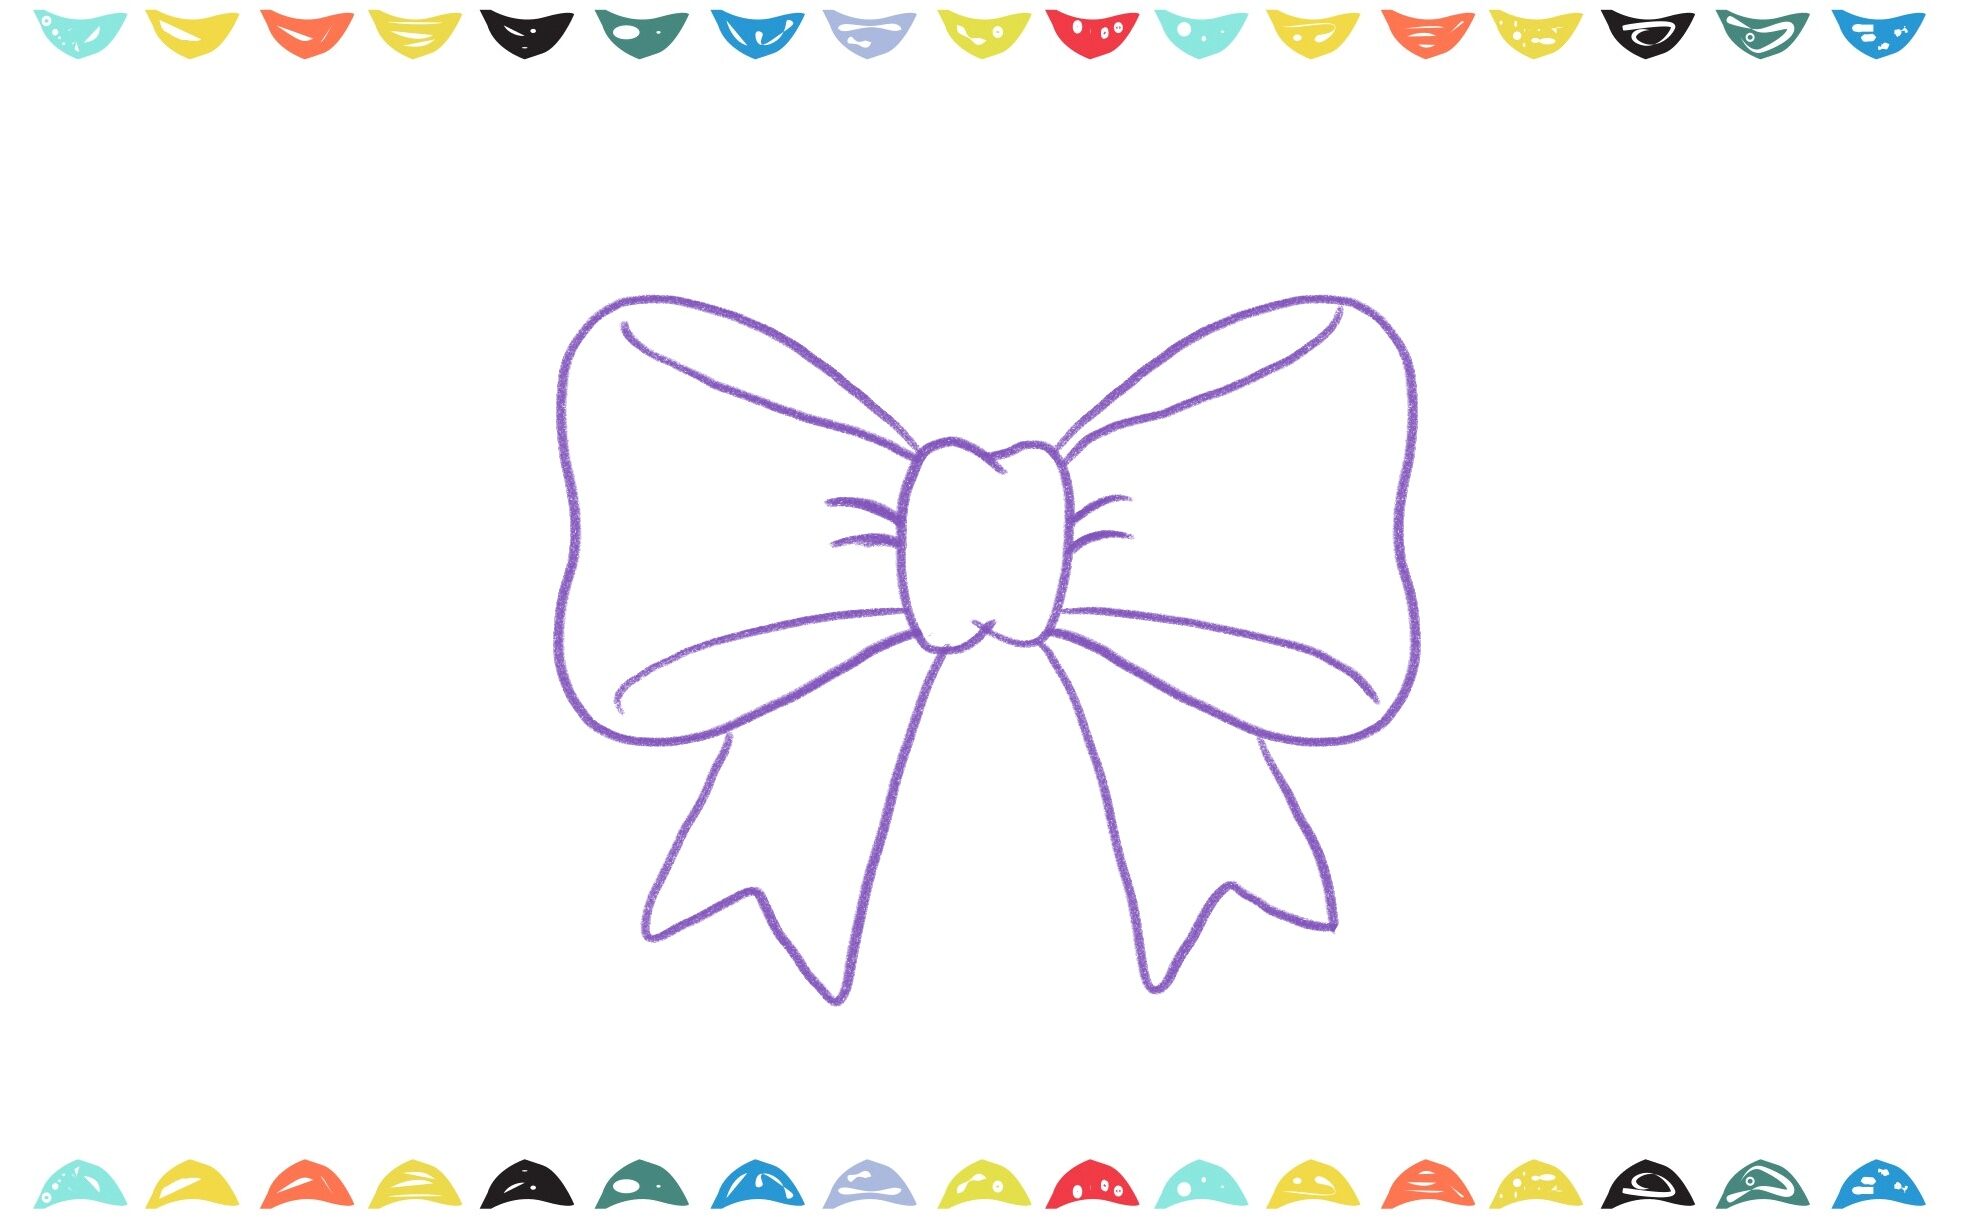
1️⃣ To make the bow look more realistic, add small curved lines on the knot to show texture.
2️⃣ Draw light shading on the loops and ribbons to give the bow a three-dimensional look.
3️⃣ You can add tiny highlights to make the bow appear shiny.
Step 5: Outline and Color Your Bow
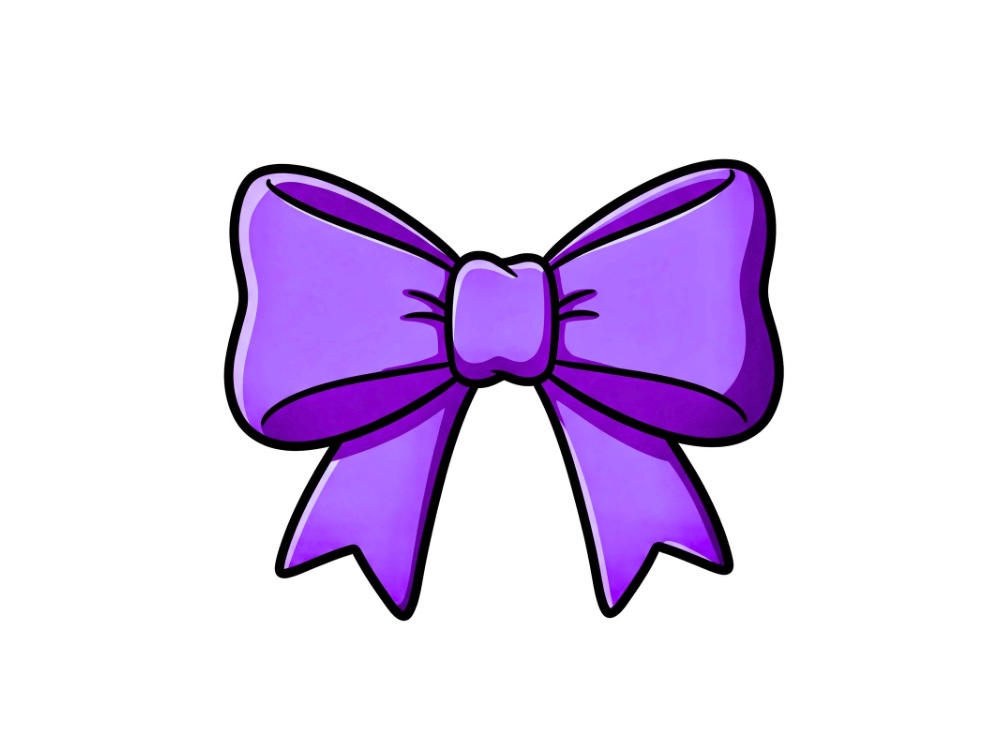
1️⃣ Go over your drawing with a black marker to make the lines bold.
2️⃣ Color the bow pink, red, blue, or any color you like! 🎀
3️⃣ Use shading techniques to make the bow look soft and realistic.
And that’s it! You now know learned how to draw a bow that can be used in gift cards or crafts. 🎉🎀 If you like drawing a bow you may also like our step by step tutorial about How to Draw Hello Kitty or How to Draw a House Cat.
Fun Facts About 🌟
Bows are a popular drawing subject because they look pretty and are simple to create. Here are some fun facts about bows:
🎀 Bows are used worldwide in fashion, decorations, and even awards!
🎁 Bows are especially popular for wrapping gifts and making presents look extra special.
💇♀️ People have worn bows as hair accessories for hundreds of years.
🎻 Bows also refer to special tools used to play musical instruments like violins and cellos!
🏹 A “bow” is also the name for a tool used in archery. Same word, different uses!
Add your bow drawing to handmade cards, scrapbook pages, or art journals.
Frequently Asked Questions ❓
Q: How do you draw a bow easily?
A: Follow our clear, step-by-step guide specially designed for beginners and kids. It makes drawing a bow super simple and fun!
Q: Can I use different colors for my bow drawing?
A: Absolutely! You can use any color you like. The more colorful, the better!
Q: How long does it take to draw a bow?
A: You can easily draw in 5 minutes, but taking a bit more time helps you add beautiful details.
Q: Do I need special art supplies?
A: No special supplies needed! Just paper, pencils, and markers or crayons. Check our materials needed section.
Q. Can I draw a bow without any drawing experience?
Absolutely! This tutorial is designed for beginners. With clear instructions and easy-to-follow steps, you’ll learn how to draw a bow with no prior experience needed.
Conclusion: You Did It, Artist! 🎨
Fantastic job! 🎉 Now you know exactly how to draw a bow step by step. Whether you were curious about “how to draw a easy bow“, “how draw a bow“, or simply wanted a clear and enjoyable beginner step drawing guide, we hope you had a wonderful time!
🎉 Great job! Show your drawing to a friend or teacher!
Keep practicing and exploring more fun drawings with our easy-to-follow, cheerful step-by-step drawing tutorials. Keep smiling and keep creating! 🎀
Looking for creative inspiration? Check out our Pinterest page for some magical ideas!
Keep drawing and having fun with it, just like playing your favorite game every day! The more you draw, the better you’ll get, and you might even discover new ways to draw that you never knew before. Check out our blog post about Drawing Ideas for Beginners – 100 Easy and Fun Things to Draw for more inspiration about drawing.
Share Your Drawing With Us! 💯🎁
We’d love to see your amazing artwork! When you finish your drawing, use the contact form below to send us a picture of it. Whether it’s your first try or your masterpiece, we’re excited to cheer you on. Your creativity could even be featured on our site – so grab your crayons and show us what you’ve made! 🎉🖍️
[forminator_form id=”3880″]