Introduction
Water is one of the most dynamic elements to illustrate, and water add a sense of motion and energy to any artwork. In this tutorial, we will guide you through an easy step-by-step process to sketch a water splash. Hey there, young artists! Ready to make a splash with your drawings? 🌊 Let’s dive into this easy guide on how to draw water and explore different ways to make your artwork look realistic! Grab your pencils, and let’s get started! 🖍️
🎨 Materials Needed
Before we start our step-by-step drawing, let’s make sure you have everything you need! We have a blog post with 6 awesome drawing tools and materials! It’ll help you draw super cool pictures, way better than just stick figures. These art supplies are perfect for beginner artists. You don’t need anything fancy – just a few basic tools to bring your drawing to life:
✅ Paper or Sketchbook – A blank page for your drawing. 📄
✅ Pencils (HB or 2B) – Light pencils help with outlining the drawing. ✏️
✅ Eraser – To fix mistakes while sketching. 🔄
✅ Black Marker or Fine Liner – For outlining and defining clearly. ✍️
✅ Colored Pencils – To color your drawing.
Now, let’s learn how to draw water step by step…
How to Draw Water Step by Step
Step 1: Outline the Base of the Splash
1️⃣ Start by lightly sketching an oval shape on your paper. This represents the pool of water from which the splash will rise. Keep the lines loose and organic to maintain a natural flow.

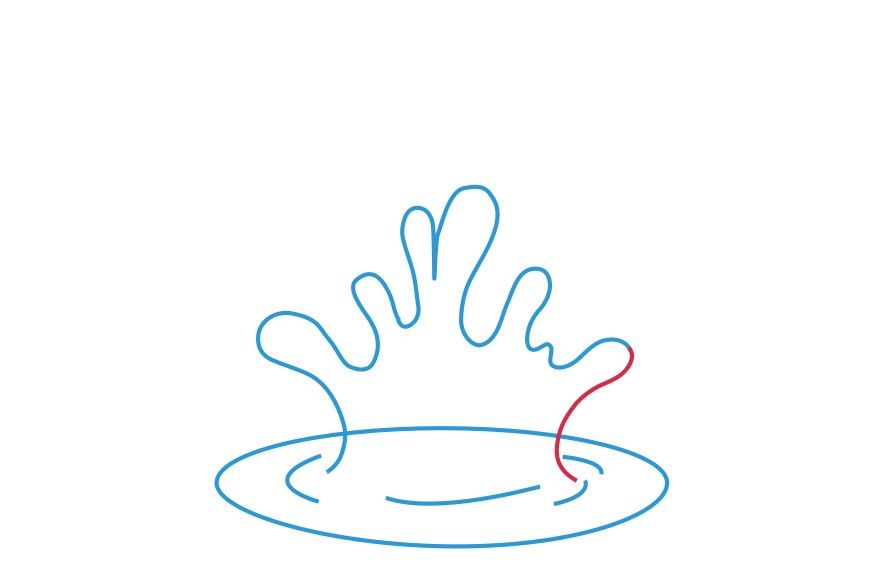
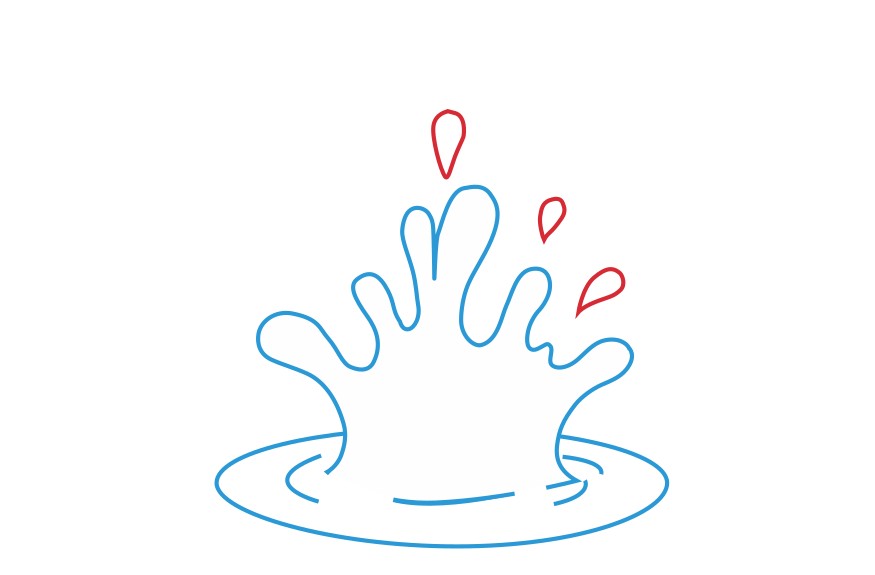
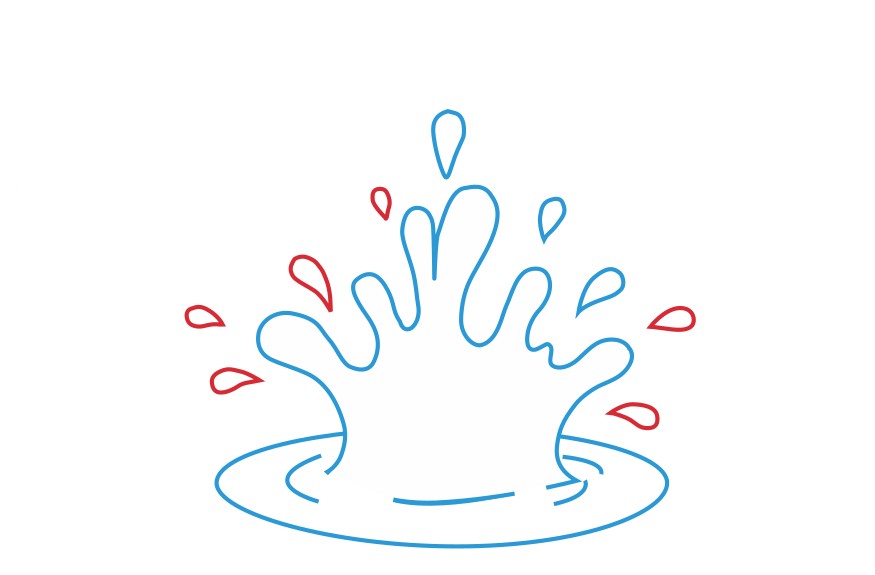
Step 2: Sketch the Rising Splash Droplets
1️⃣ Draw curved lines extending upward from the oval base.
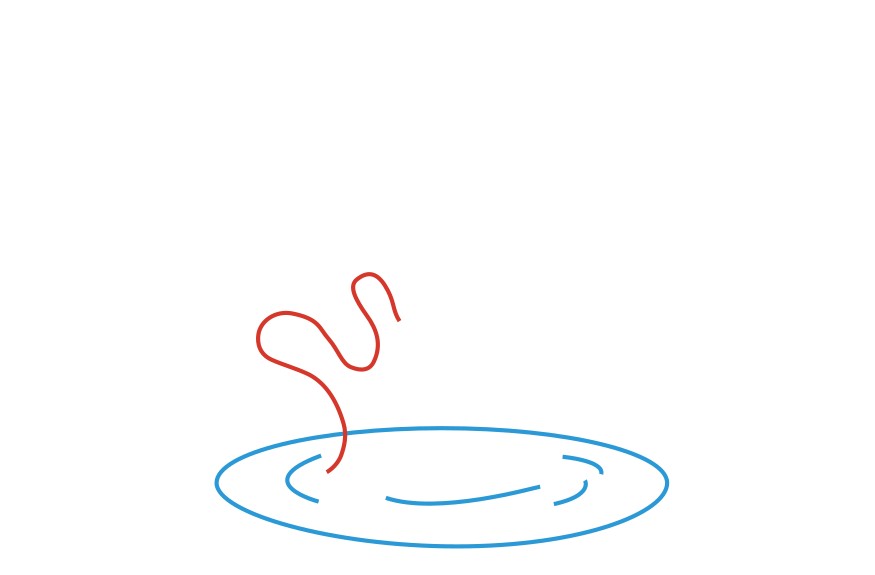
2️⃣ Add irregular water droplets at the tips of these lines.
3️⃣ Varying their sizes to create a more realistic look.
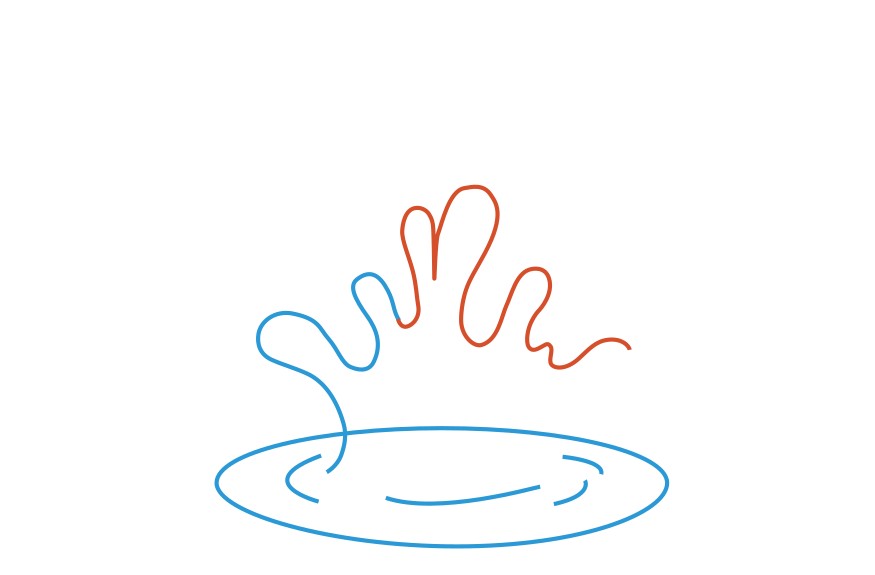
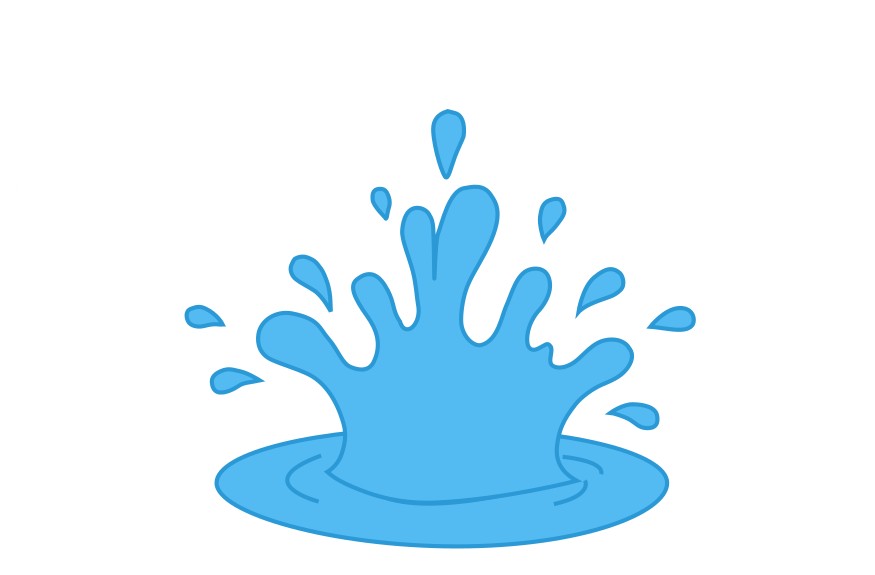
Step 3: Define the Main Water Splash Shape
1️⃣ Using smooth, curved lines, connect the upward strokes to form the splash crown. Imagine water bending and curving as it breaks through the surface. Keep the edges fluid and natural.
Step 4: Add Details to the Water Surface
1️⃣ Inside the splash, draw smaller curved lines to represent the flowing water motion. Add some ripples and waves around the base to enhance the movement.
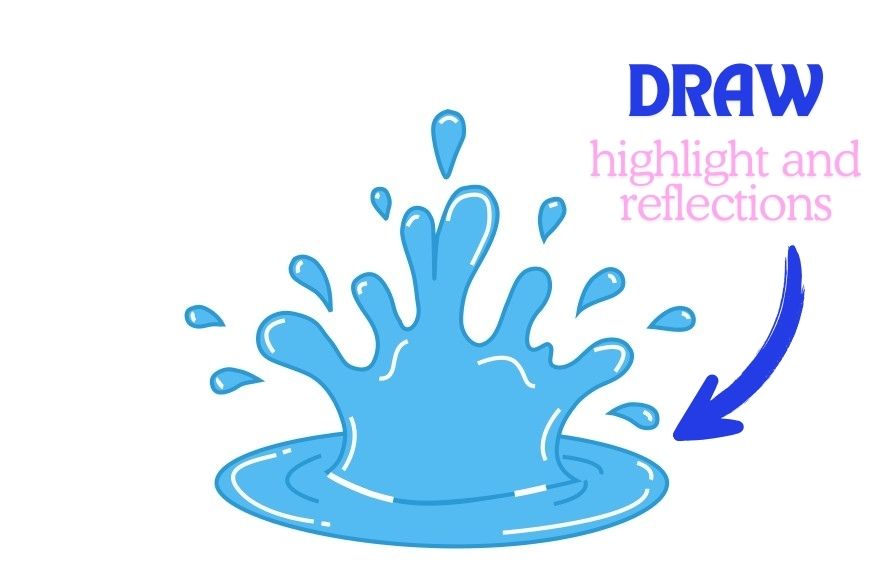
Step 5: Highlight the Reflections
1️⃣ Use a white pencil or eraser to add highlights where light would naturally hit the splash. This gives your water drawing a glossy, three-dimensional effect.
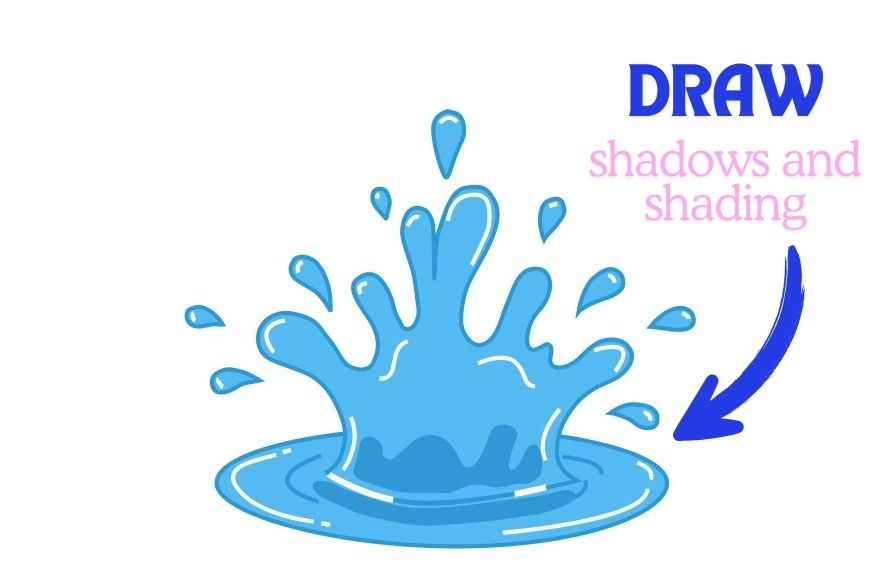
Step 6: Create Depth with Shading
1️⃣ To make your water illustration more realistic, start shading the inner areas of the splash using light pencil strokes or soft blue tones. Focus on areas where water would overlap or reflect light.
Step 7: Final Touches and Refinements
1️⃣ Review your drawing and refine the details. Darken the outer edges slightly to add contrast, and ensure that the water droplets have a slightly transparent effect by softening their outlines.

Tips for a Stunning Water Illustration
✅ Observe Real Water– Study photos or watch slow-motion videos of water movement to understand how splashes behave.
✅ Experiment with Different Shapes – Water splashes can be exaggerated for a fantasy look or kept subtle for realism.
✅ Use Layering Techniques – If painting, work in layers to gradually build transparency and reflections.
✅ Blend Colors Smoothly – Whether using pencils or digital brushes, blending helps achieve a soft and natural water effect.
✅ Keep the Lines Flowing – Avoid harsh, rigid lines; water should always look fluid and effortless.
If you like drawing water you may also like 11 Easy Things to Draw: Simple Drawing Ideas for Beginners for drawing ideas and inspiration.
❓ Frequently Asked Questions
What are the best pencils for drawing water?
Use HB for outlines and 2B-4B for shading. Light pencils work best for reflections!
How do I make my water drawing look real?
Use soft shading, highlights, and gentle curves to create a natural flow.
Can I add waves to my water drawing?
Yes! Use curved, layered strokes to create gentle waves.
Should I use color?
Absolutely! Light blues, soft grays, and white highlights make water look alive!
How to Draw Water – Free Printable Worksheet
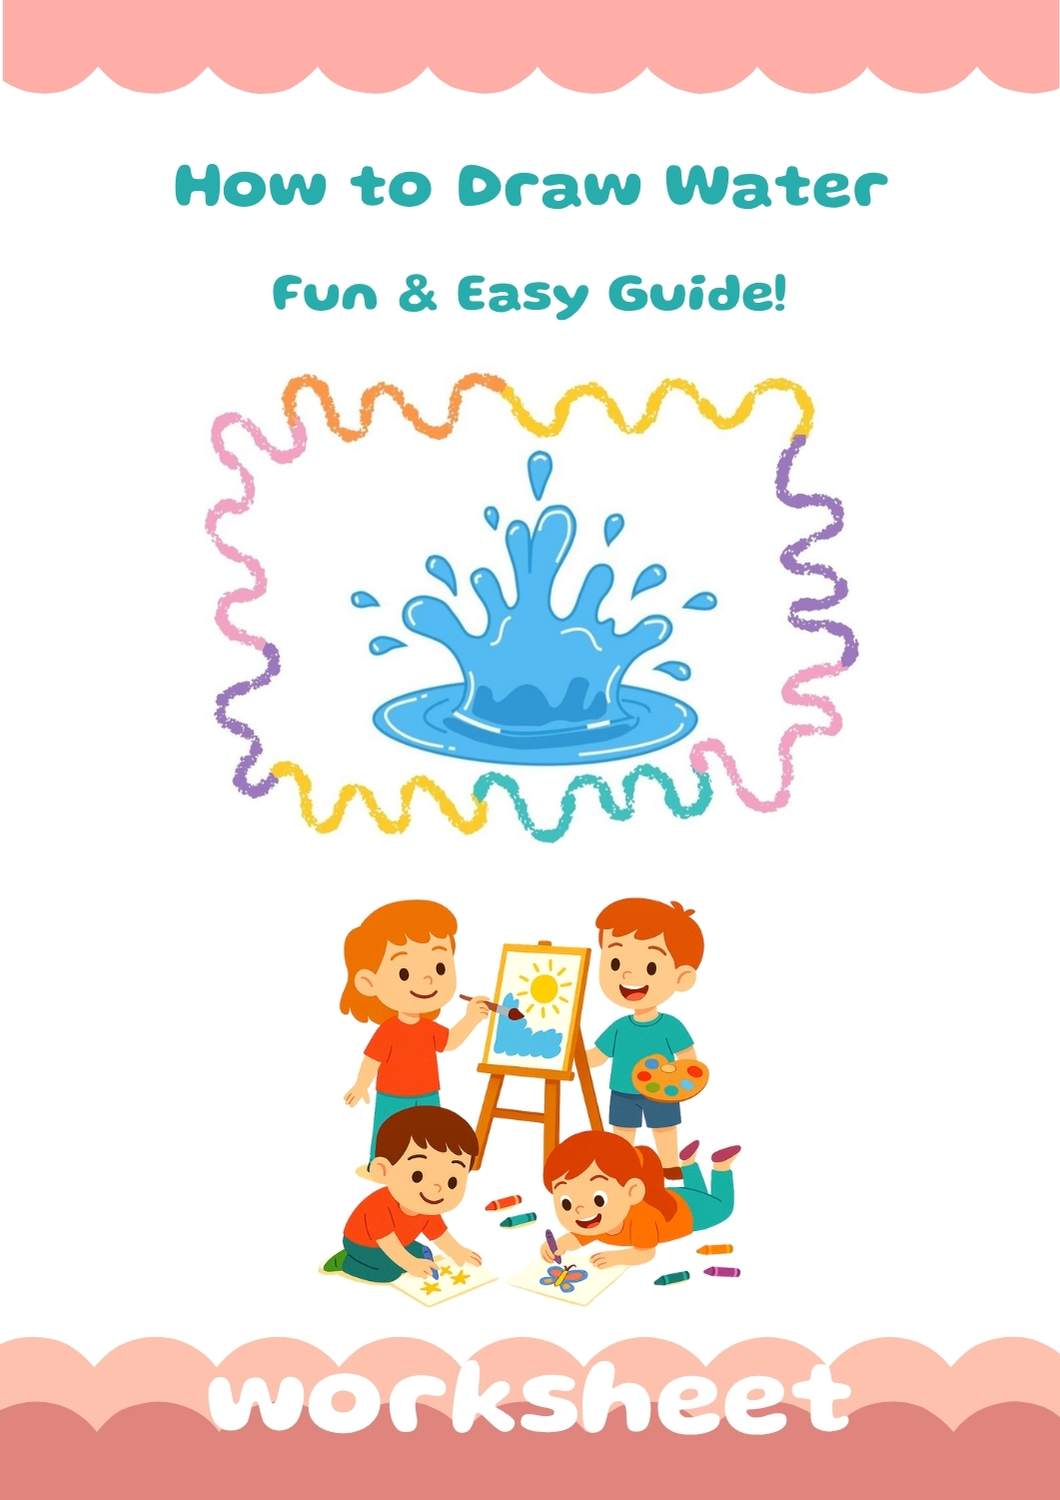
Make learning to draw even more fun with our free printable worksheet! This 5-page worksheet is the perfect companion to the tutorial above and includes everything need to practice:
- 🎨 Step-by-step drawing instructions to follow easily
- 📦 A blank drawing box to try it by yourself
- 🧩 A grid drawing exercise for better proportion and accuracy
- 🖍️ A coloring page to finish with creative flair!
It’s a great tool for home practice, classroom activities, or just a fun art break. Click below to download, print, and start drawing!
🎨 Conclusion: You Did It, Artist!
Drawing water splashes may seem challenging at first, but with practice, you’ll be able to create stunning water illustrations effortlessly. Follow these steps, experiment with different techniques, and soon, your water drawings will capture the beauty and fluidity of real-life splashes. Grab your materials and start creating your own water art today! 🌊🎨
Looking for creative inspiration? Check out our Pinterest page for some magical ideas!
Keep drawing and having fun with it, just like playing your favorite game every day! The more you draw, the better you’ll get, and you might even discover new ways to draw that you never knew before. Check out our blog post about the power of drawing every day to learn more about how drawing can make you an even more awesome artist!
Share Your Drawing With Us! 💯🎁
We’d love to see your amazing artwork! When you finish your drawing, use the contact form below to send us a picture of it. Whether it’s your first try or your masterpiece, we’re excited to cheer you on. Your creativity could even be featured on our site – so grab your crayons and show us what you’ve made! 🎉🖍️