Introduction
Have you ever wondered how to draw flower bouquet? Today, we’re going to teach you exactly that – with simple steps, fun emojis, and bright colors! This drawing includes sunflowers, tulips, daisies, and a big pretty pink ribbon!
Whether you’re learning how to draw a bokay of flowers, how to draw a bouquet of flowers easy, or even how to draw a bunch of flowers for someone special, this guide is made just for you.
🎨 Materials Needed
Before we start our step-by-step drawing, let’s make sure you have everything you need! We have a blog post with 6 awesome drawing tools and materials! It’ll help you draw super cool pictures, way better than just stick figures. These art supplies are perfect for beginner artists. You don’t need anything fancy – just a few basic tools to bring your drawing to life:
✅ Paper or Sketchbook – A blank page for your drawing. 📄
✅ Pencils (HB or 2B) – Light pencils help with outlining the drawing. ✏️
✅ Eraser – To fix mistakes while sketching. 🔄
✅ Black Marker or Fine Liner – For outlining and defining clearly. ✍️
✅ Colored Pencils – To color your drawing.
Now, let’s learn how to draw a flower bouquet step by step…
How to Draw a Flower Bouquet Step by Step
Step 1: Draw the Paper Wrap Base
1️⃣ Start with a wide “V” shape at the bottom of your page.

2️⃣ Then draw an inverted V shape at the bottom of the V shape so that the two shapes intersect.

3️⃣ Let’s remove unnecessary parts, that is, the intersecting parts of the two shapes.

4️⃣ Connect the top of the wrapper with a slightly curved horizontal line. This creates the opening of the bouquet’s paper wrap.✏️

Tip: The wrap should look like it’s gently holding a bunch of flowers — not too tight, not too loose!
Step 2: Add the Bow at the Bottom 🎀
1️⃣ In the middle of the “V” shape (the bottom of the wrap), draw a cute bow. To learn how to draw a bow step by step follow this simple tutorial: How to Draw a Bow 🎀.
- First, draw a small circle in the middle.

- Then, draw two loops on each side that look like butterfly wings.

- Below the loops, add two ribbon tails that hang down.

This makes your bouquet look gift-ready and pretty!
Step 3: Draw the Flower Stems
1️⃣ From underneath the bow and inside the wrap, draw 6–8 vertical lines extending downward – these are the flower stems.

2️⃣ Make them slightly curved and different lengths so it looks natural.
- Don’t make all stems straight and even – variety is key!
Step 4: Start with the Sunflowers 🌻
1️⃣ Draw two large sunflowers near the center top of the bouquet. If you want to learn how to draw a sunflower step-by-step check this tutorial: how to draw a sunflower step-by-step.
- Start with a large circle for the middle (for the seeds).

- Around the circle, draw many long, thin petals that point outward like a sun.

- Add some small dots or shading inside the circle to give it texture.
- Sunflowers are usually the biggest and brightest in the bouquet!
Step 5: Draw the Tulips 🌷
1️⃣ Next, add 3 – 4 tulips in different positions.
- Draw an oval shape for each tulip, but make the top part slightly pointy.

- Inside each tulip, draw 2–3 curved vertical lines to show the petals.
- Some tulips can peek from behind others to add depth!.

Use overlapping shapes to make the bouquet look full and natural.
Step 6: Add the Daisies and Tiny Flowers 🌼
1️⃣ Between the bigger flowers, draw 3-4 smaller daisies. Learn how to draw a daisy step by step with this fun and easy guide.
– Make a small circle for the center.
– Around it, draw oval petals (about 8–10 per flower).

2️⃣ Then, draw tiny blue or purple flowers 🌸 with round or heart-shaped petals. These should be small filler flowers scattered in the background. Learn how to draw a flower bouquet, ensuring you highlight its features!

- These little blooms make your bouquet even more detailed and beautiful!
Step 7: Fill in the Leaves and Greenery 🍃
1️⃣ Now add long, narrow leaves all around the flowers:
- Draw curved lines for the stems.
- Then draw leaf shapes along them.
- Add short lines inside the leaves to show the veins.

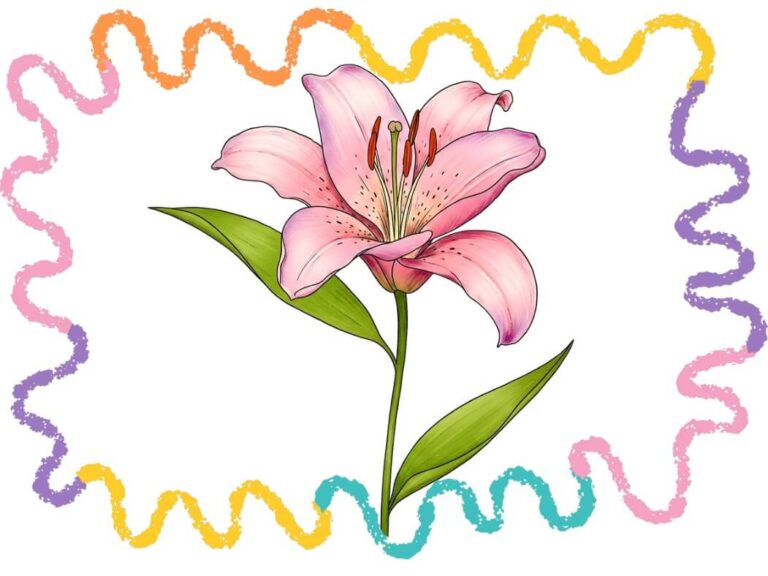
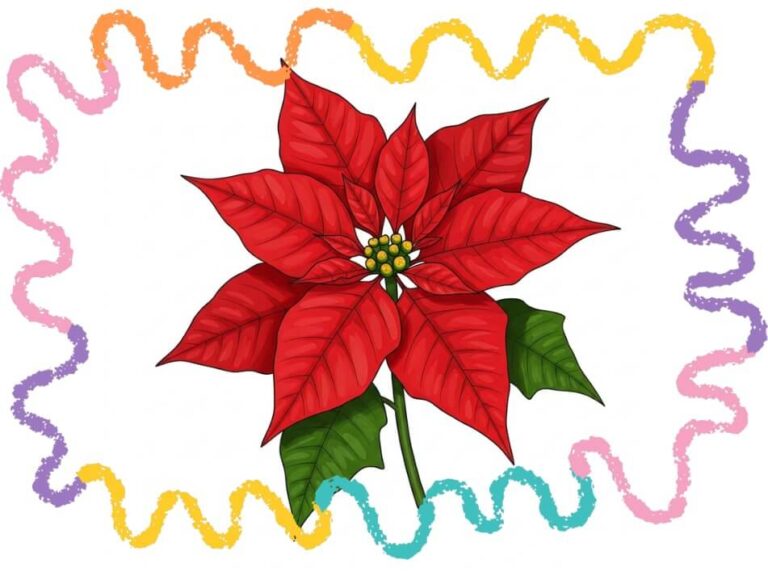
2️⃣ Leaves help balance your bouquet and make it look lush! You can add more different flowers if you want. You may like to learn How to Draw a Lily Flower or How to Draw a Poinsettia.
Step 8: Add Color and Shading 🖍️
1️⃣ It’s time to bring your bouquet to life with color! Use your skills to color your bouquet and see how to draw a flower bouquet that is vibrant!
- Sunflowers: Bright yellow petals, brown centers
- Tulips: Mix of pink, red, orange, and yellow
- Daisies: White petals with yellow centers
- Tiny flowers: Light blue or purple
- Leaves: Different shades of green
- Wrapper: Soft pastel pink
- Bow: Light or deep pink with shadowed fold.

Now you learned how to draw a flower bouquet. Don’t forget to color the stems green and add a soft gray or beige to the wrap for shading! Want to draw even more beautiful flowers? Learn how to draw a pretty hibiscus flower with our easy steps, or discover how to create a magical lotus flower floating on water!
Now that you know how to draw a flower bouquet, let’s explore some fun frog facts!
🌟 Fun Facts About Flower Bouquets
As you practice, remember the steps on how to draw a flower bouquet, and enjoy!
- A bouquet is a group of flowers arranged together!
- Tulips come in almost every color – even black!
- Sunflowers follow the sun as it moves across the sky!
❓ Frequently Asked Questions
Q: How do you draw a bouquet of flowers?
A: Start with the wrapper, add a bow, draw stems, then flowers and leaves. Easy as that!
Q: How to draw a simple flower bouquet for beginners?
A: Just follow the steps above and use basic shapes like circles, ovals, and lines.
Q: Can I use any colors I like?
A: Absolutely! Be creative and design your own colorful bouquet.
🎨 Conclusion: You Did It, Artist!
Great job! Now you know how to draw a floweer bouquet and even how to draw a bouquet of flowers step by step. Whether you’re making art for fun or creating a card for someone you love, your flower drawing will make them smile. Keep practicing and try drawing different types of bouquets too! If you wan to learn how to draw 15 easy flowers step by step! Our fun beginner-friendly guide with simple instructions to create beautiful flower sketches! Click for 15 Easy Flower Drawing Ideas.
Looking for creative inspiration? Check out our Pinterest page for some magical ideas!
Keep drawing and having fun with it, just like playing your favorite game every day! The more you draw, the better you’ll get, and you might even discover new ways to draw that you never knew before. Check out our blog post about the power of drawing every day to learn more about how drawing can make you an even more awesome artist!
Share your amazing journey of how to draw a floweer bouquet with us!
Share Your Drawing With Us! 💯🎁
We’d love to see your amazing artwork! When you finish your drawing, use the contact form below to send us a picture of it. Whether it’s your first try or your masterpiece, we’re excited to cheer you on. Your creativity could even be featured on our site – so grab your crayons and show us what you’ve made! 🎉🖍️