Introduction
Are you ready to learn how to draw a cherry blossom step by step? 🌸 In this fun and easy drawing tutorial for kids and beginners, you’ll discover how to sketch beautiful cherry blossom flowers with simple shapes and soft details. Whether you’re wondering “how do I draw a cherry blossom?” or searching for a relaxing art project, this guide is perfect for you! Follow along with our cheerful instructions and learn how to draw cherry blossoms that look charming and colorful. Grab your pencils let’s bring springtime to life on paper! 🎨✨
🎨 Materials Needed
Before we start our step-by-step drawing, let’s make sure you have everything you need! We have a blog post with 6 awesome drawing tools and materials! It’ll help you draw super cool pictures, way better than just stick figures. These art supplies are perfect for beginner artists. You don’t need anything fancy – just a few basic tools to bring your drawing to life:
✅ Paper or Sketchbook – A blank page for your drawing. 📄
✅ Pencils (HB or 2B) – Light pencils help with outlining the drawing. ✏️
✅ Eraser – To fix mistakes while sketching. 🔄
✅ Black Marker or Fine Liner – For outlining and defining clearly. ✍️
✅ Colored Pencils – To color your drawing.
Now, let’s learn how to draw a cherry blossom step by step…
How to Draw a Cherry Blossom Step by Step
Let’s start drawing! This tutorial is based on the image you shared with five lovely blossoms and soft green leaves.
Step 1: Draw the Center
1️⃣ Start with a small circle. This is the center of the cherry blossom.
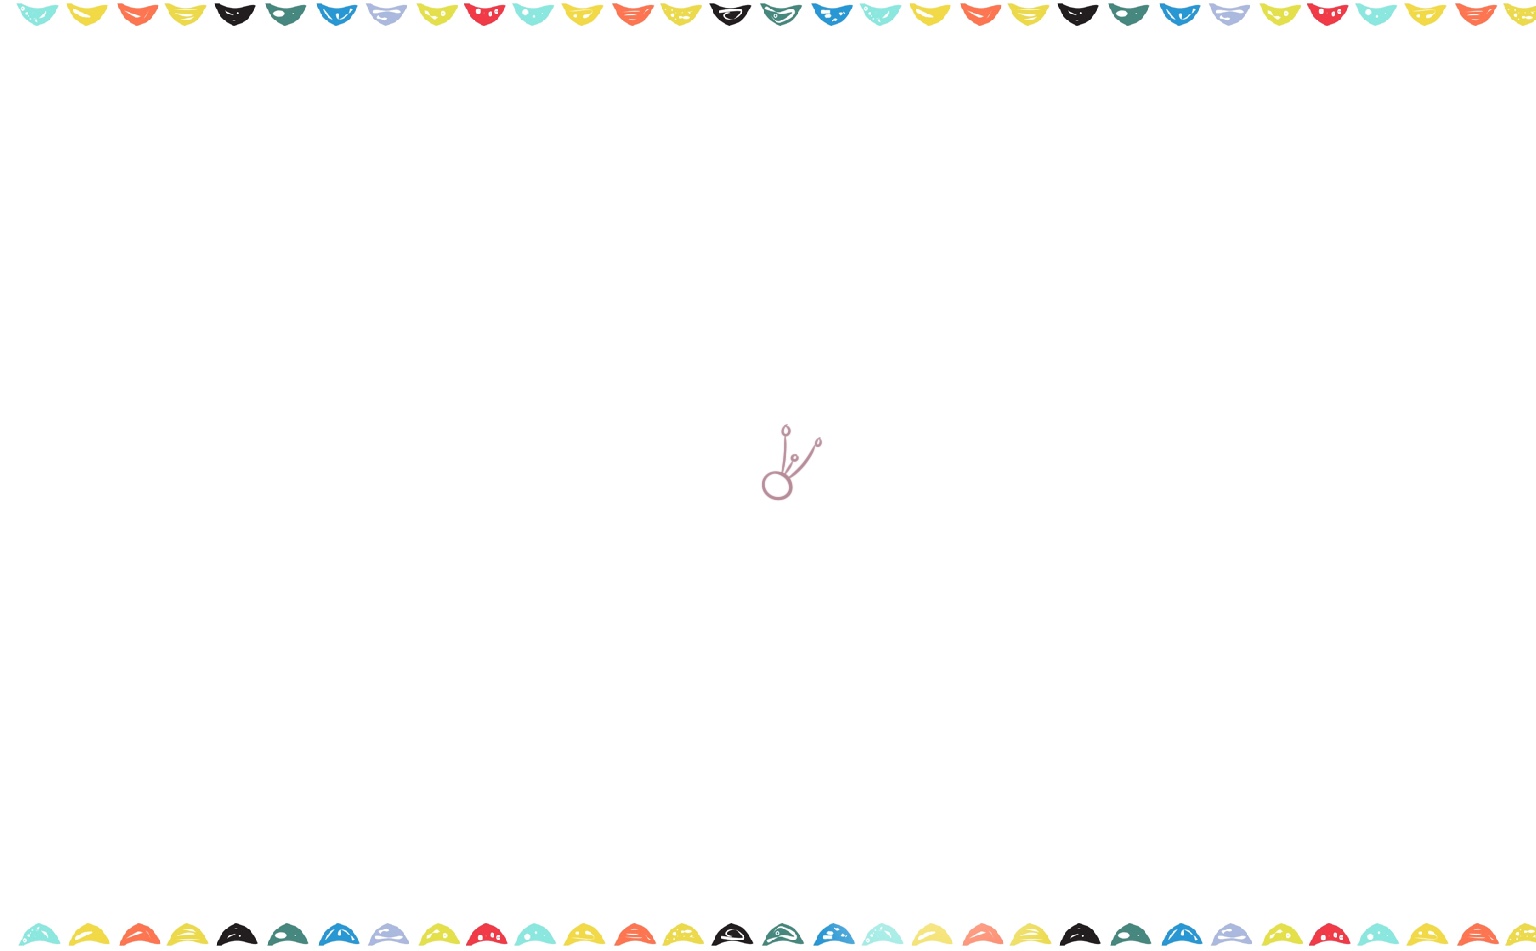
2️⃣ From the center, draw thin stamens (the little lines with dots at the end). These should be light and curved.
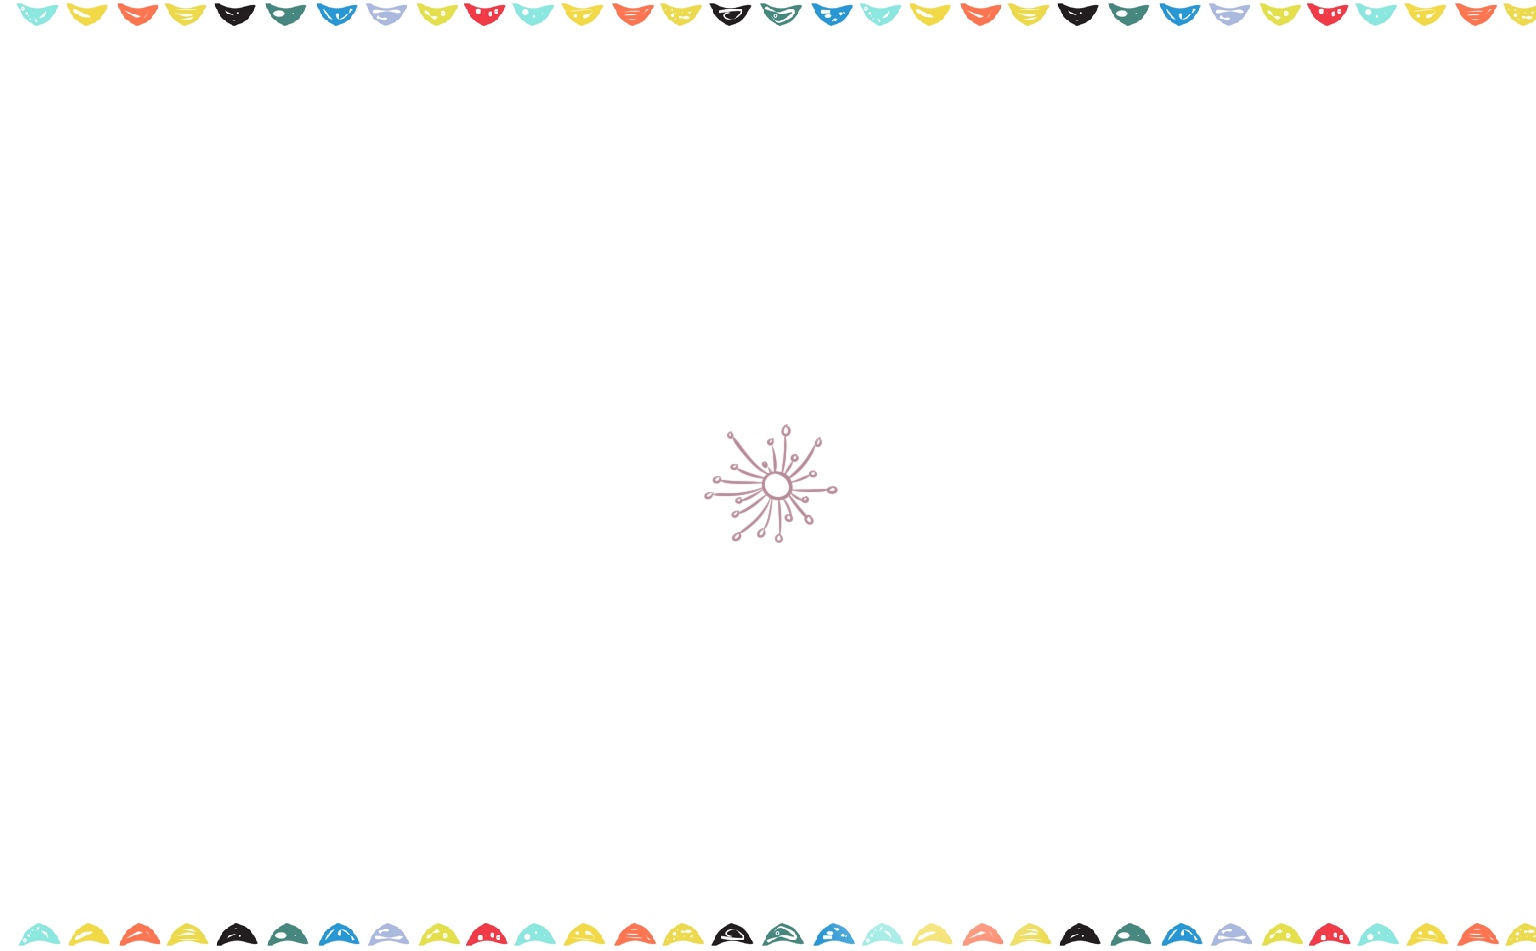
Step 2: Sketch the Petals
1️⃣ Now, let’s continue and learn how to draw a cherry blossom. Draw five round petals around the center. Each one looks like a heart with soft curves—make sure they overlap slightly at the base.

2️⃣ Cherry blossoms often have petals with a small notch at the tip.
Tip: Don’t worry if your petals aren’t perfect—nature is full of variety!
Step 3: Add More Blossoms
1️⃣ Now draw two or three more blossoms near the first one.

2️⃣ Use the same steps: draw a small center, then add petals.

3️⃣ Some flowers face different directions, so you can draw them from the side using half-petal shapes.

4️⃣ Sketch an additional blossom beneath the initial pair of flowers.

5️⃣ Draw another flower beside the first three blossoms. Use the same steps: draw a small center, then add thin stamens (the little lines with dots at the end) and petals.

Step 4: Draw the Stems and Branch
1️⃣ Draw thin stems connecting each blossom to a main branch. Use a curved line for the branch, and draw it thicker at the base.

2️⃣Color the branch light brown later for a natural wooden look.
Step 5: Add the Leaves
1️⃣ Next, draw some pointed leaves near the blossoms. Cherry blossom leaves are long with tiny jagged edges. You can add three or four in different spots to balance the drawing.

Step 6: Outline and Color
1️⃣ Once your sketch is done, go over your lines with a colored pen or marker. Use your skills to color your cherry blossom and see how to draw a cherry blossom that is vibrant! Now grab your crayons or colored pencils:

While coloring your cherry blossom drawing you can use these colors:
- Petals: Light pink and light yellow
- Centers: A soft peach or pink
- Stamens: Brown or dark pink dots
- Leaves: Fresh green
- Branch: Brown
Your cherry blossom drawing is ready to bloom! Now that you know how to draw a cherry blossom, let’s explore some fun cherry blossom facts!
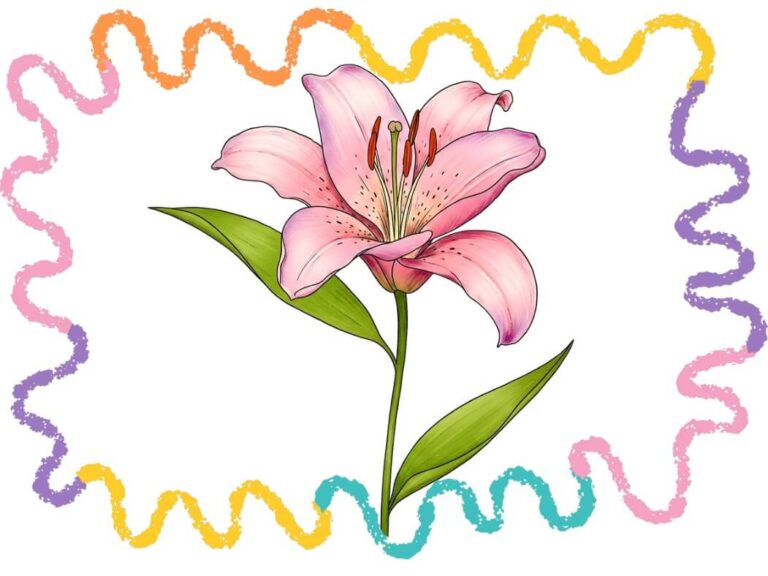
If you enjoy drawing cherry blossoms, you might also like how to draw a hibiscus Step-by-Step or chrysanthemum drawing tutorial.
🌟 Cool Cherry Blossom Facts
🎉 Cherry blossoms are called “sakura” in Japanese.
🎉 They only bloom for a short time in spring, making them very special.
🎉 Cherry blossom festivals are held in Japan, Washington D.C., and many other places around the world.
🎉 Sakura symbolizes beauty and new beginnings.
🎉 People enjoy hanami, which means “flower viewing,” under the blooming trees.
For further details about cherry blossom, click on this link: 10 Fast Facts About Cherry Blossom
How to Draw Cherry Blossom – Free Printable Worksheet

Make learning to draw even more fun with our free printable worksheet! This 5-page worksheet is the perfect companion to the tutorial above and includes everything need to practice:
- 🎨 Step-by-step drawing instructions to follow easily
- 📦 A blank drawing box to try it by yourself
- 🧩 A grid drawing exercise for better proportion and accuracy
- 🖍️ A coloring page to finish with creative flair!
It’s a great tool for home practice, classroom activities, or just a fun art break. Click below to download, print, and start drawing!
Frequently Asked Questions ❓
Q: How do you draw a cherry blossom for beginners?
A: Start with a small circle in the middle, then draw 5 heart-shaped petals, and add a branch and leaves. Color softly with pink and green.
Q: Is a cherry blossom the same as sakura?
A: Yes! “Sakura” is the Japanese word for cherry blossom.
Q: What color are cherry blossoms?
A: Most are light pink, but they can also be white or pale yellow.
Q: Can I draw just one flower instead of a whole branch?
A: Of course! Start with one flower and add more later if you like.
🎨 Conclusion: You Did It, Artist!
Now you know how to draw a cherry blossom like a true young artist! Whether you call them sakura, cherry blossoms, or simply spring flowers, they are always fun and beautiful to draw.
Keep practicing and try drawing them in different colors, or even creating a full cherry blossom tree!
Looking for creative inspiration? Check out our Pinterest page for some magical ideas!
Keep drawing and having fun with it, just like playing your favorite game every day! The more you draw, the better you’ll get, and you might even discover new ways to draw that you never knew before. Check out our blog post about the power of drawing every day to learn more about how drawing can make you an even more awesome artist!
Share Your Drawing With Us! 💯🎁
We’d love to see your amazing artwork! When you finish your drawing, use the contact form below to send us a picture of it. Whether it’s your first try or your masterpiece, we’re excited to cheer you on. Your creativity could even be featured on our site – so grab your crayons and show us what you’ve made! 🎉🖍️